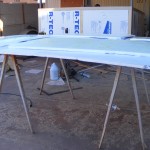
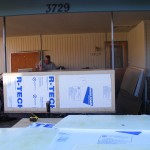
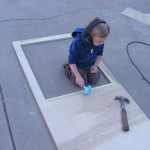
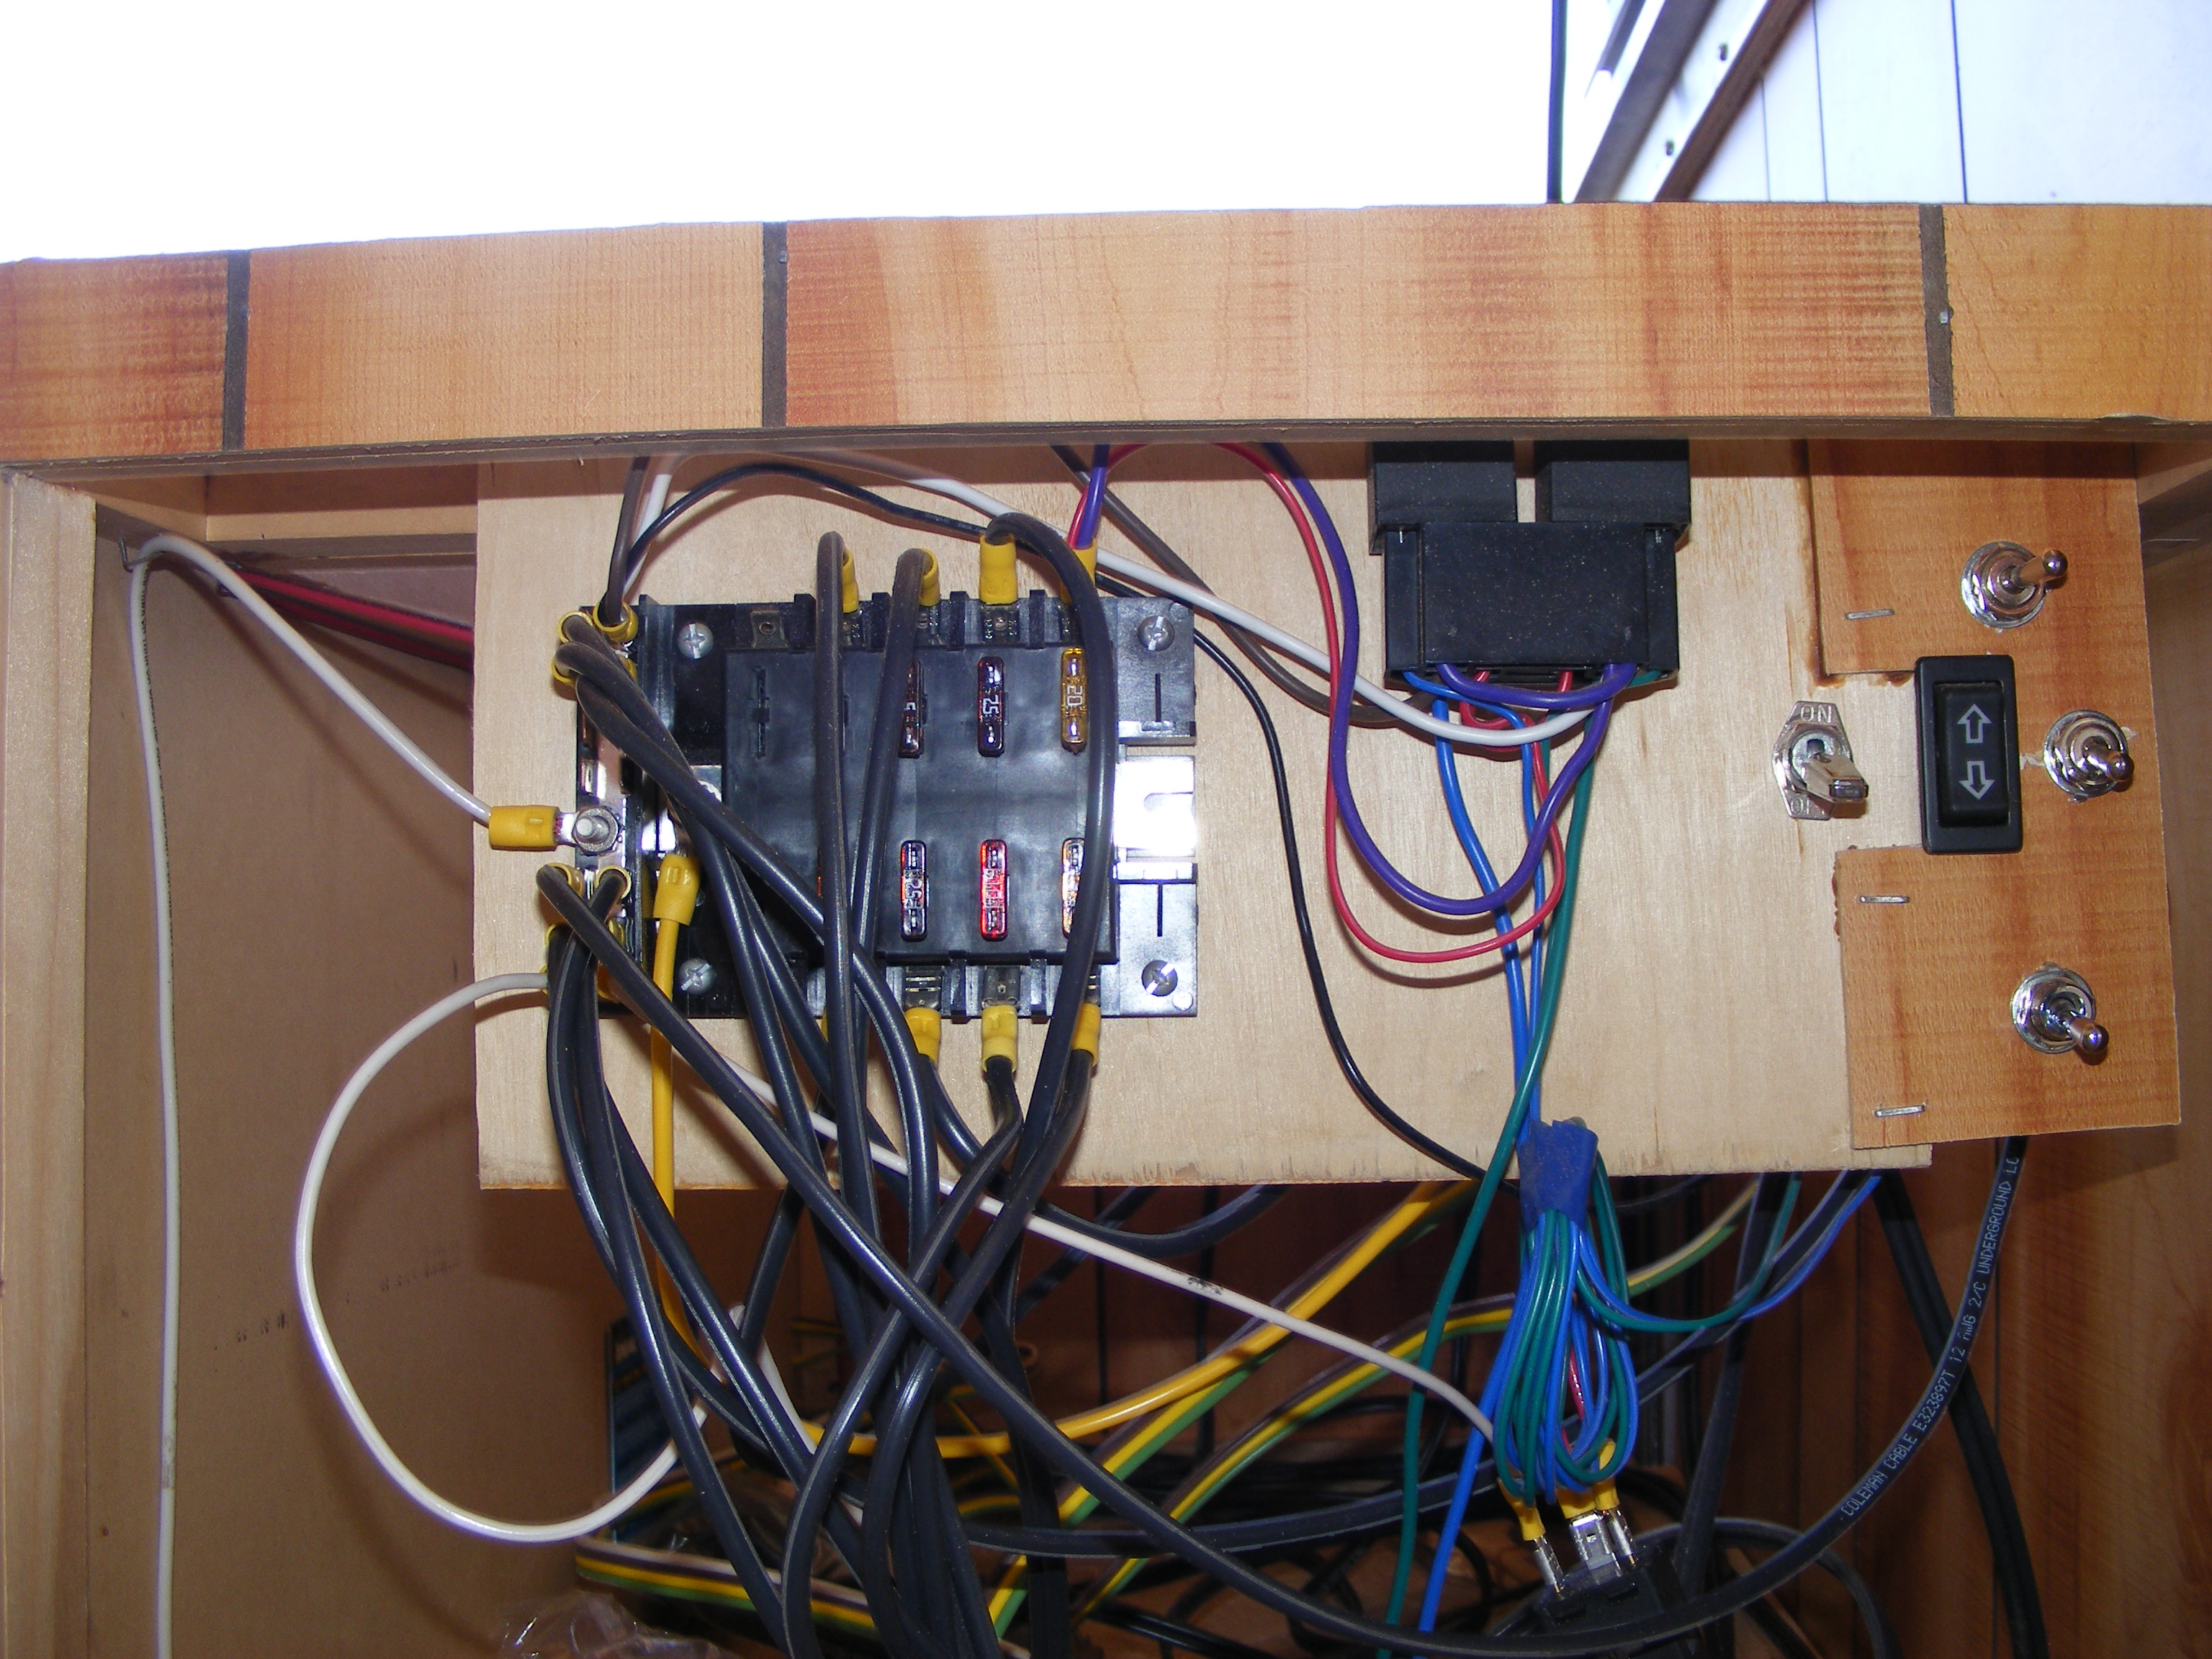
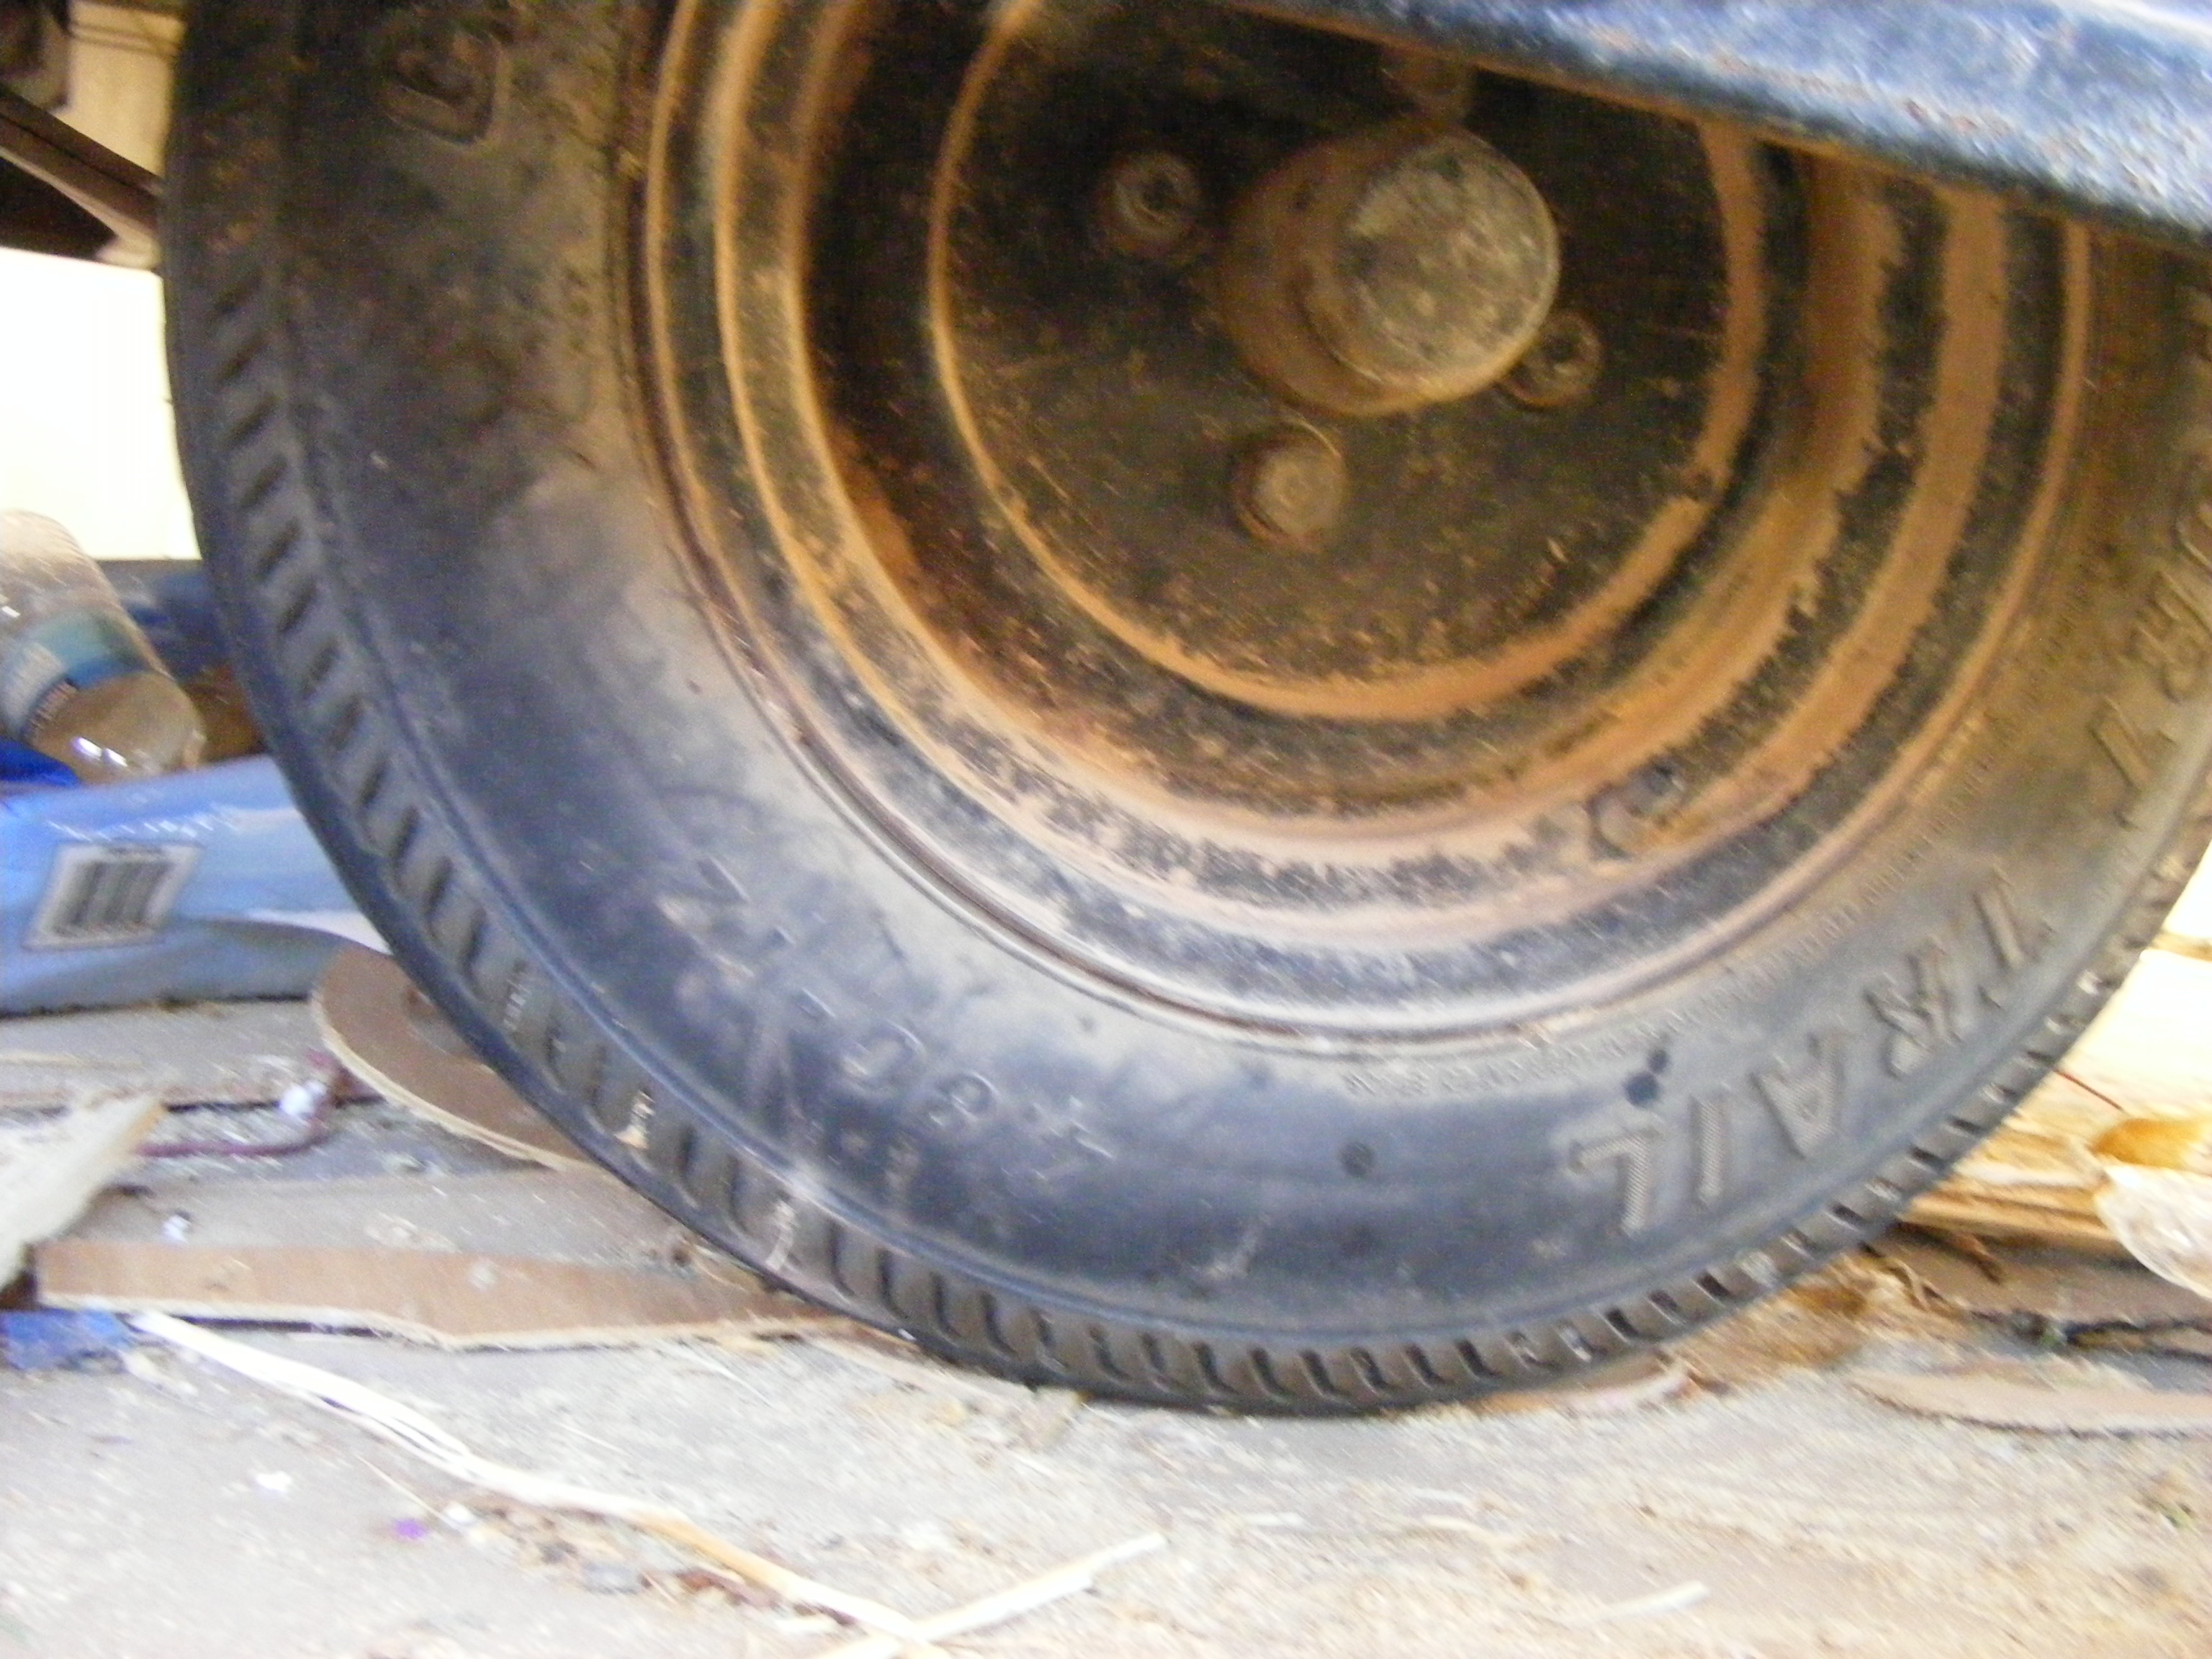
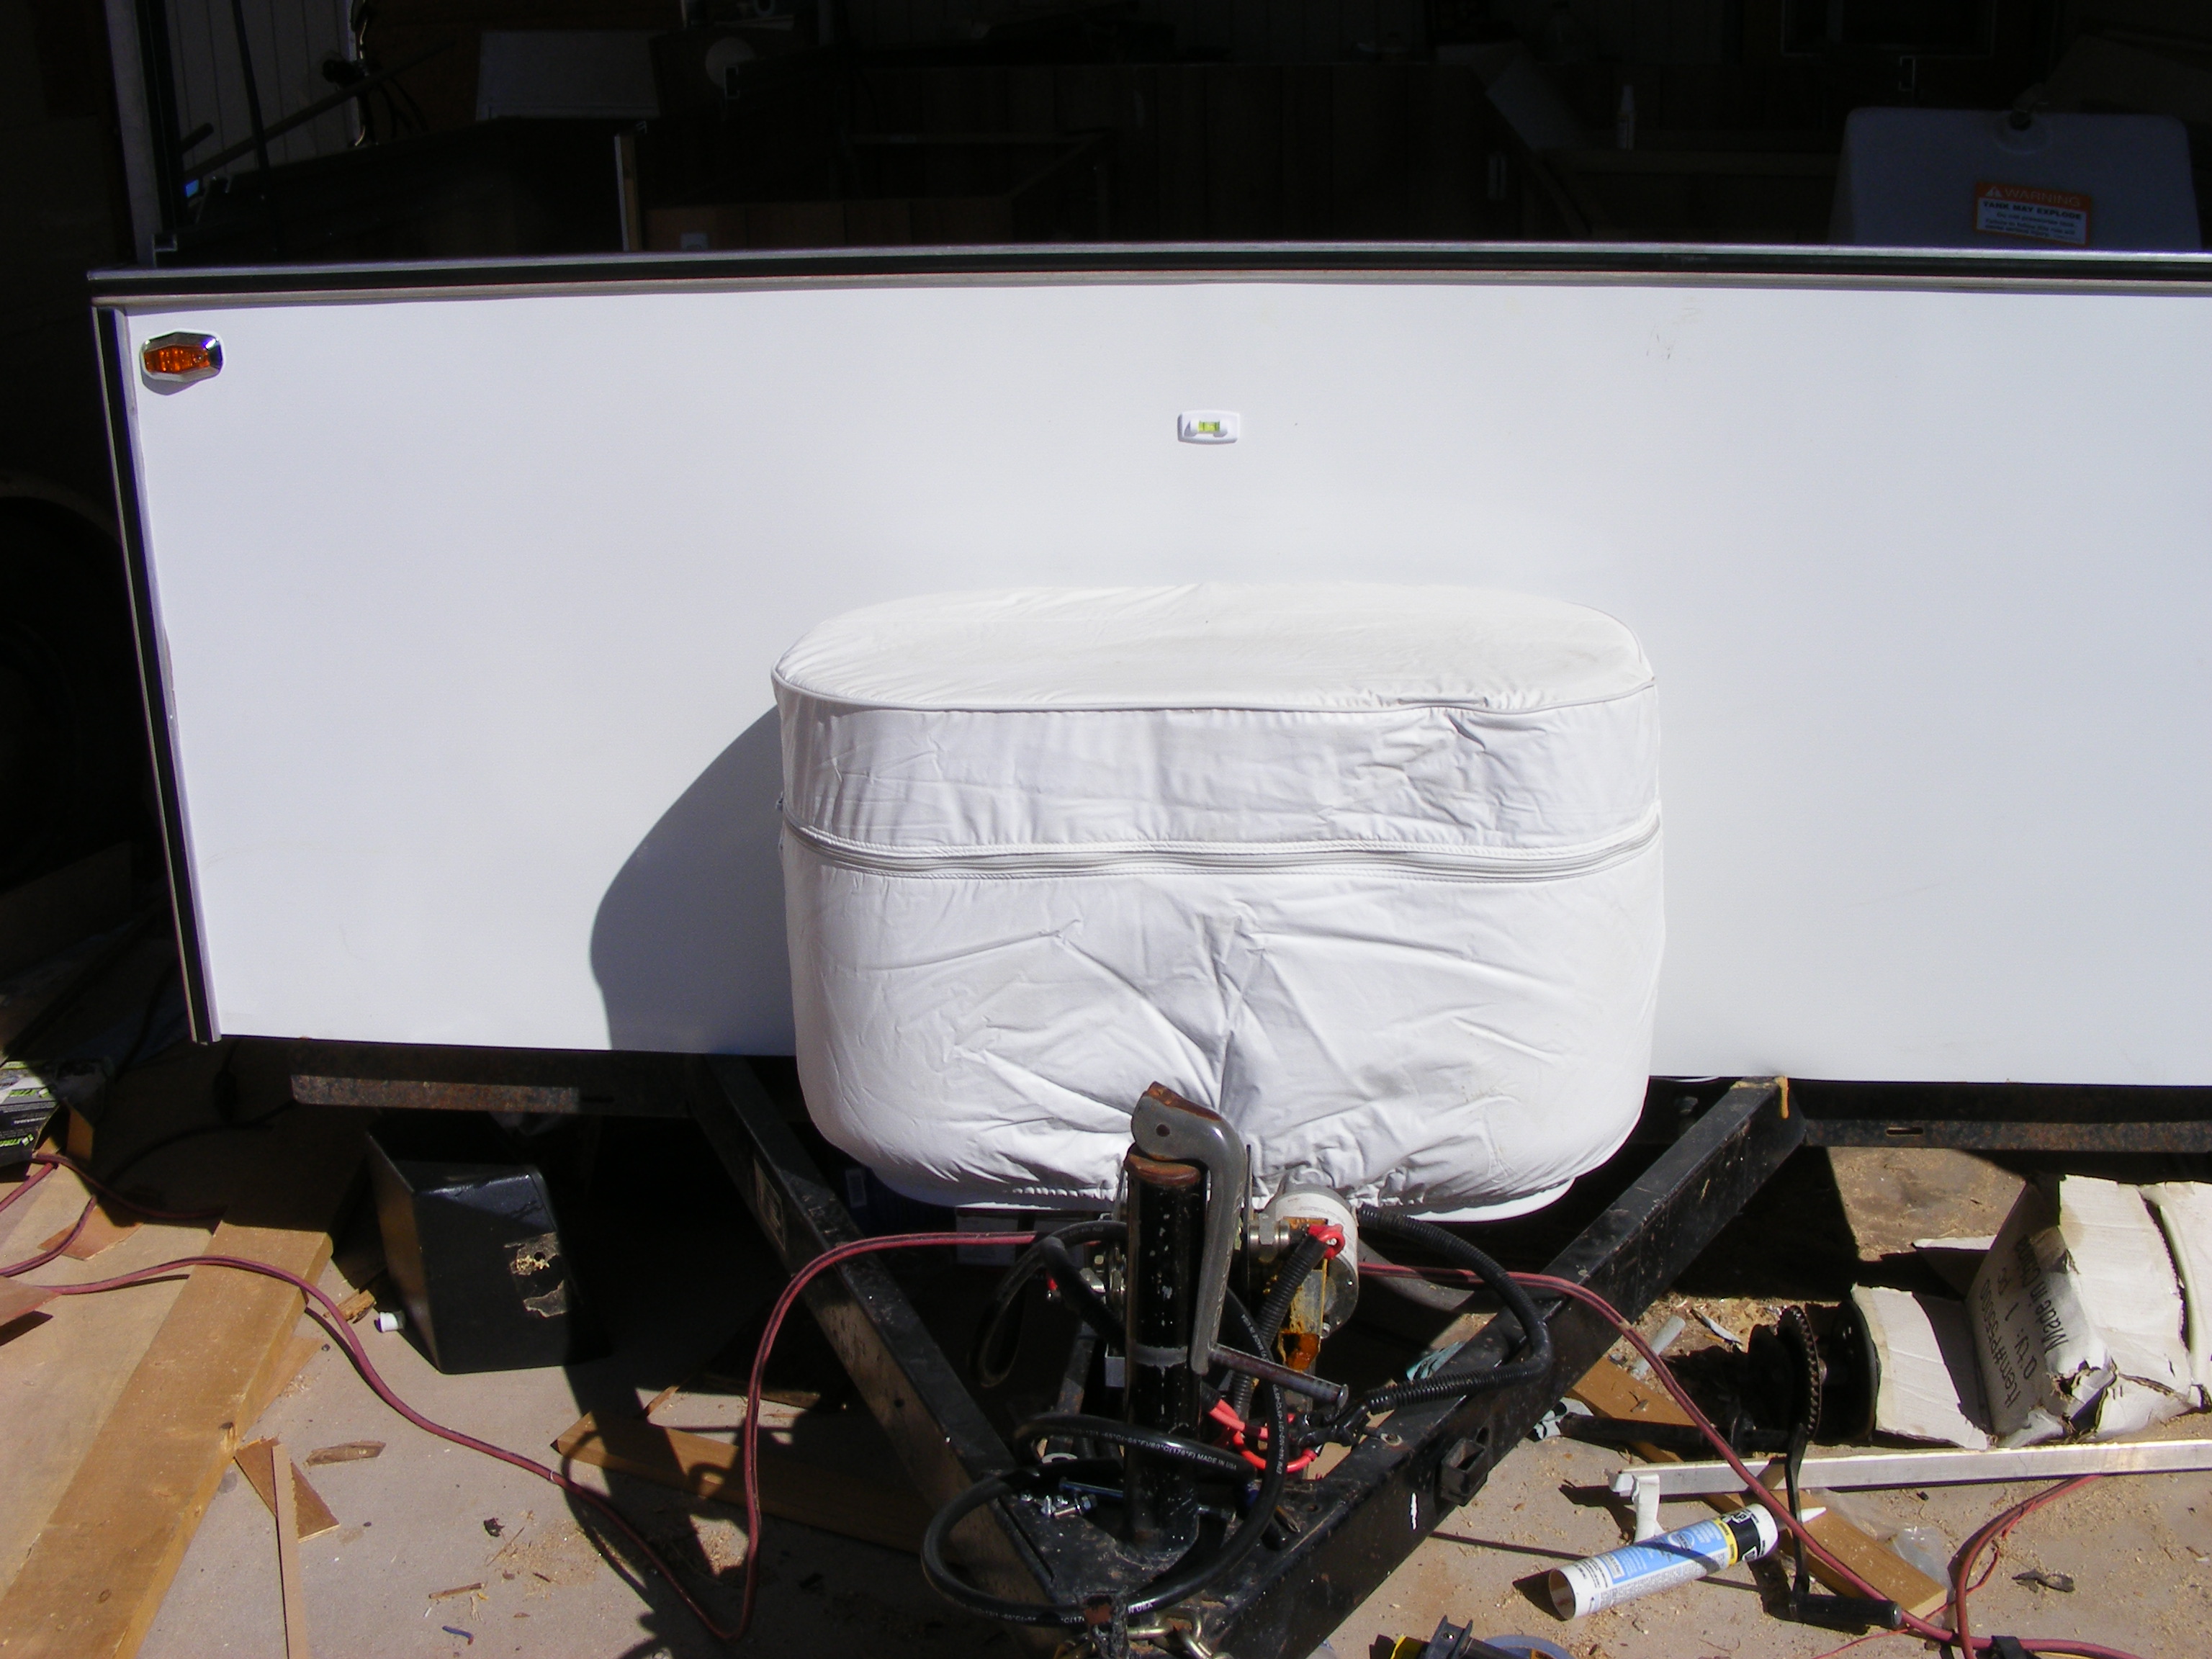
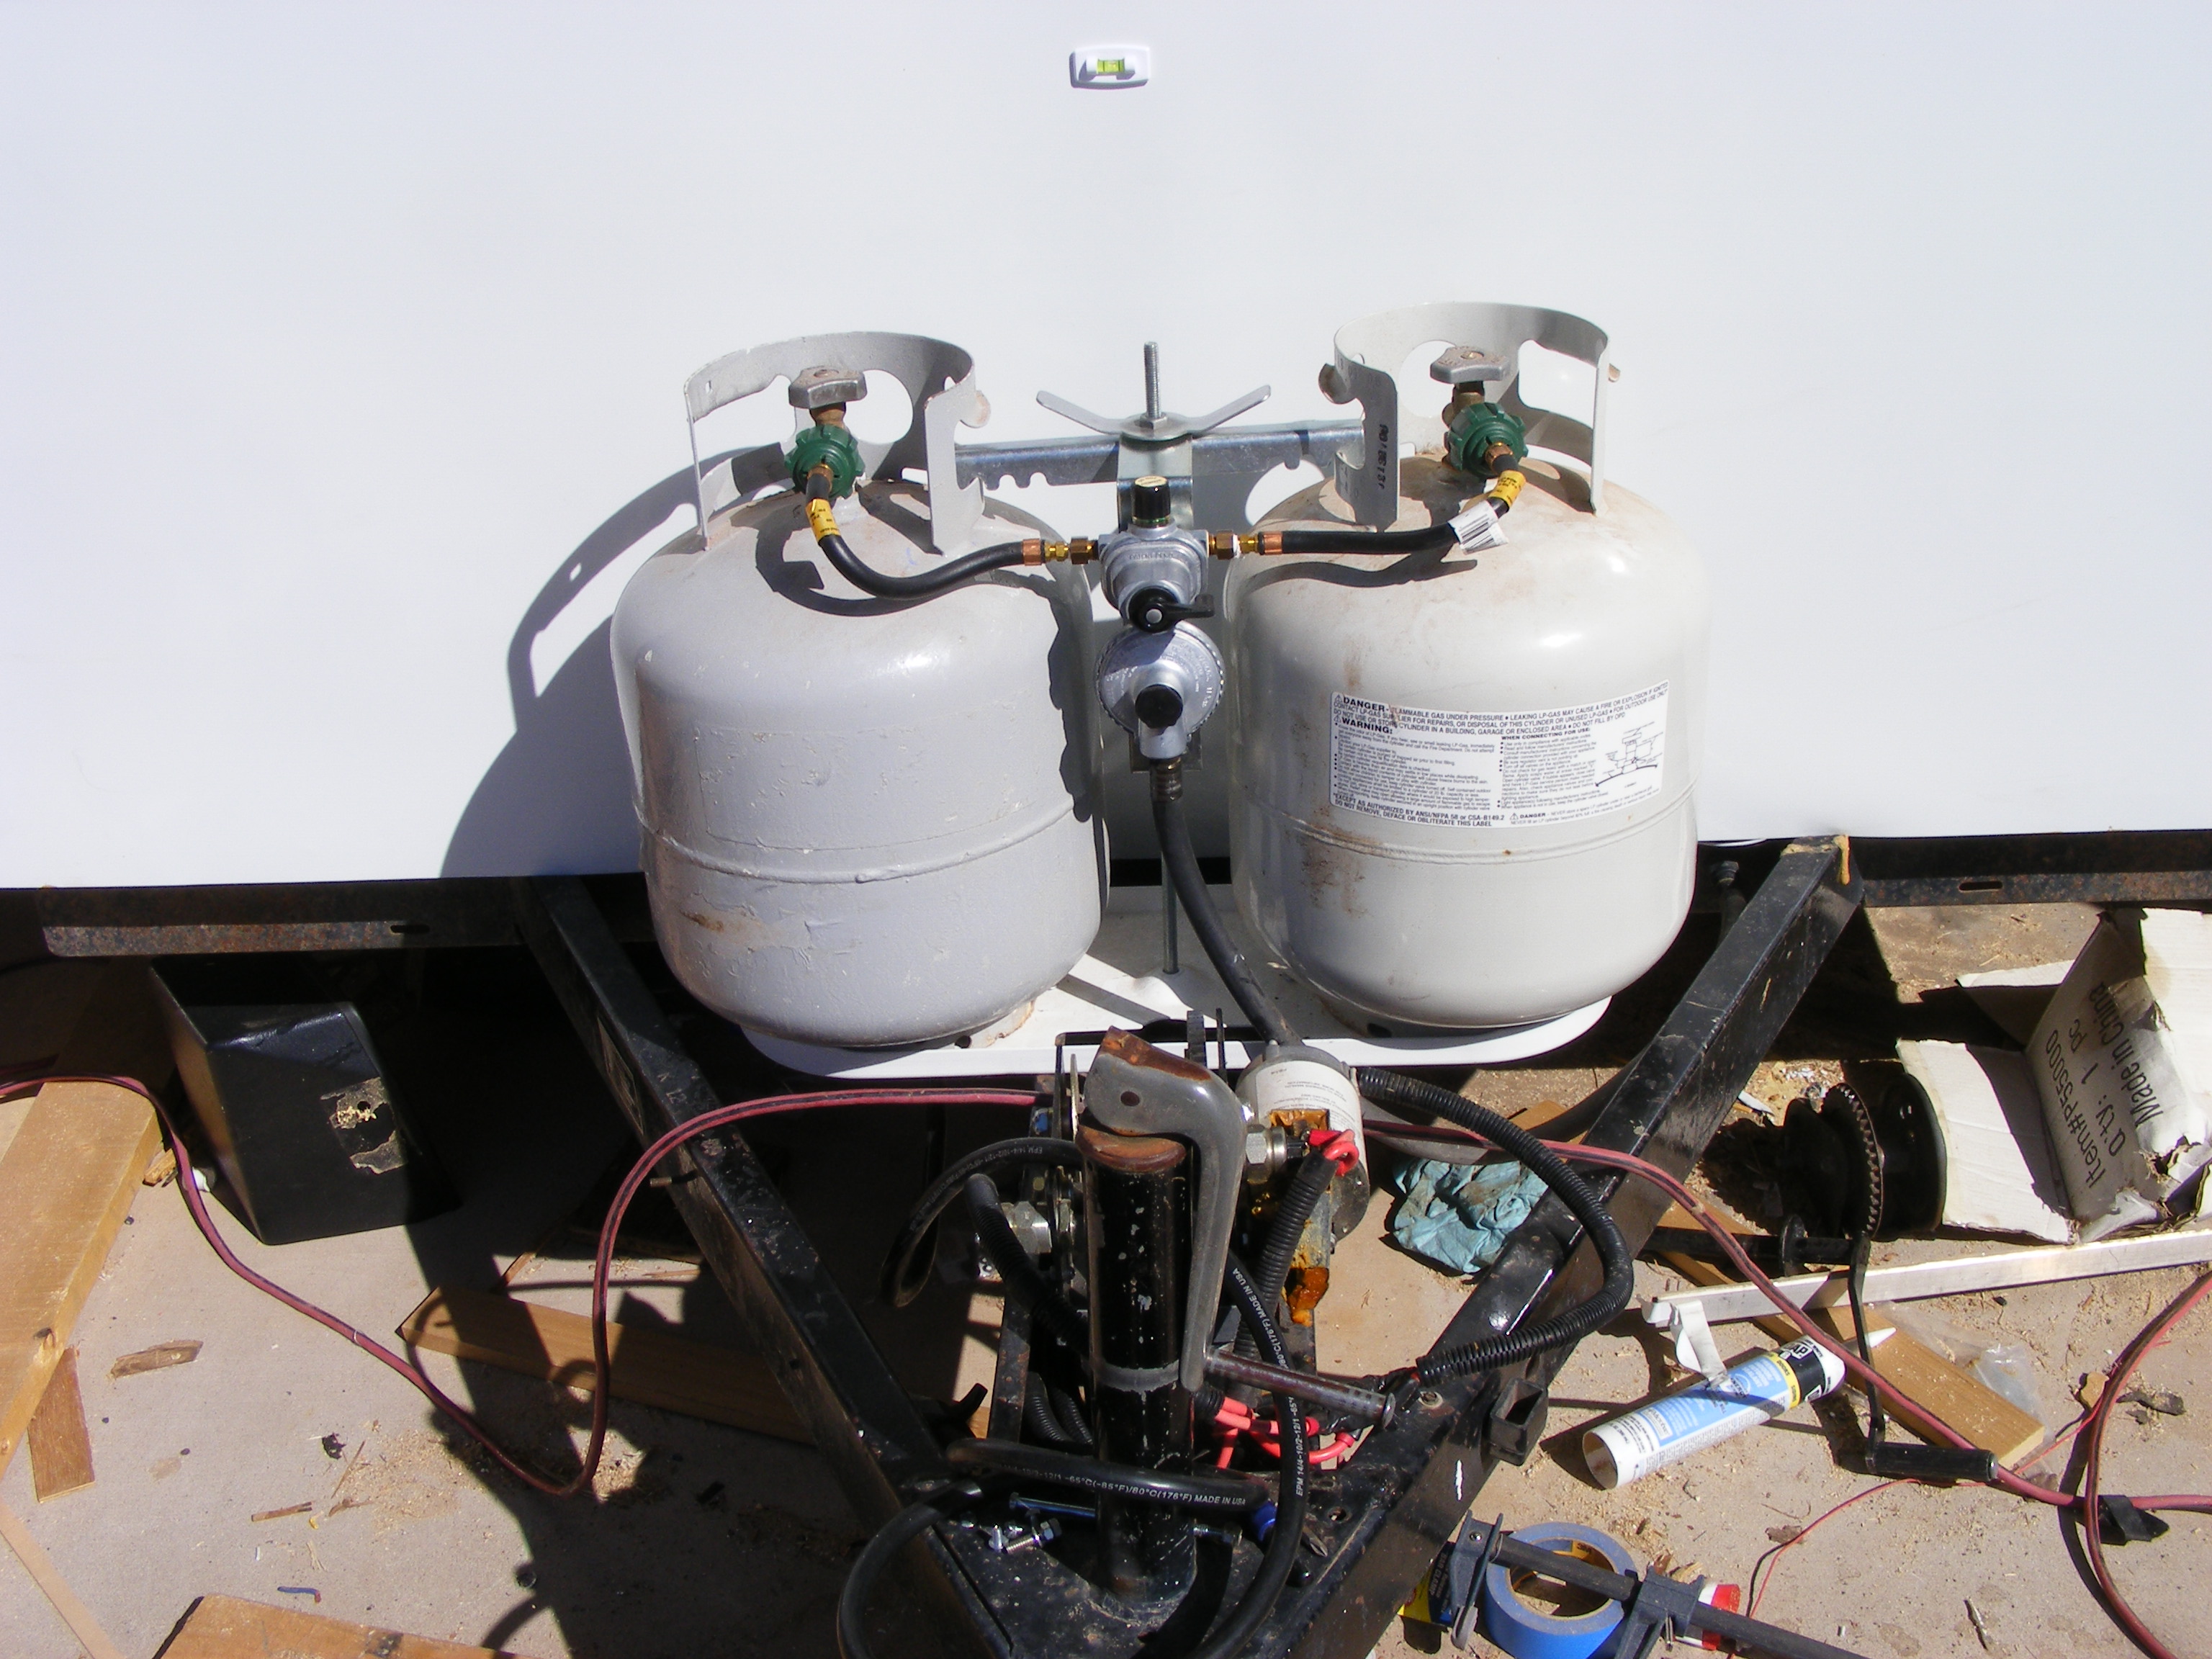
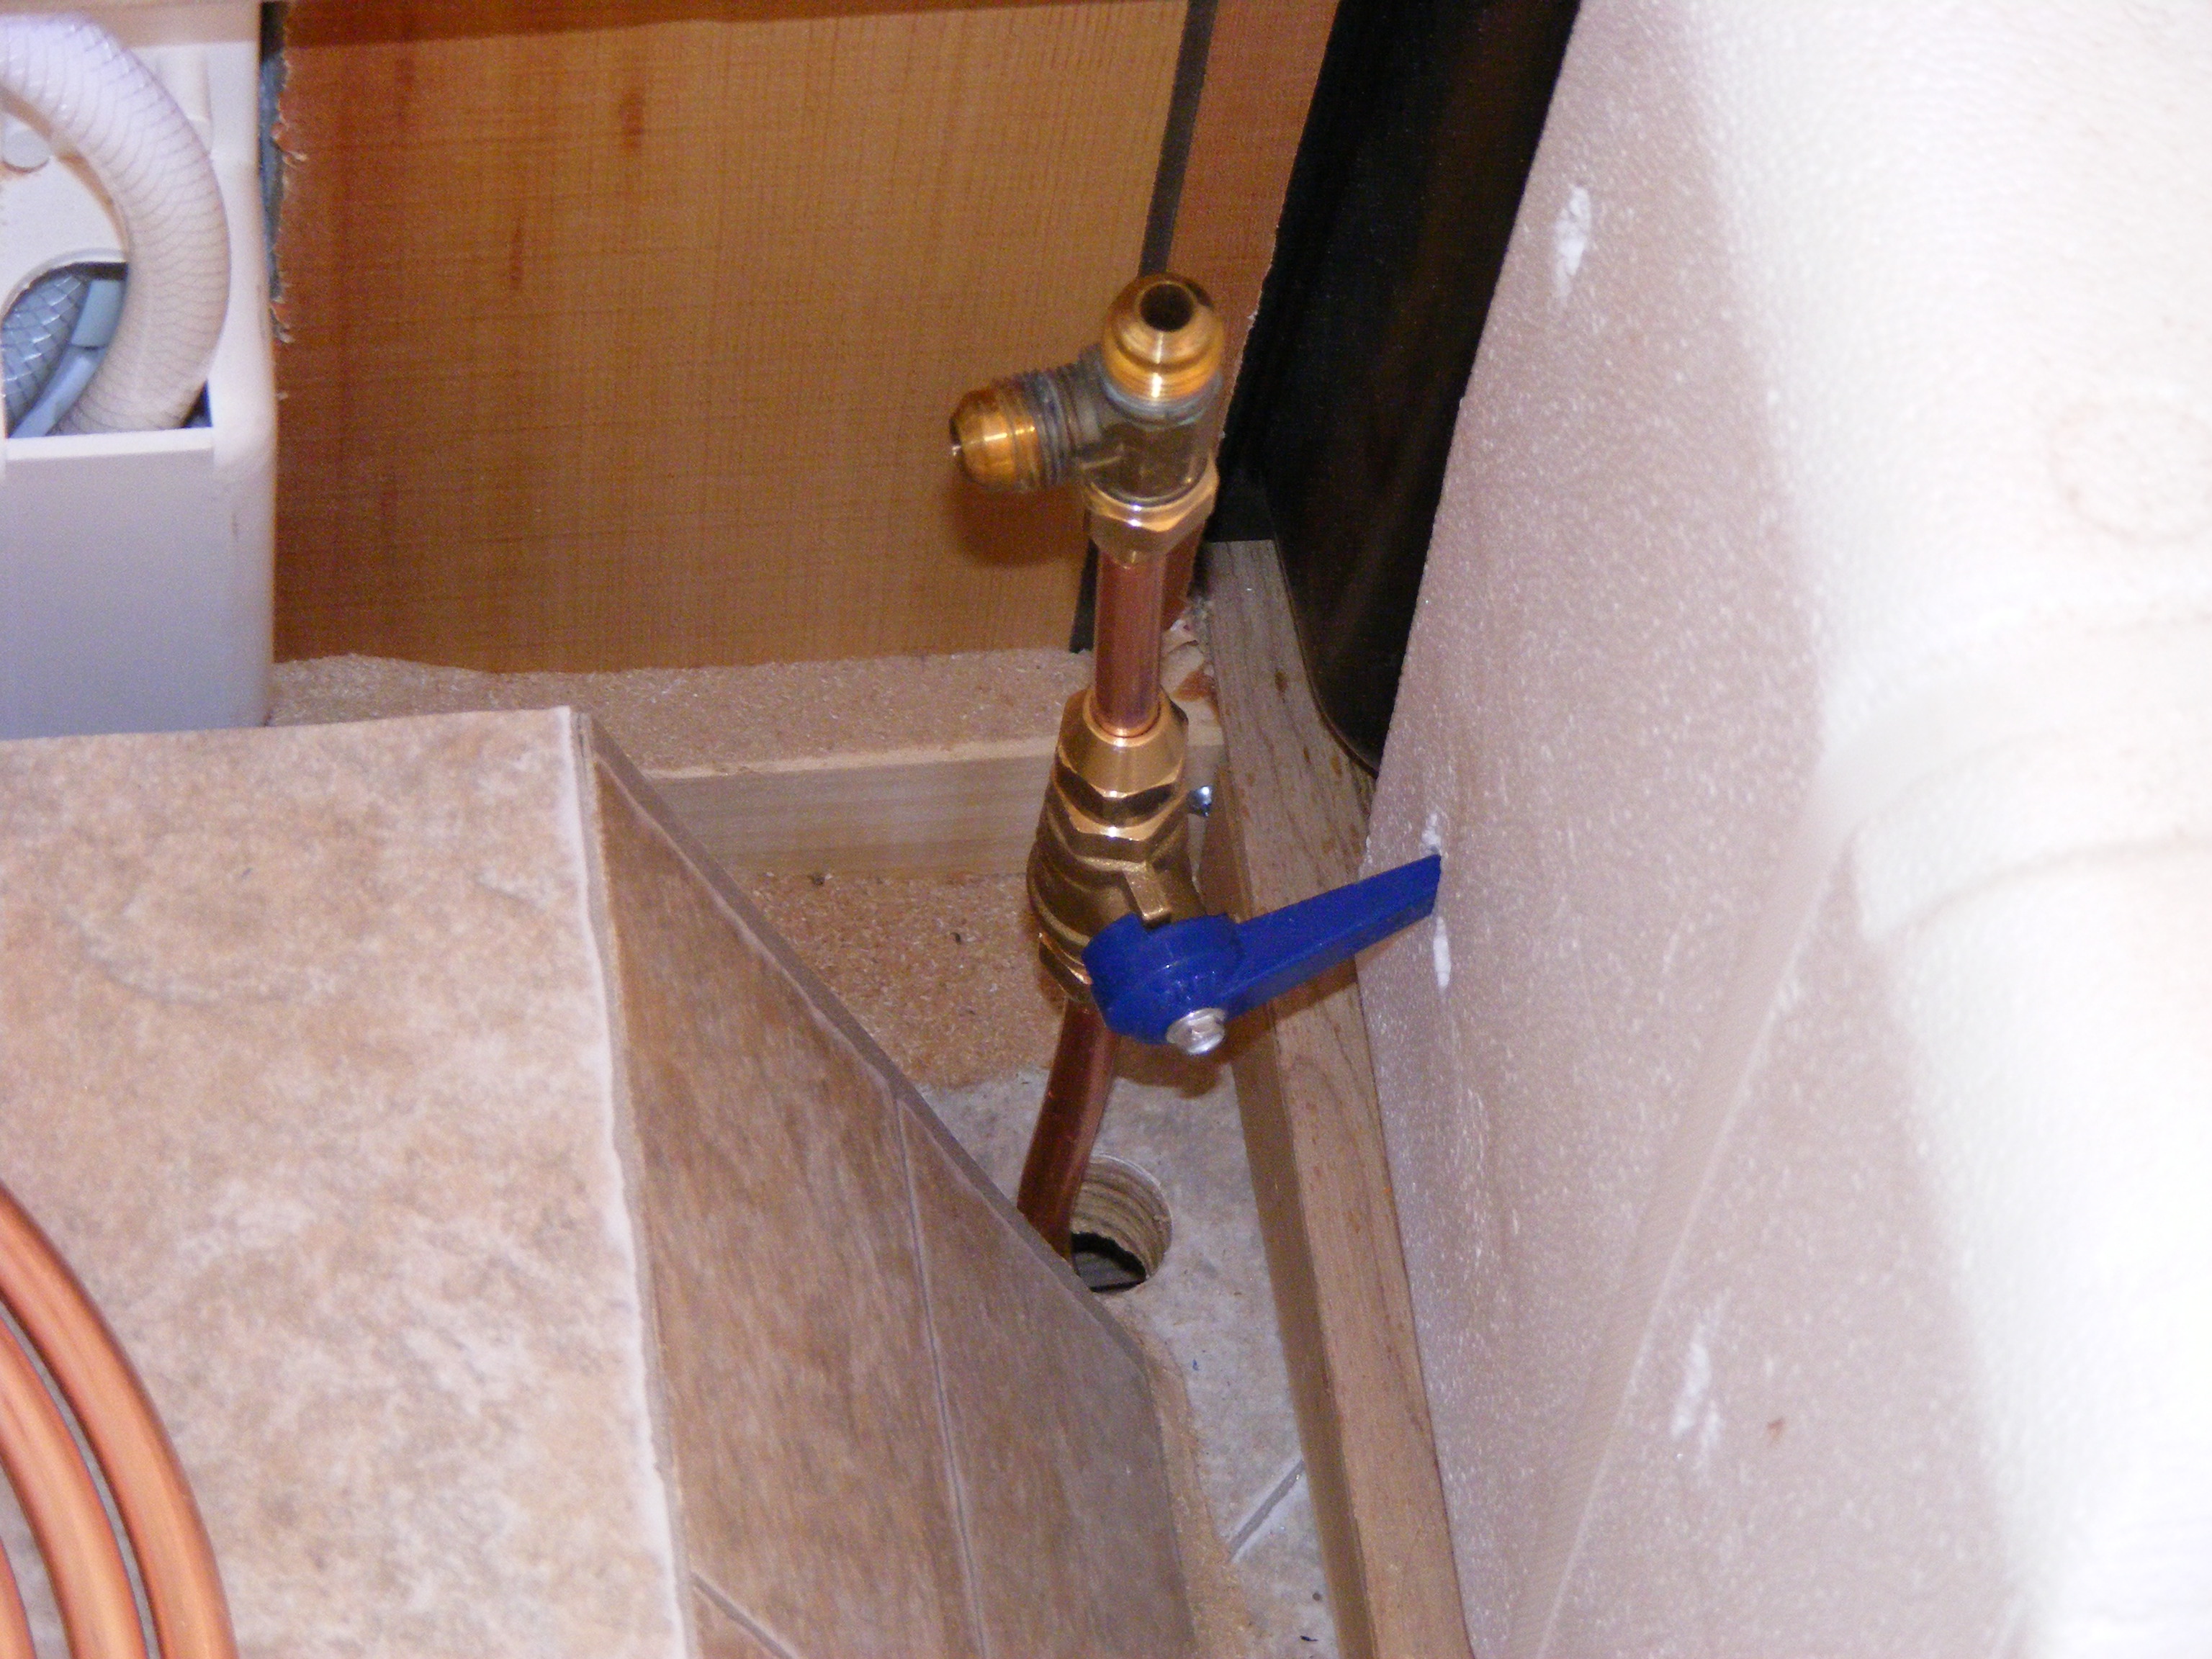
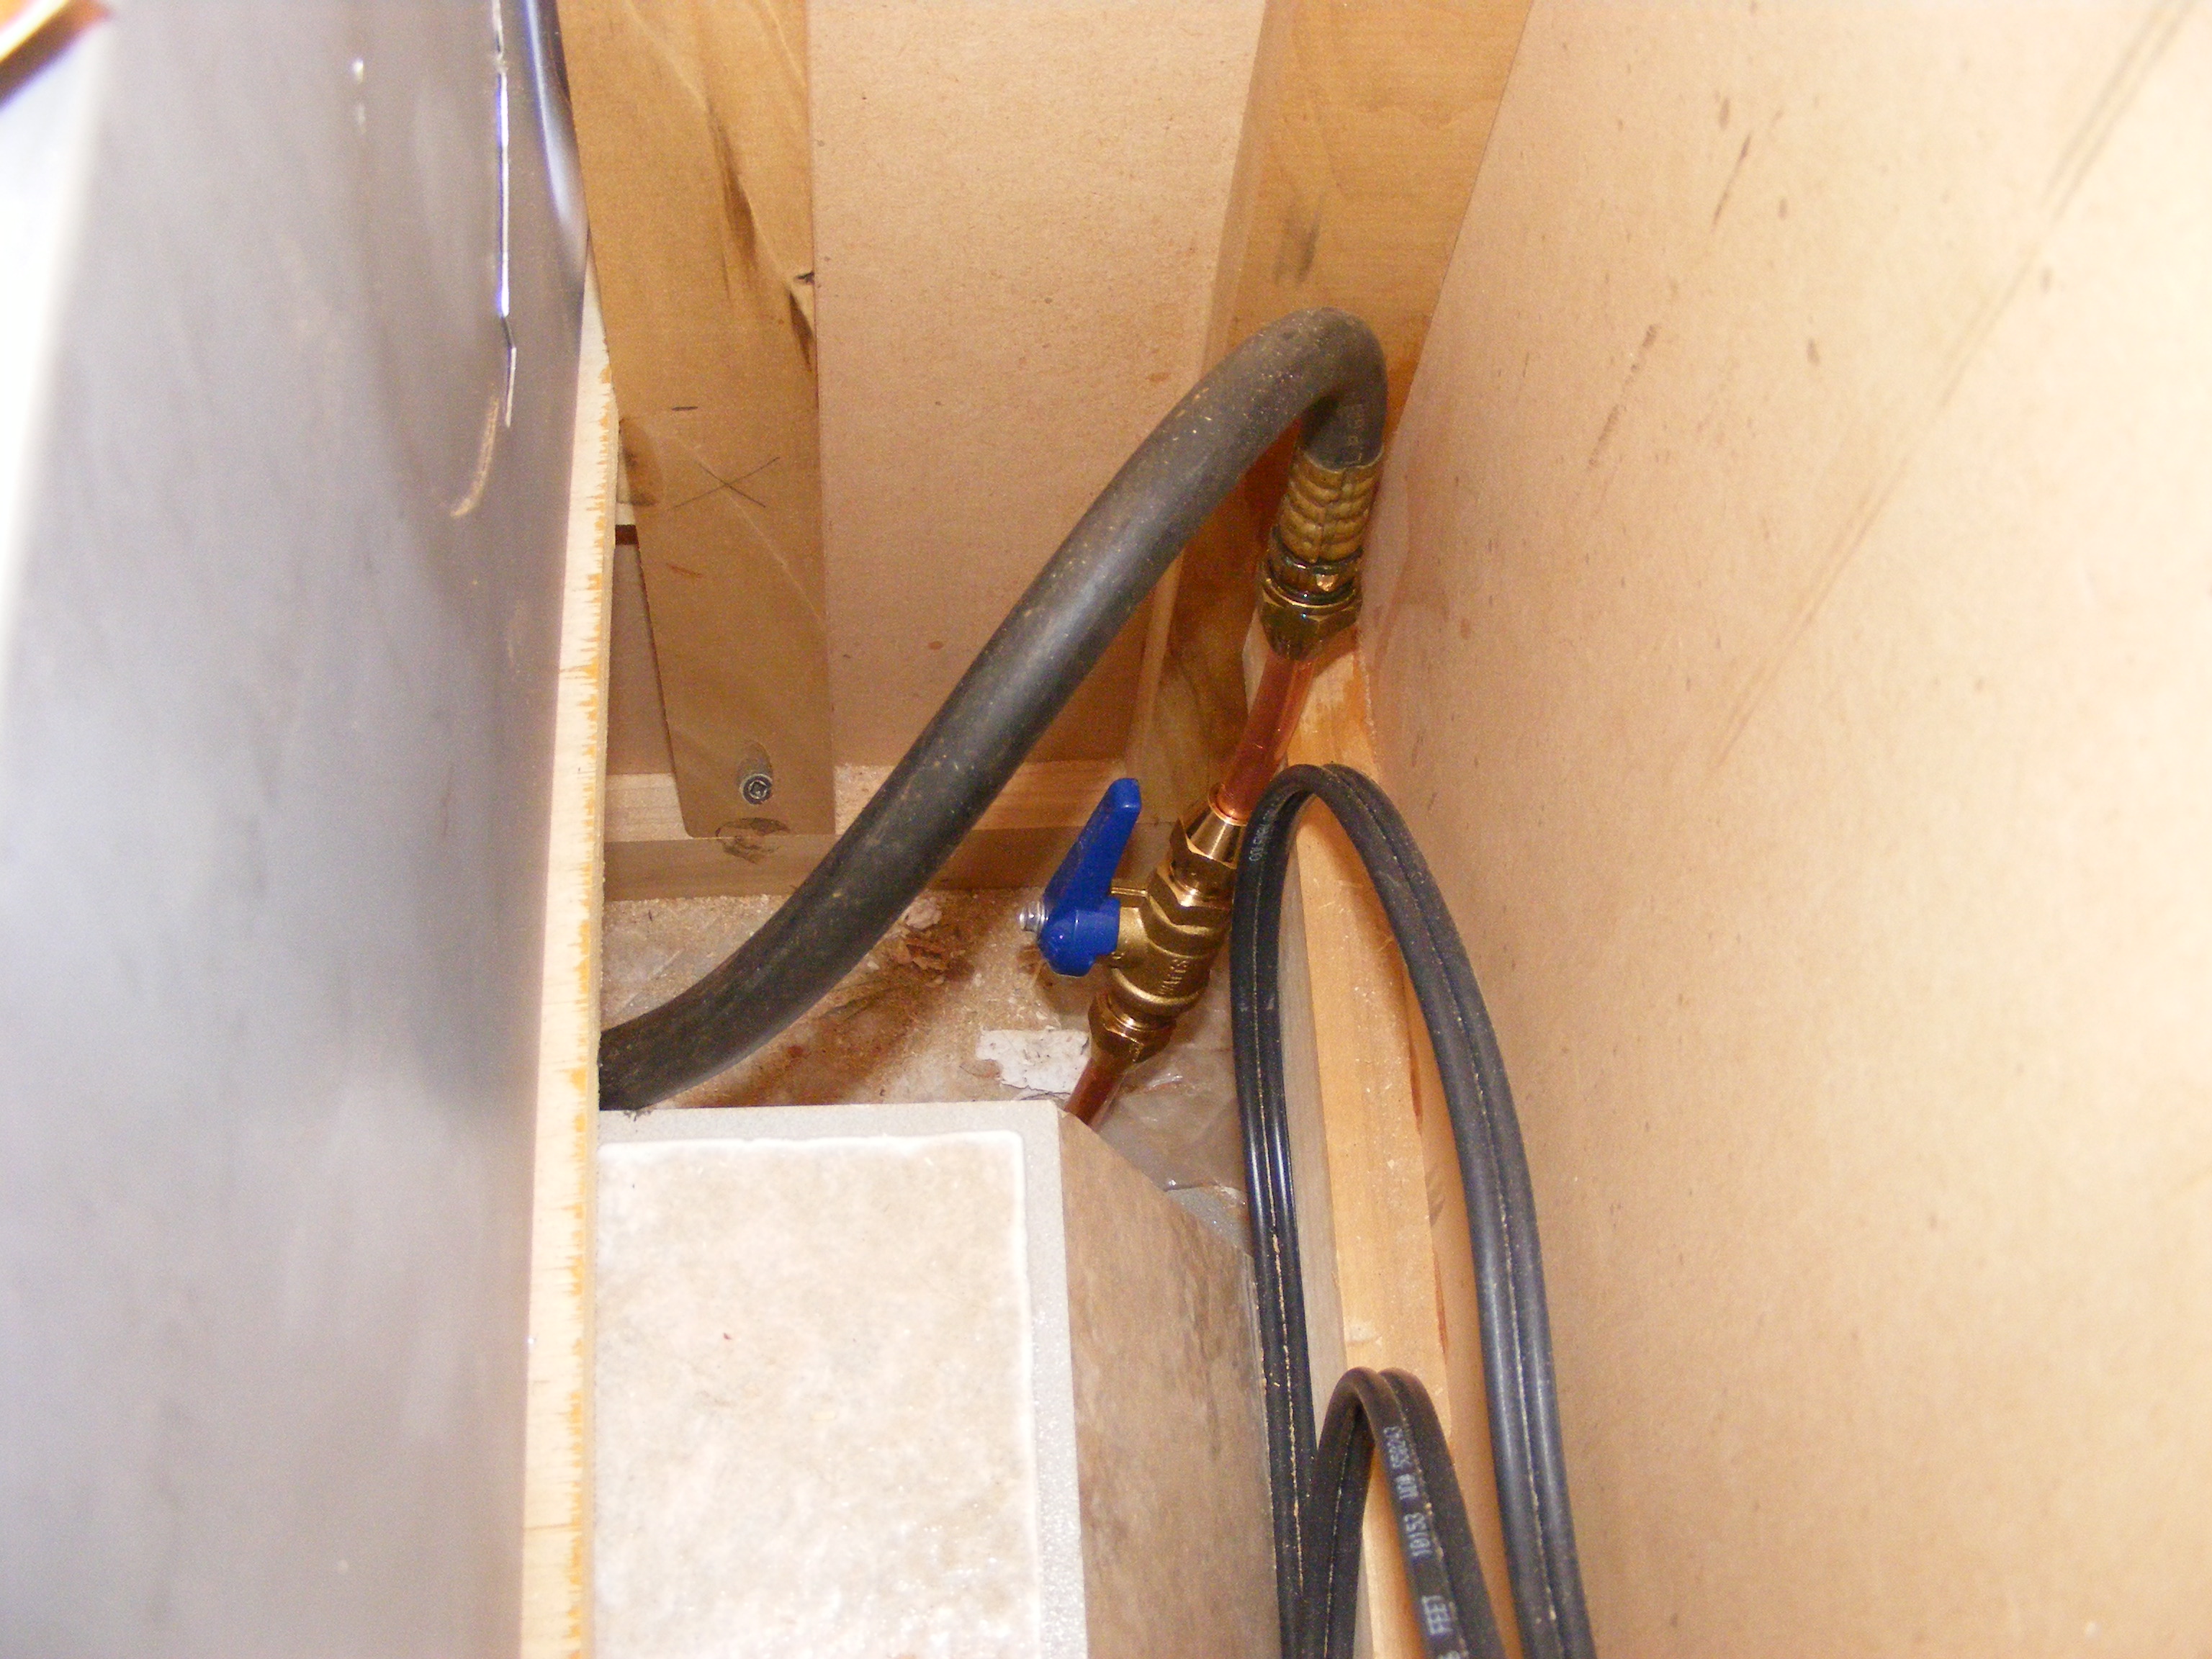
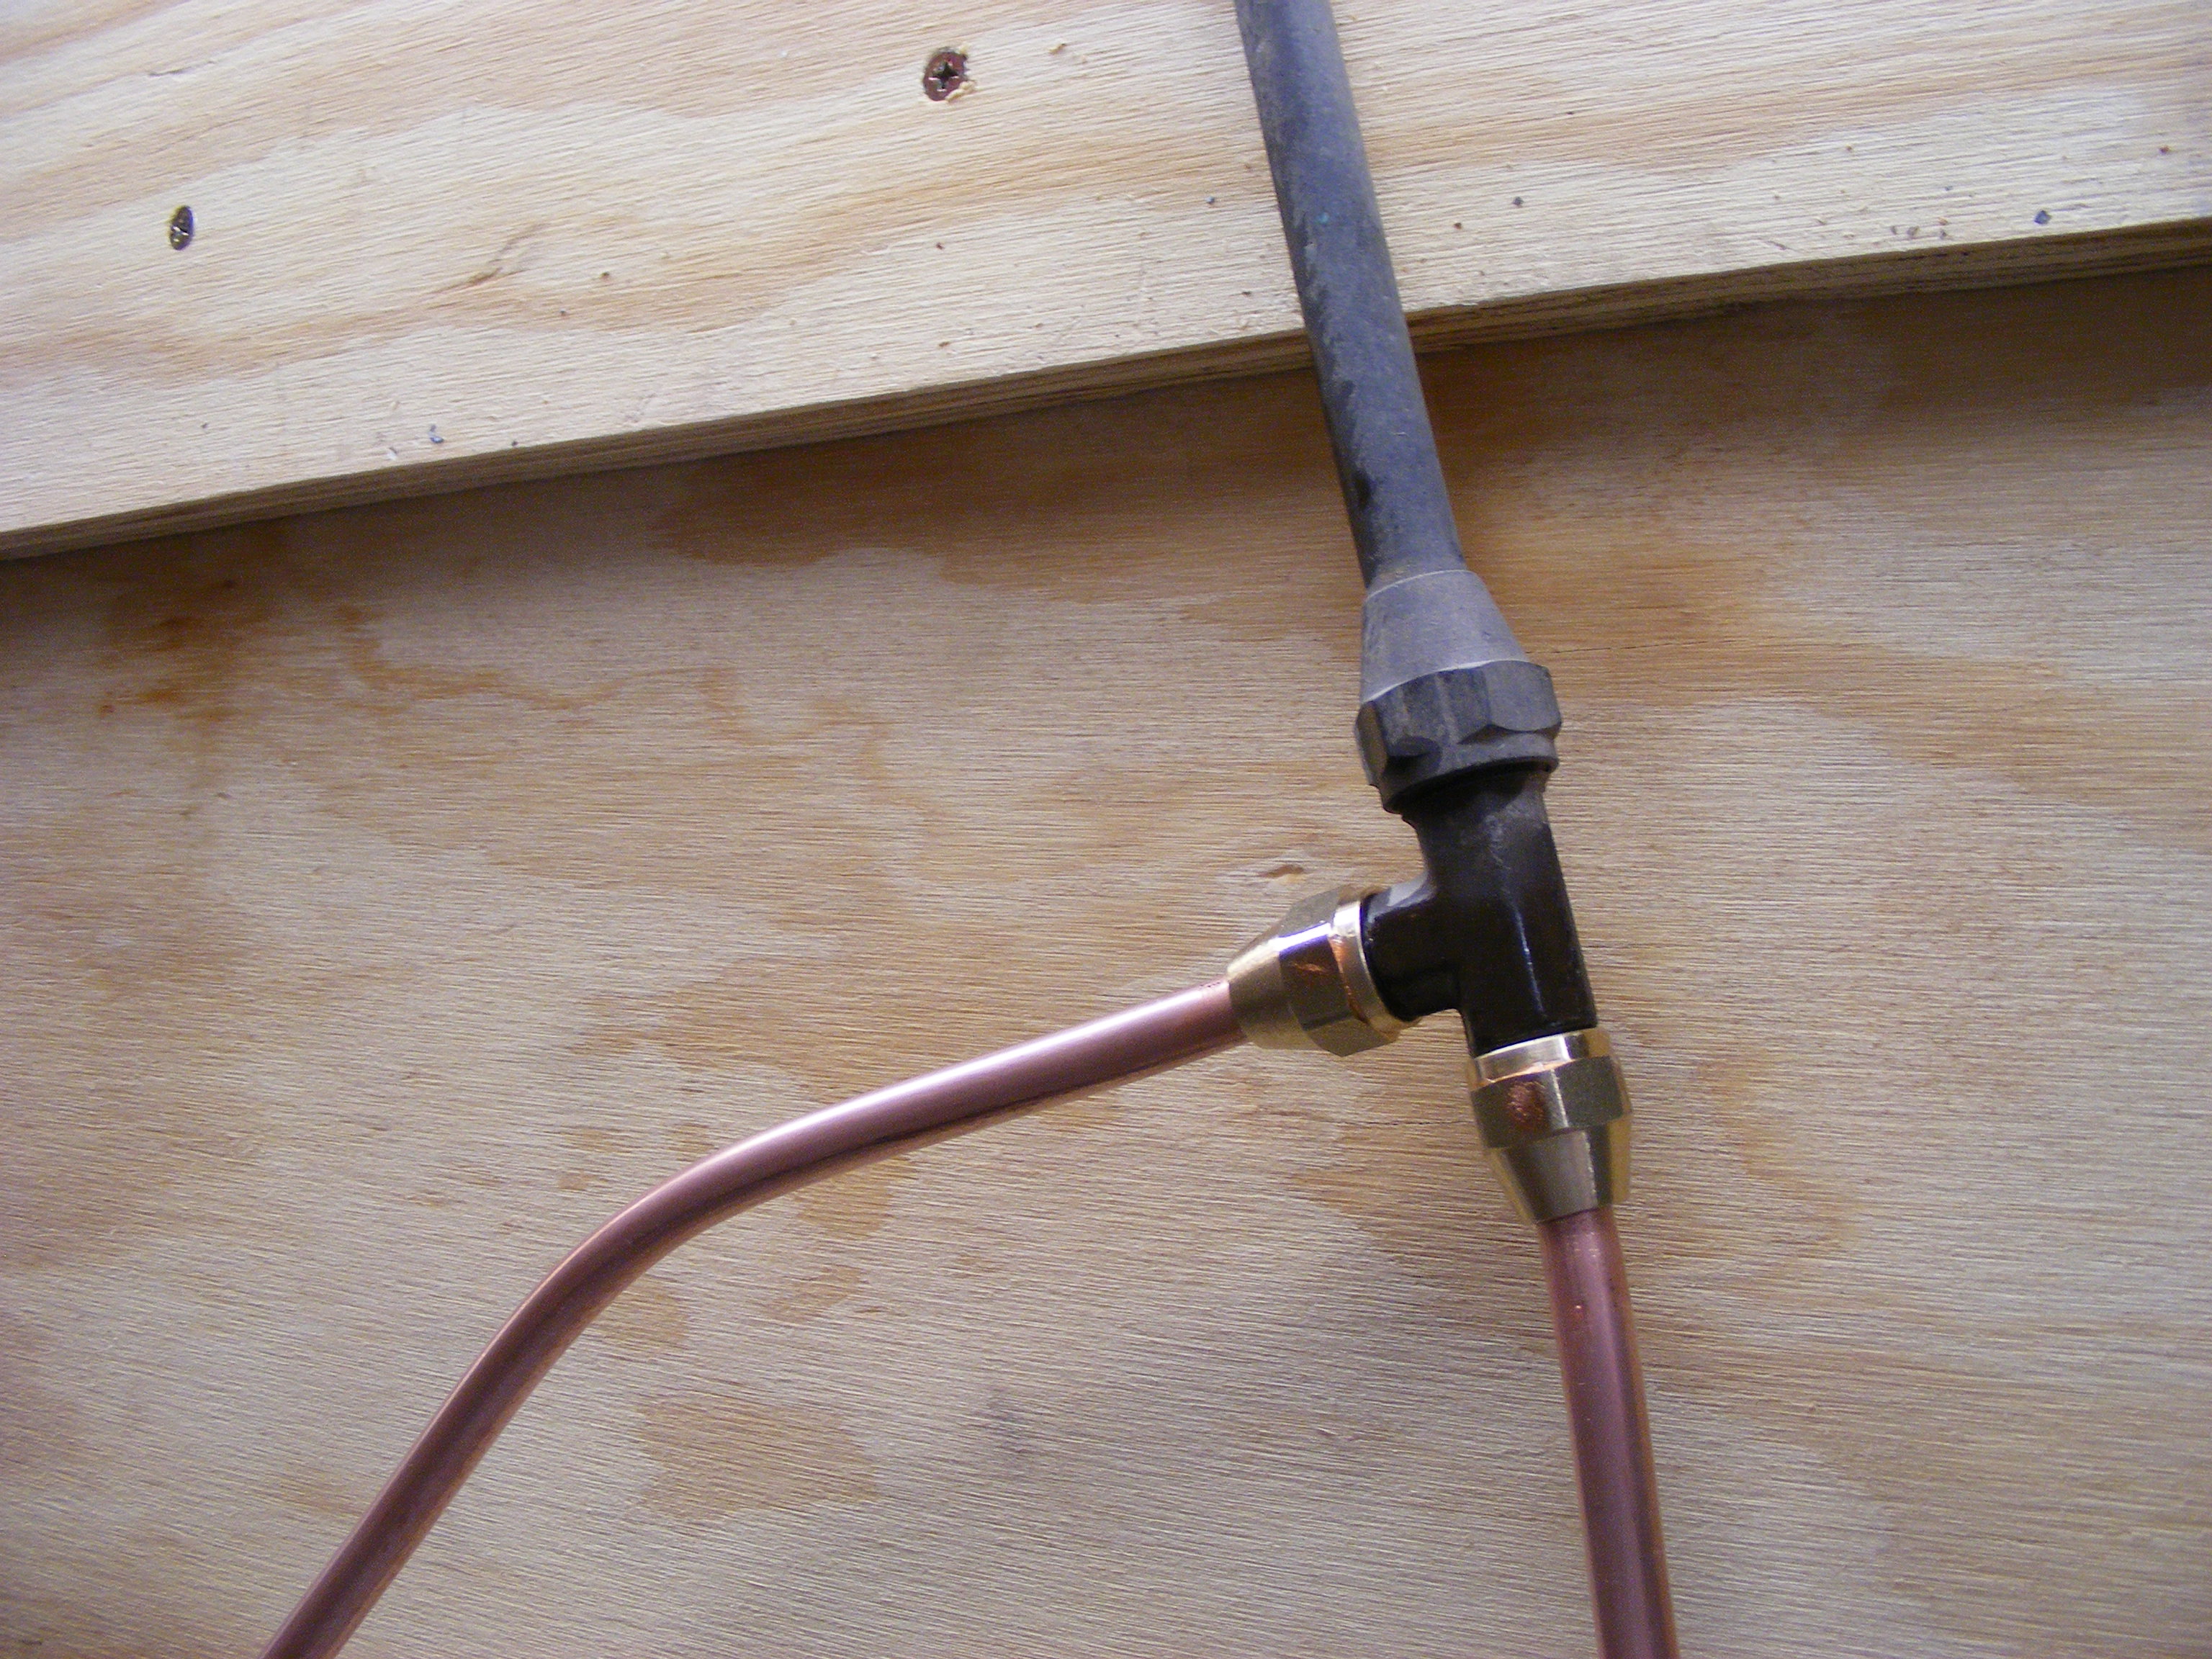
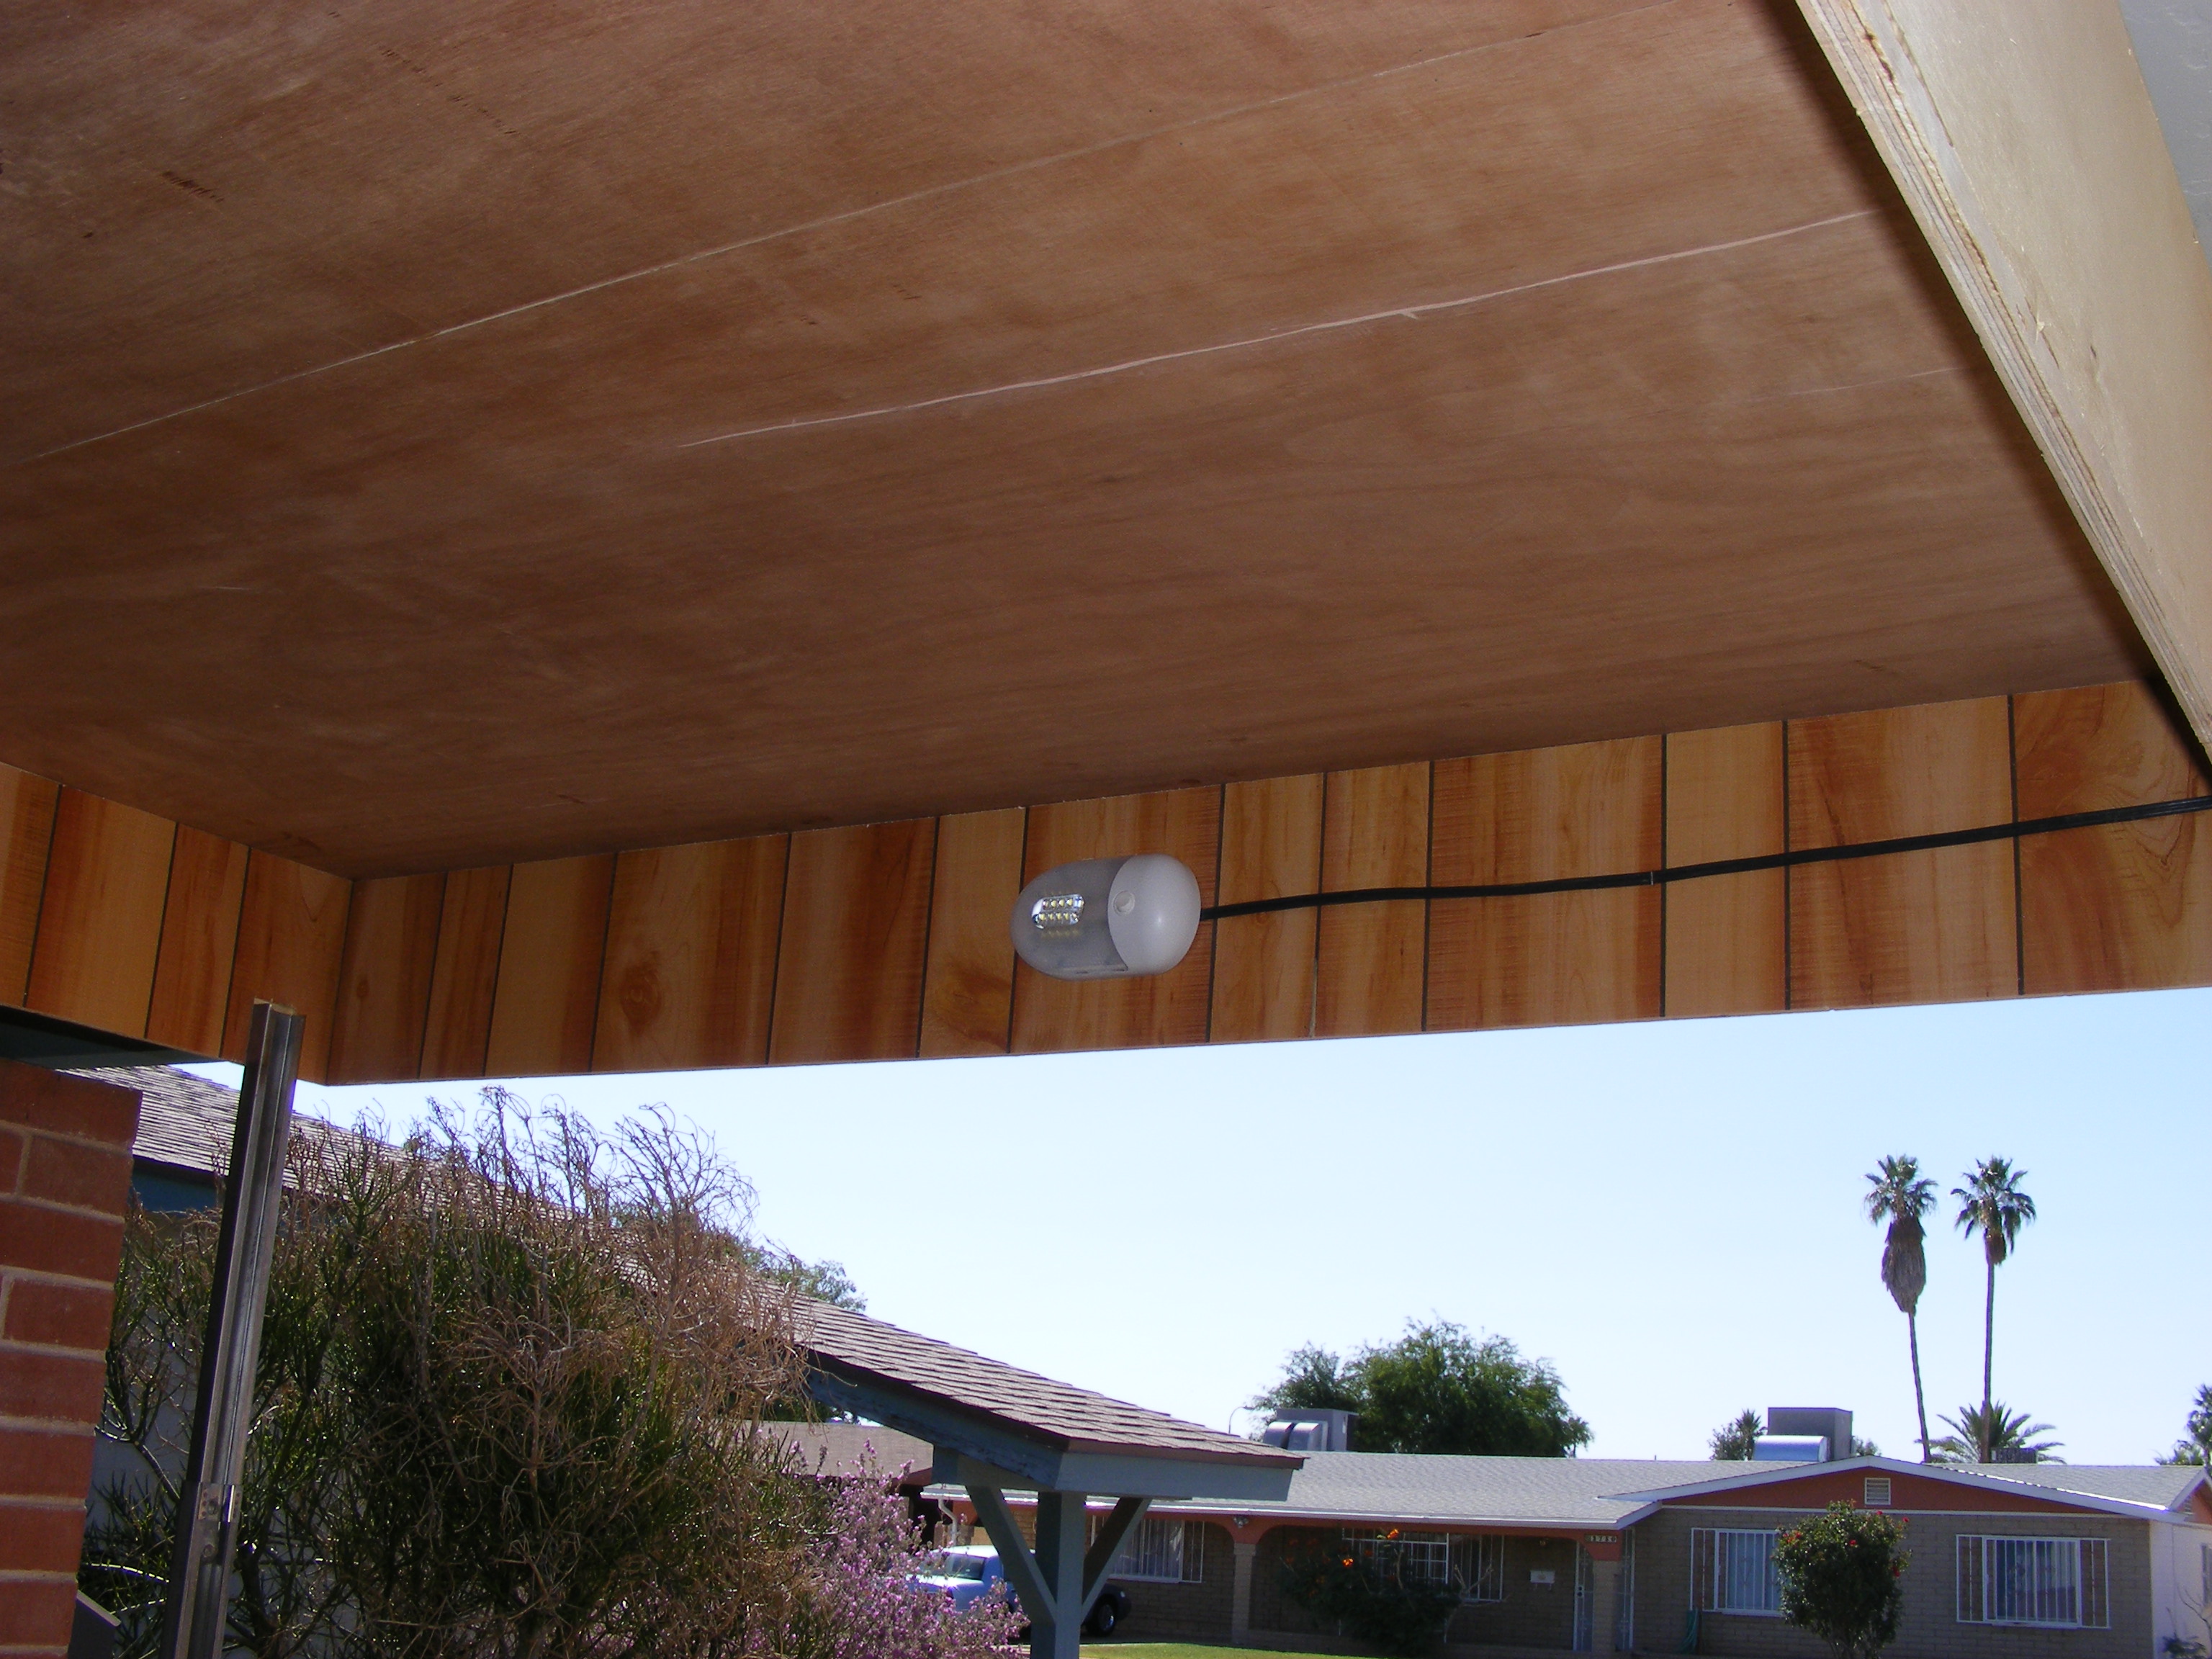
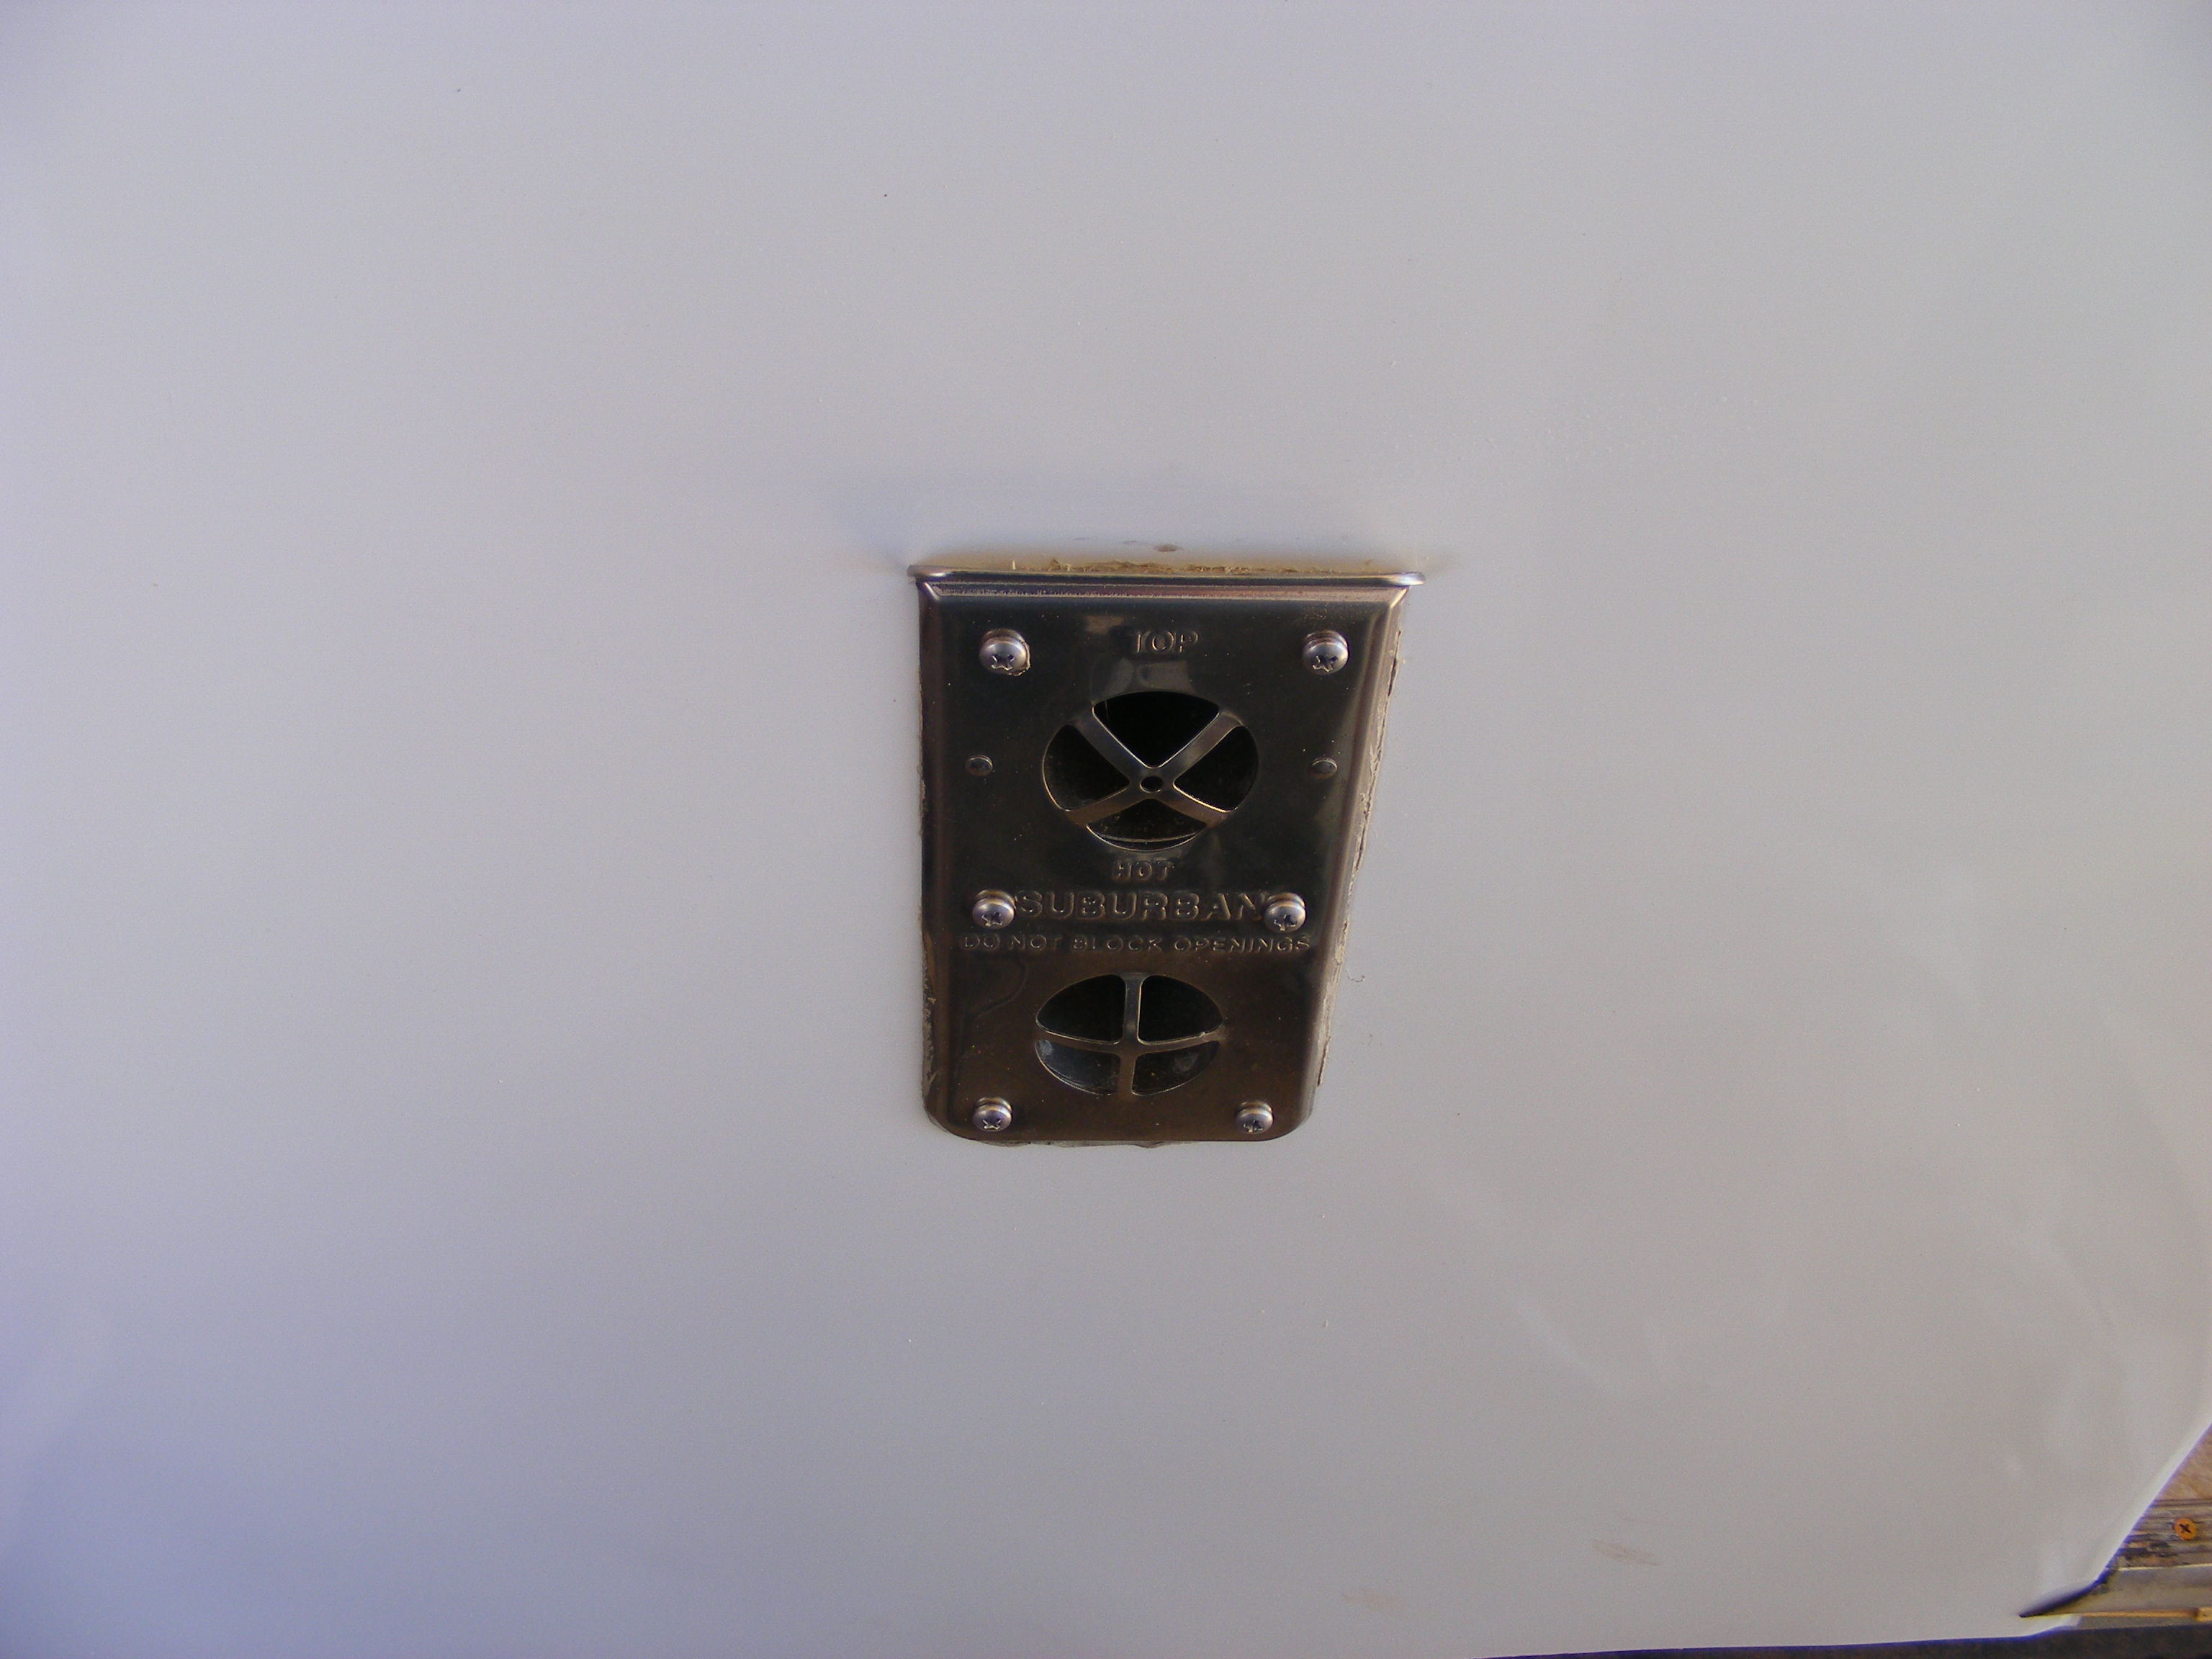
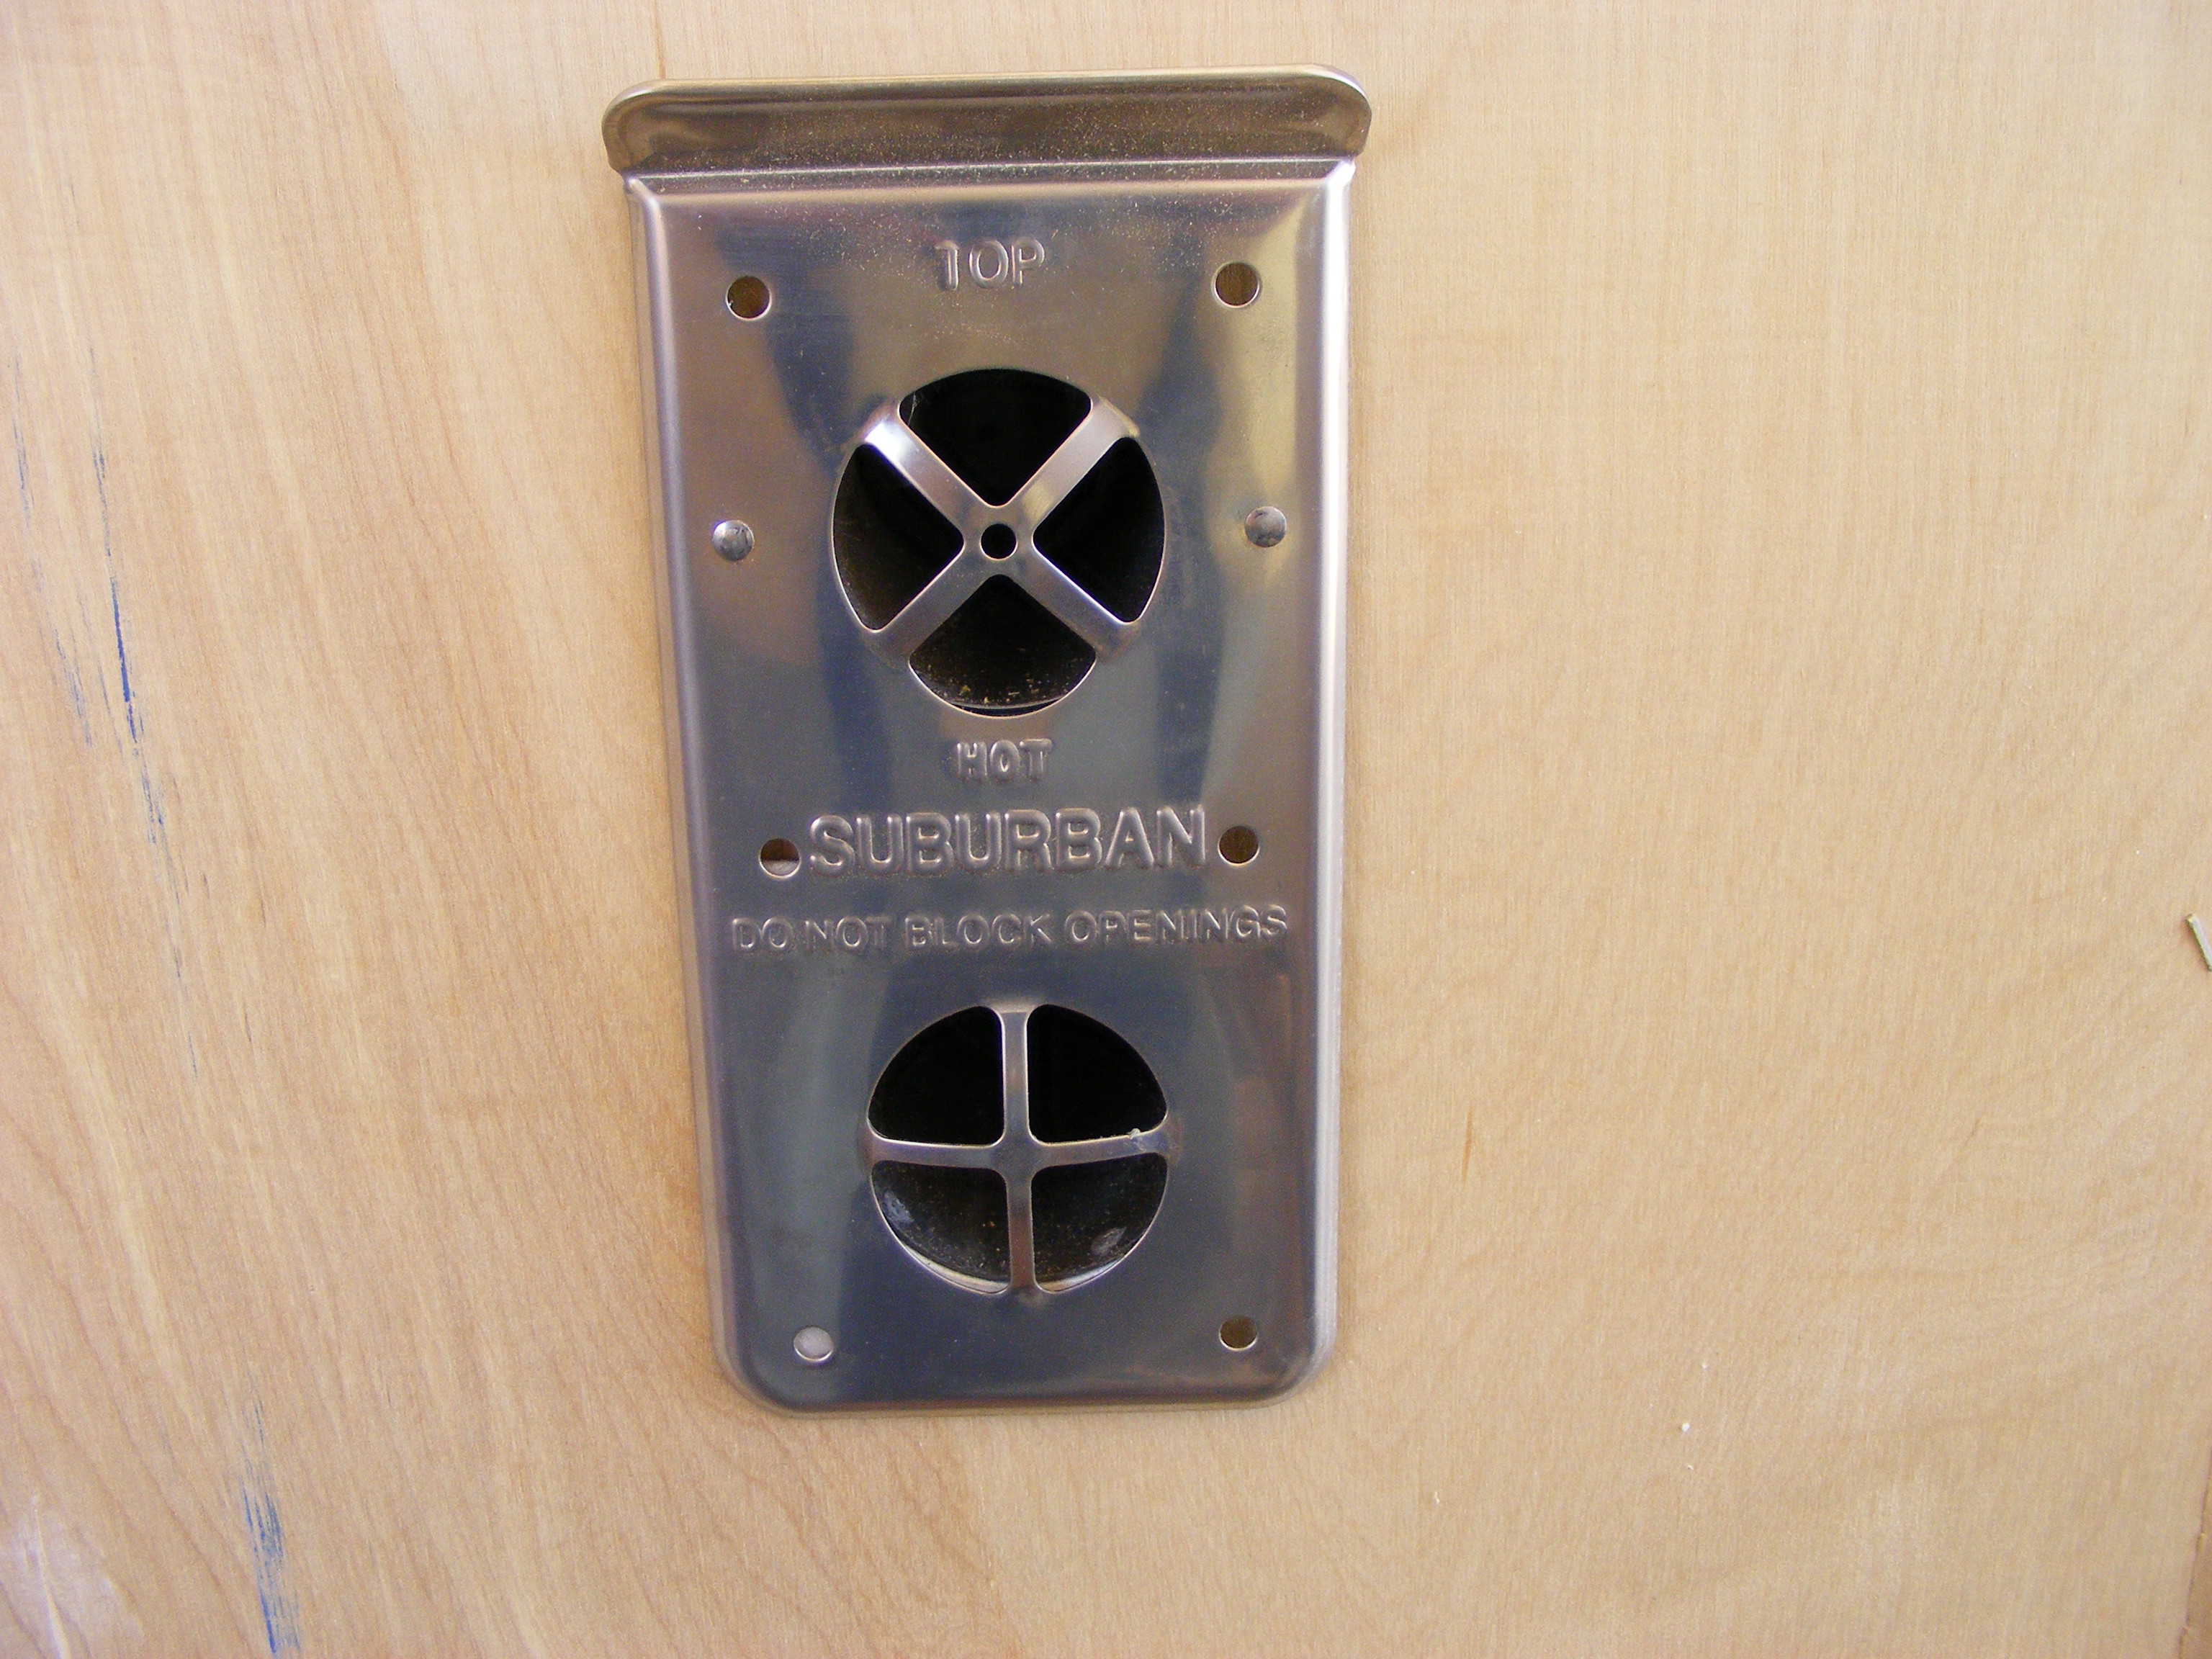
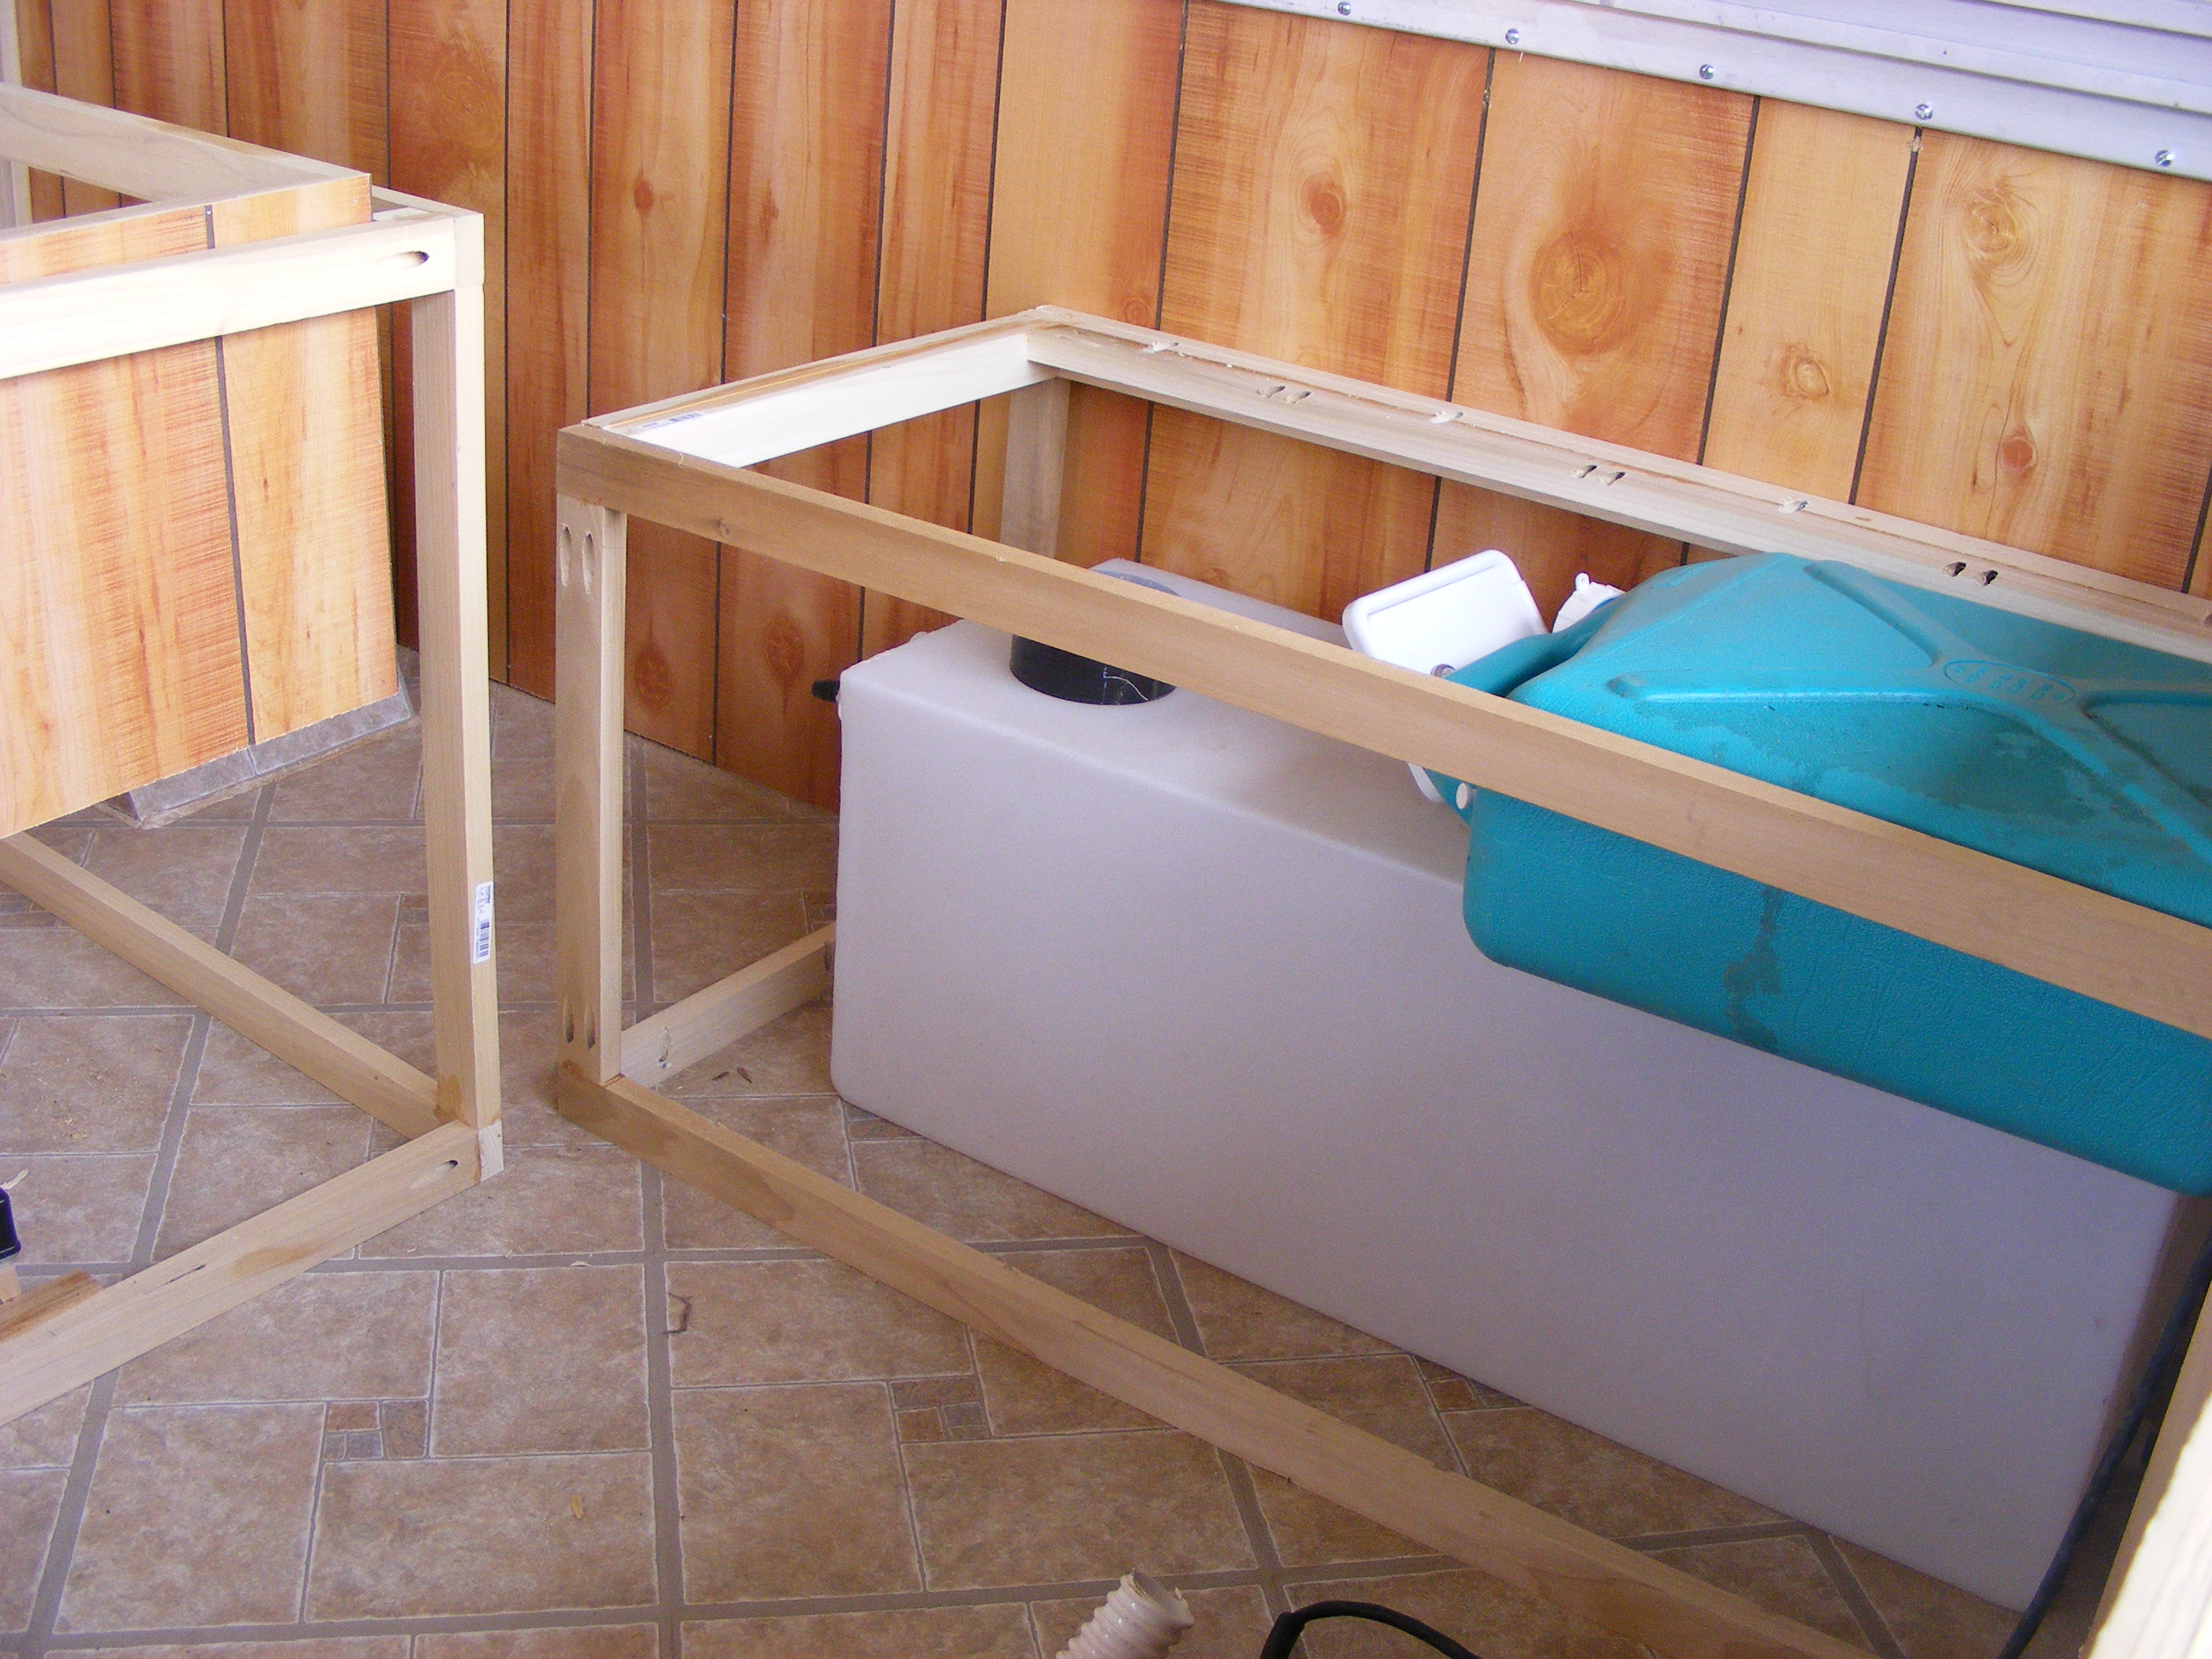
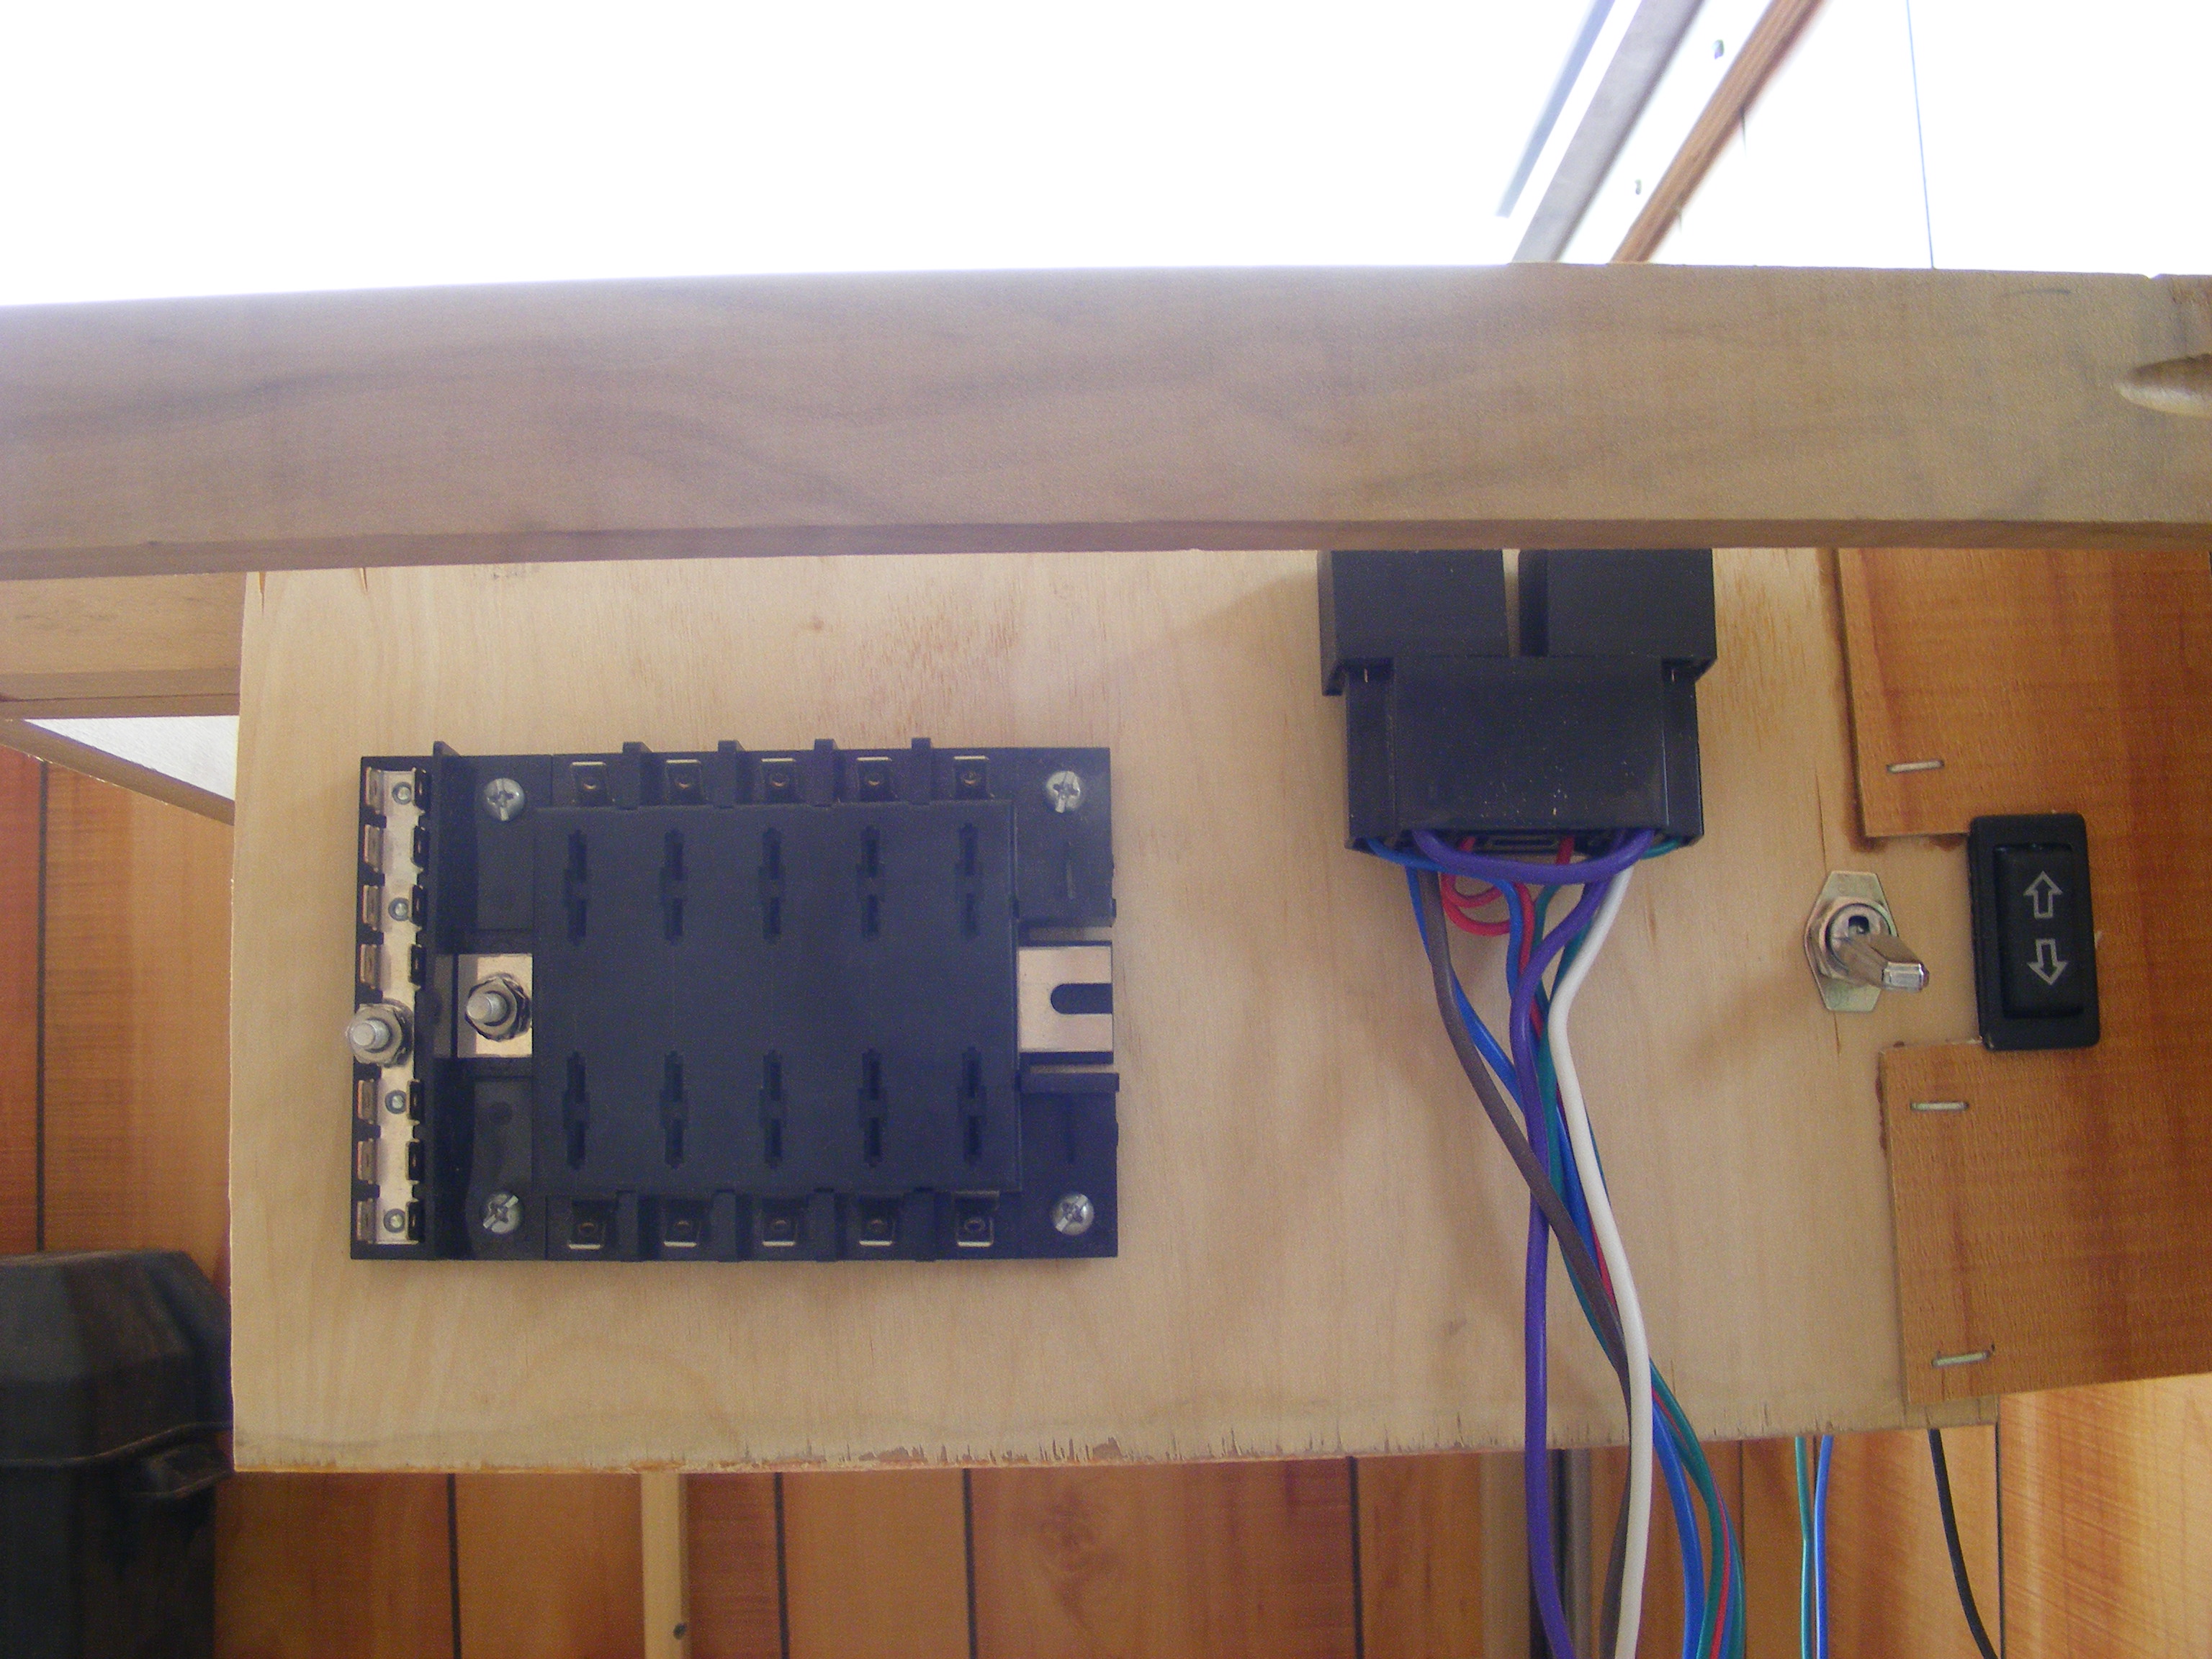
There was a lot of progress made on the trailer this weekend. I got the running lights wired to the hazard switch, and then I got that wired into the junction box and the junction box wired up to a 7 prong trailer plug. I also got the two circuits for the pumps run, and two circuits for the lights run. The interior lights are installed and working, and the porch light has a wire run via a switch by the door. With the exception of attaching the porch light, which will be done after the roof skin gets put on, the electrical work is complete! After that, with Sam’s help, we got the lifter cables adjusted so that all four corners lift to the same height, and while I was crawling around under the trailer, we also got the copper lines for the propane run. The furnace is now properly vented on the outside and hooked up to propane, and it works great! The line for the water heater & stove is in place with the valve shut off for now so the furnace could be tested. Those will be hooked up with a couple of 3/8″ flare hoses that I need to pick up, but other than hooking up those hoses, the propane work is basically done! The final task of the weekend was to bolt the wheels back on now that the work under the trailer is out of the way. There’s still a hole to drill for the drain, but that will be towards the edge of the trailer, so the wheels won’t be in the way for that. Next weekend I need to get the aluminum for the roof ordered, and then I need to start working on installing a ton of T-nuts for the track that holds the canvas at the top. Those have to be in before the roof can be skinned. After that will be doing the plumbing for the water system.
trailer

Made good progress on the trailer!
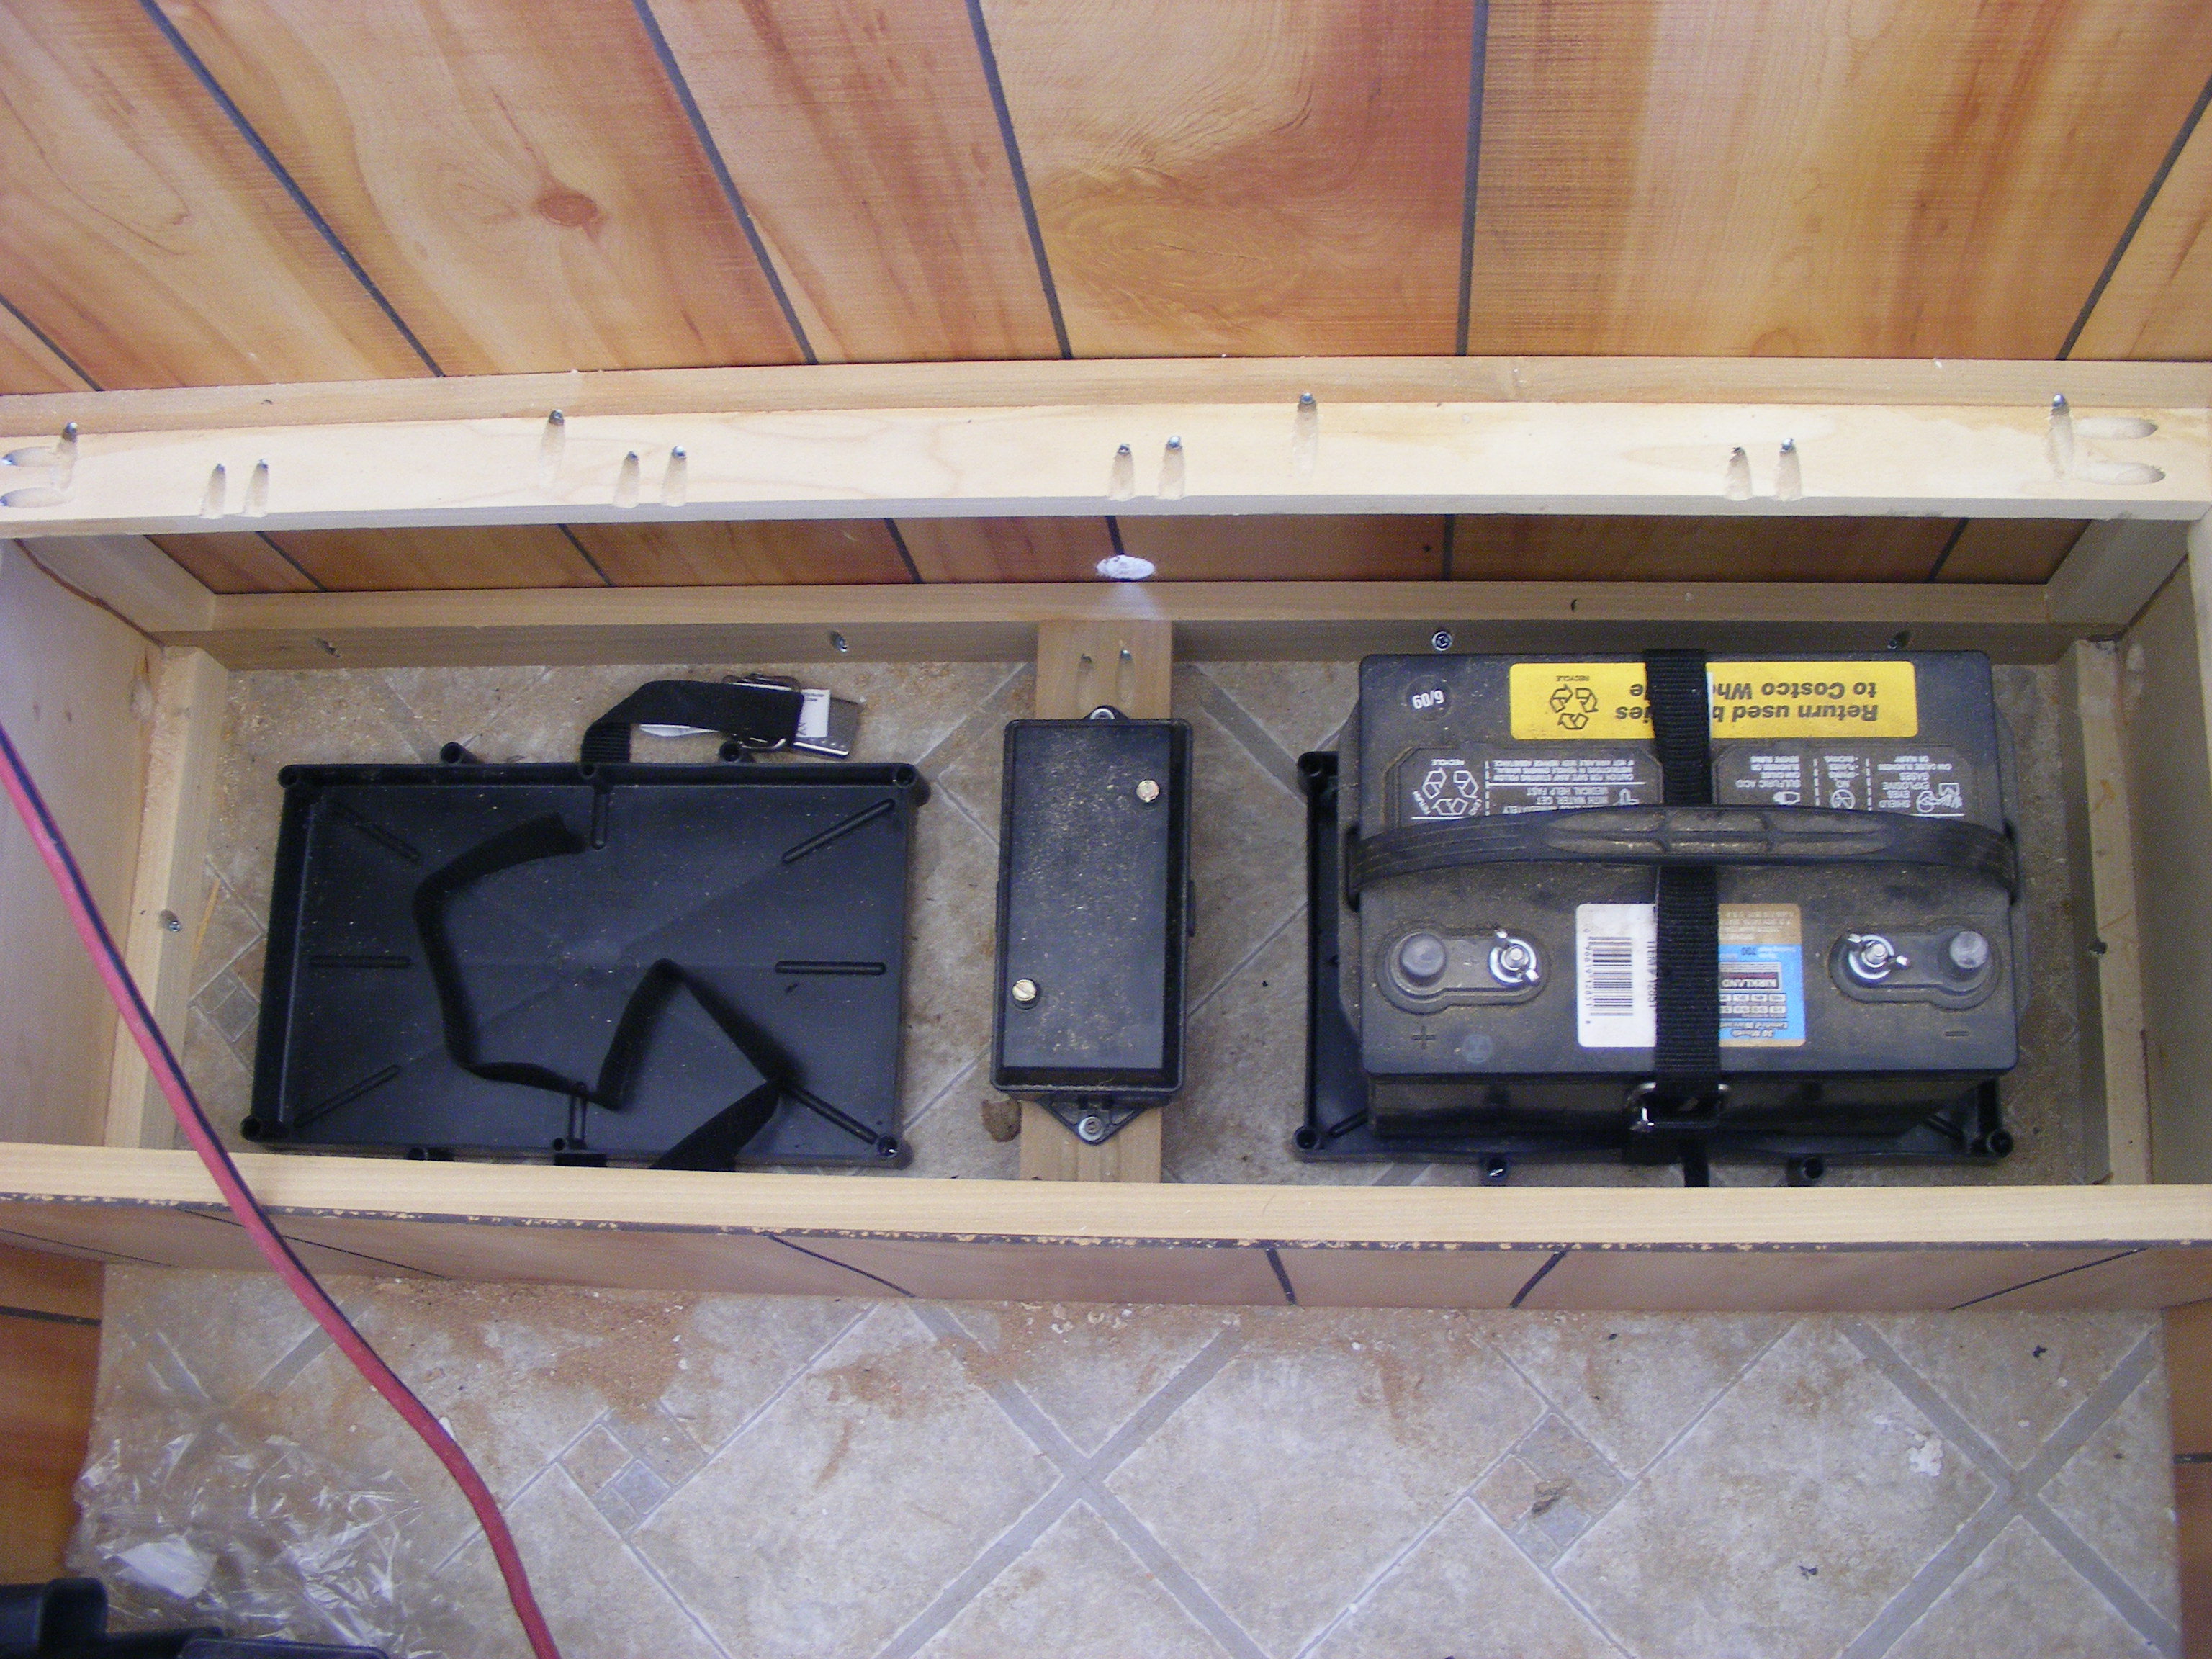
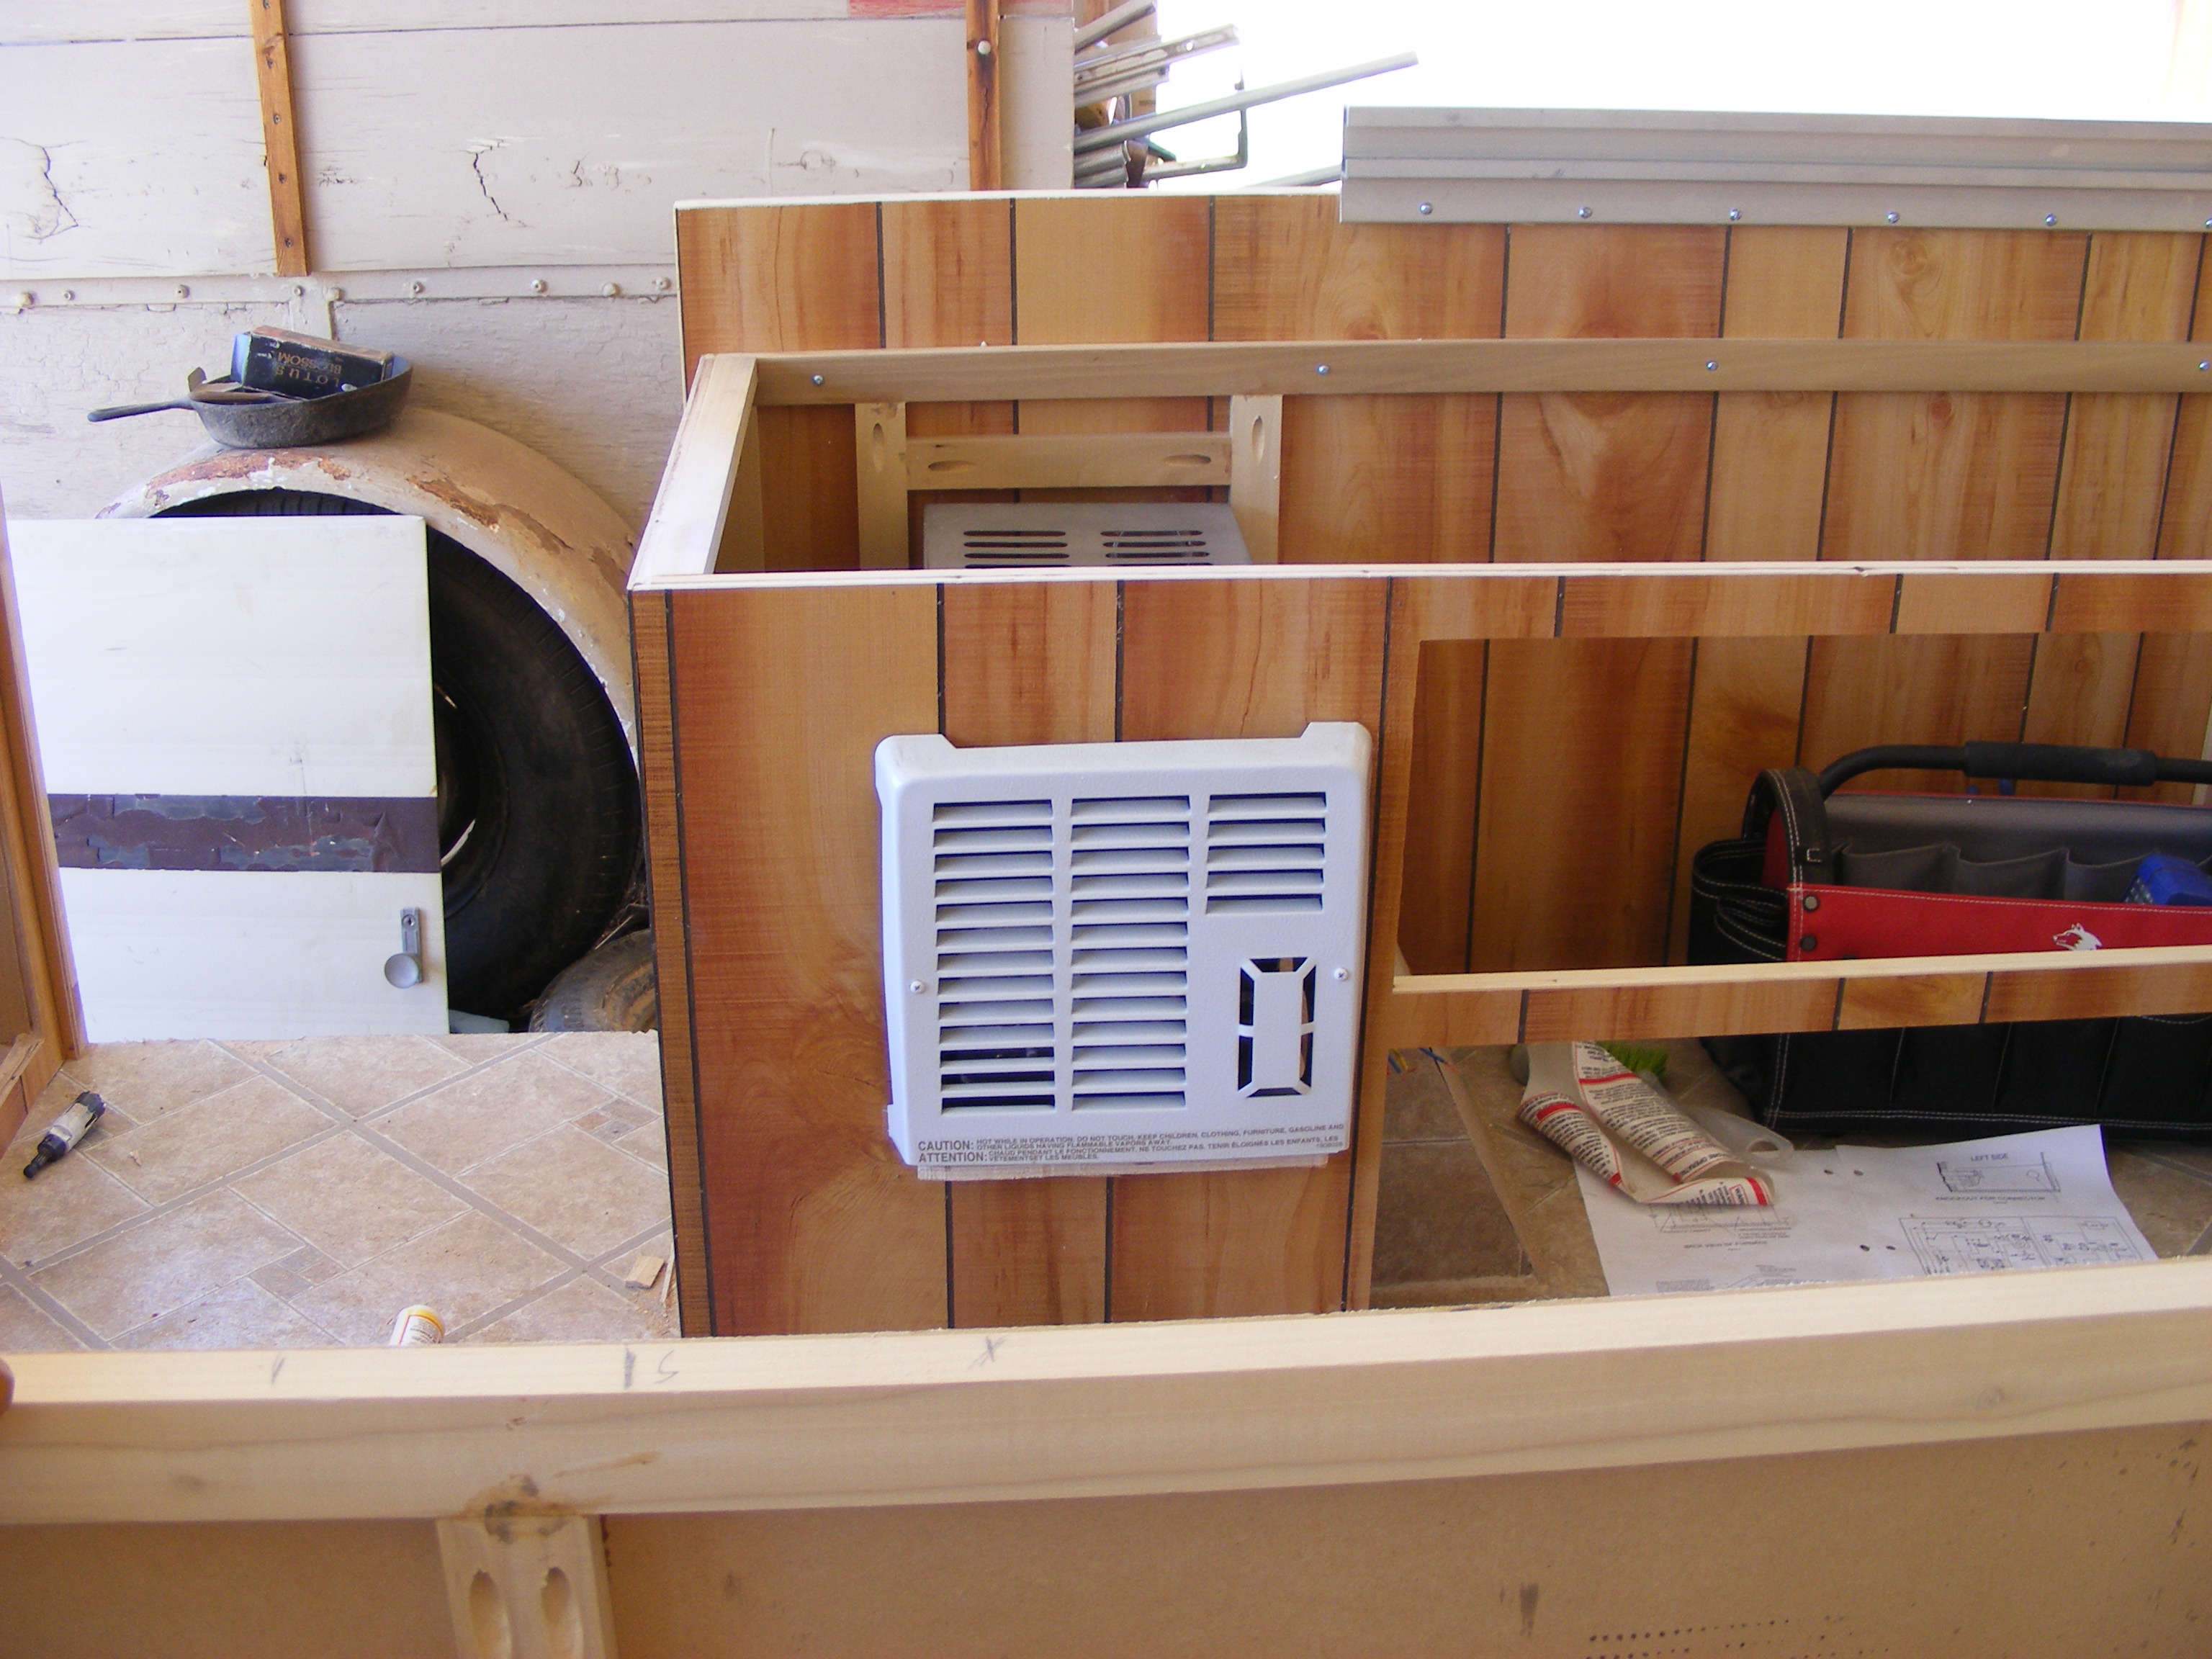
This weekend I wasn’t sure how much I would get done with it being Easter, but I managed to get some work done. I cut the holes for the water fill hatch and the outside shower. Then I located and drilled the two holes for the furnace. Since the furnace vents are a slip fit from the outside, I went ahead and screwed the furnace into it’s final position. The hatches are just sitting there for now; they will be installed properly after the exterior skin is in place. After that I installed the two battery trays. The trays are a bit longer than my current batteries, but I want the ability to upgrade to group 27 sized batteries in the future. The straps hold the batteries securely in position despite the size difference. After that, there was still a good bit of daylight, so I wired the two batteries into the junction box via 50 A circuit breakers. Then I wired the junction box to the fuse panel via a switch, and I got the first interior circuit run. I wired the linear actuator relay circuit to the fuse panel, and then ran a wire around the inside of the cabinetry to the kitchen cabinet and hooked up the actuators. There’s still circuits to run for lighting, power sockets, water pumps, and the furnace, but those will be easy. The winch, however, will take some doing since it’s pre-wired and bound together, it’ll take some finagling to get it to cooperate and hook into the junction box. Not sure if that will be next weekend or not, but stay tuned to find out.

Finally got some time in on the trailer this weekend.
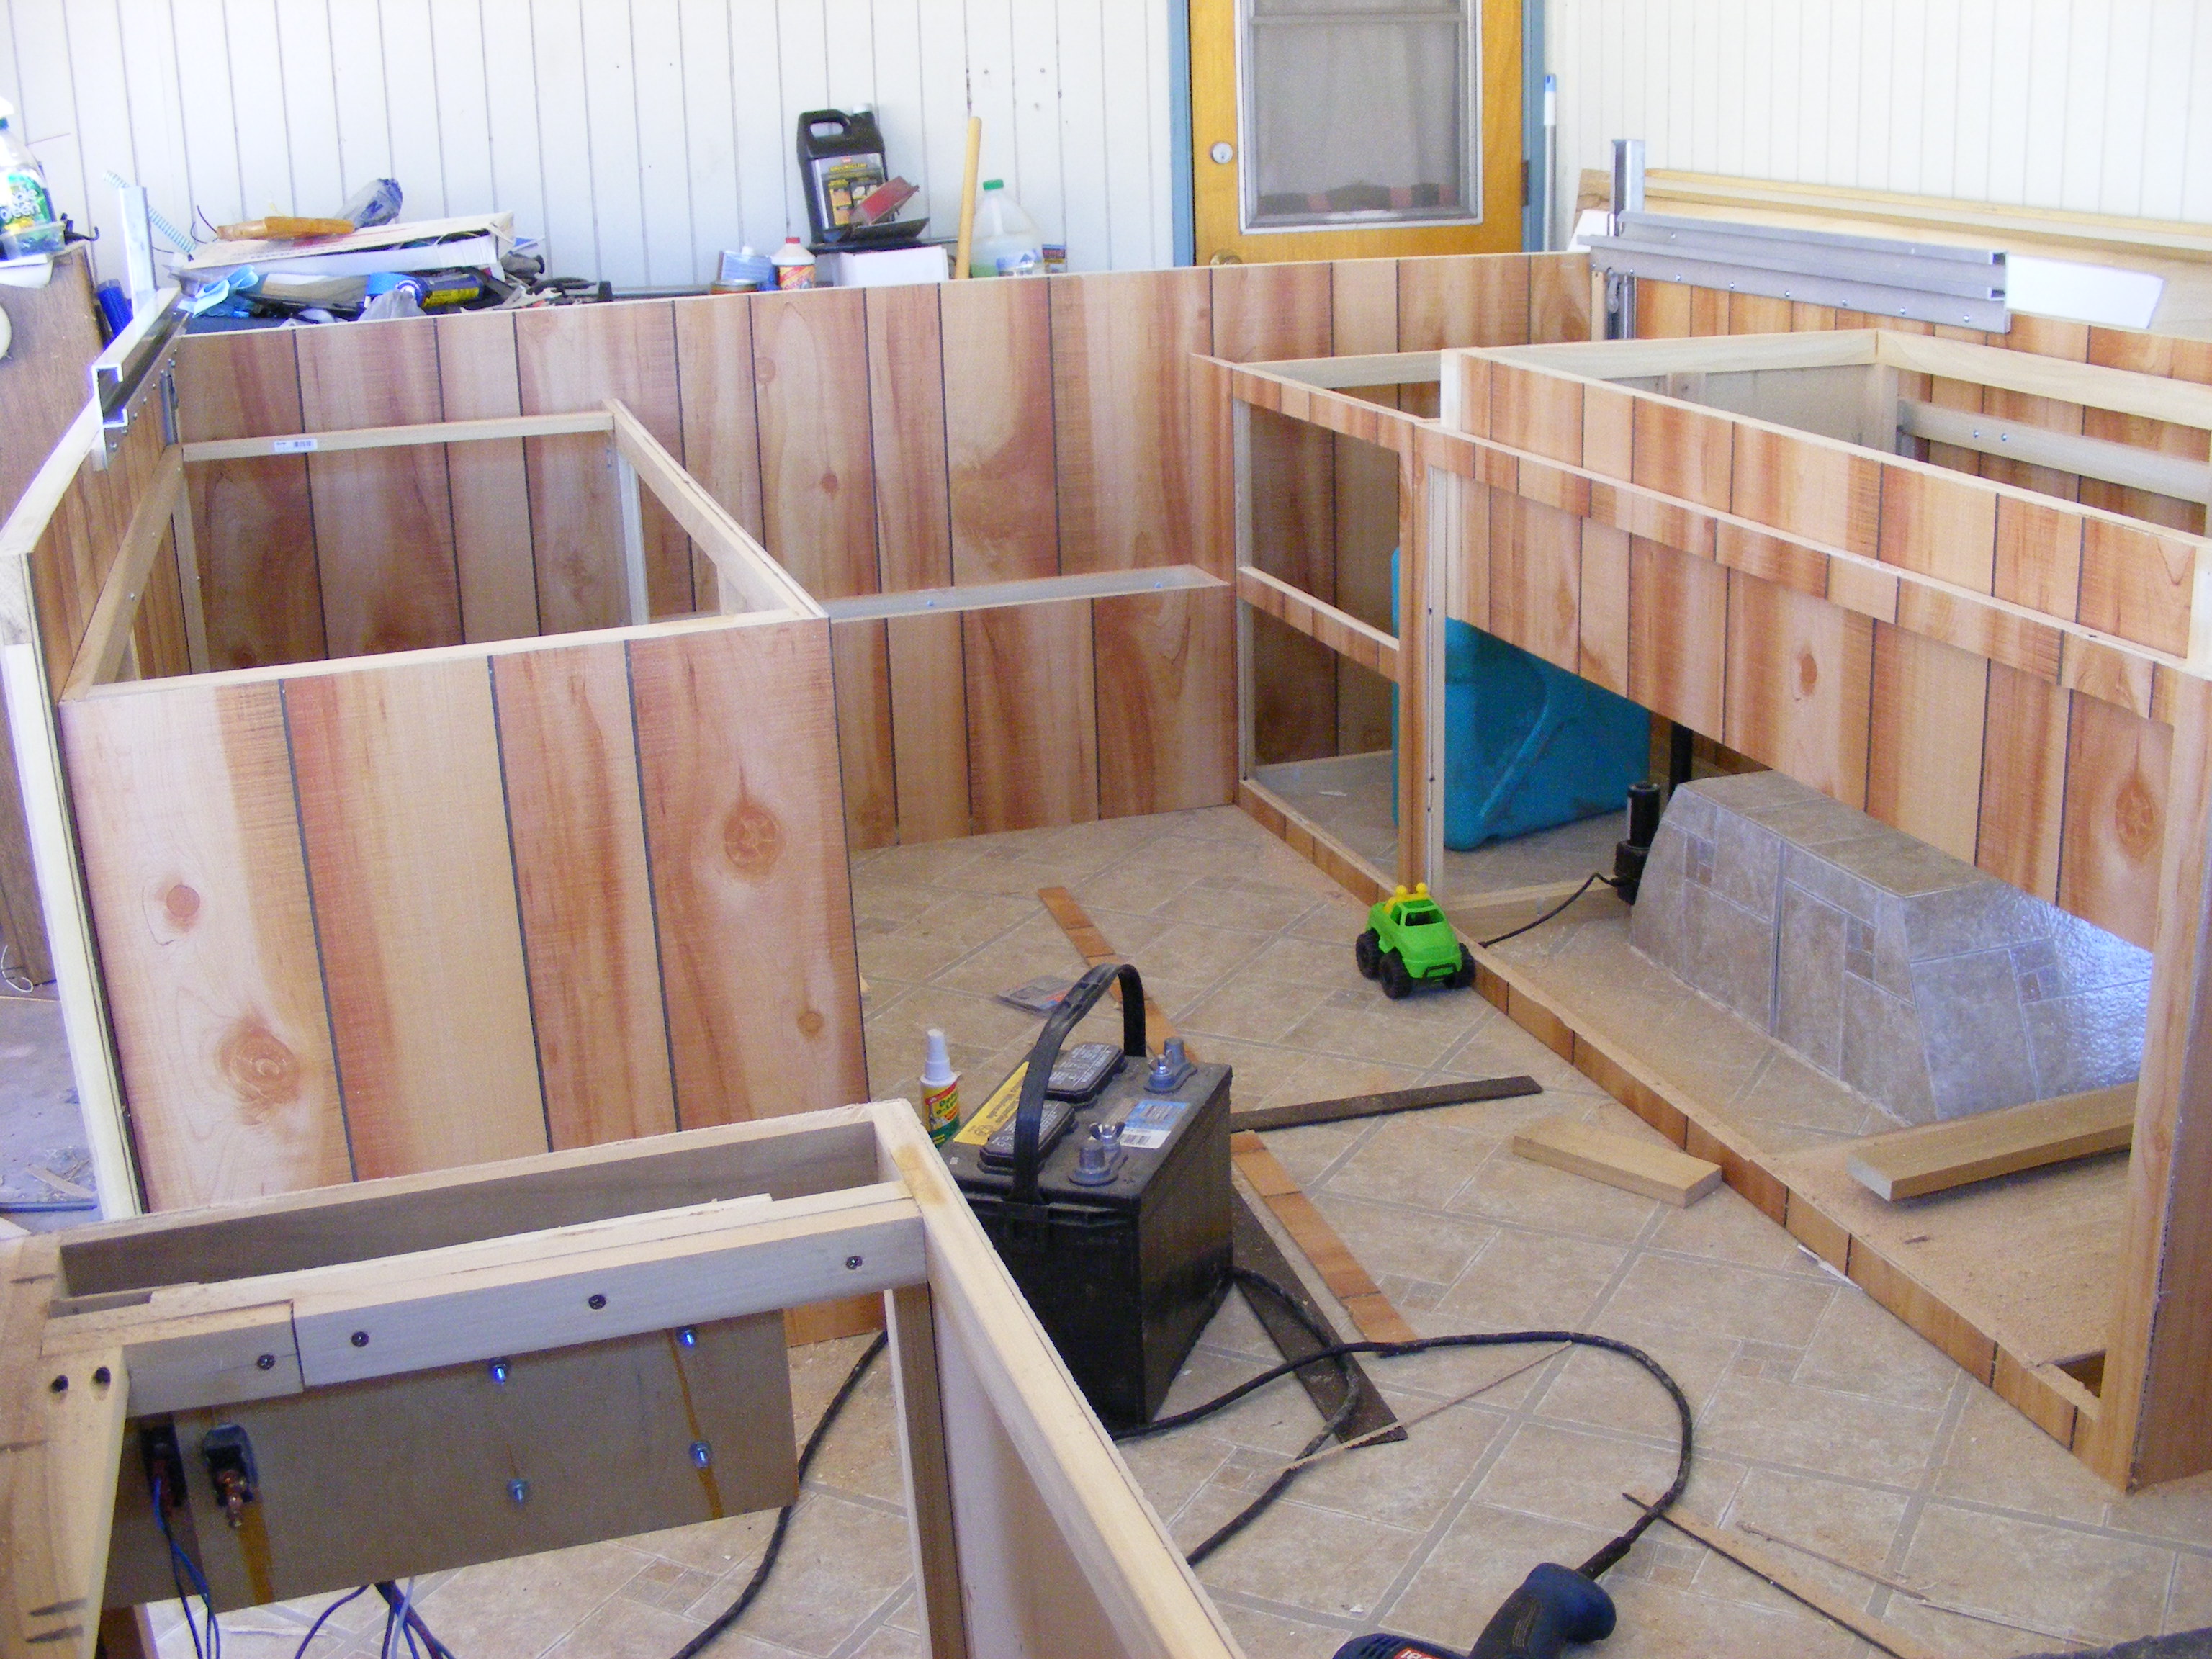
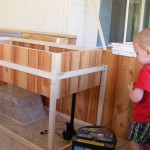
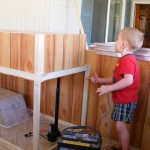
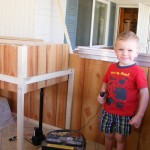
This weekend, I finished the cabinet frames, then framed in the drawer openings, installed all the cabinets, and put the paneling on them. I had previously believed that with a variety of rotary tools, die grinders, and 1/4″ routers that I had no need for a rotozip, and boy was I wrong. I picked up a rotozip yesterday and it kicks serious butt doing paneling work. The work would have been slow and painful with a rotary tool, and the router would have been too big & bulky to get into the tight spaces; the rotozip had plenty of power and speed, but it’s small enough to fit in the palm of your hand for the tight spaces.
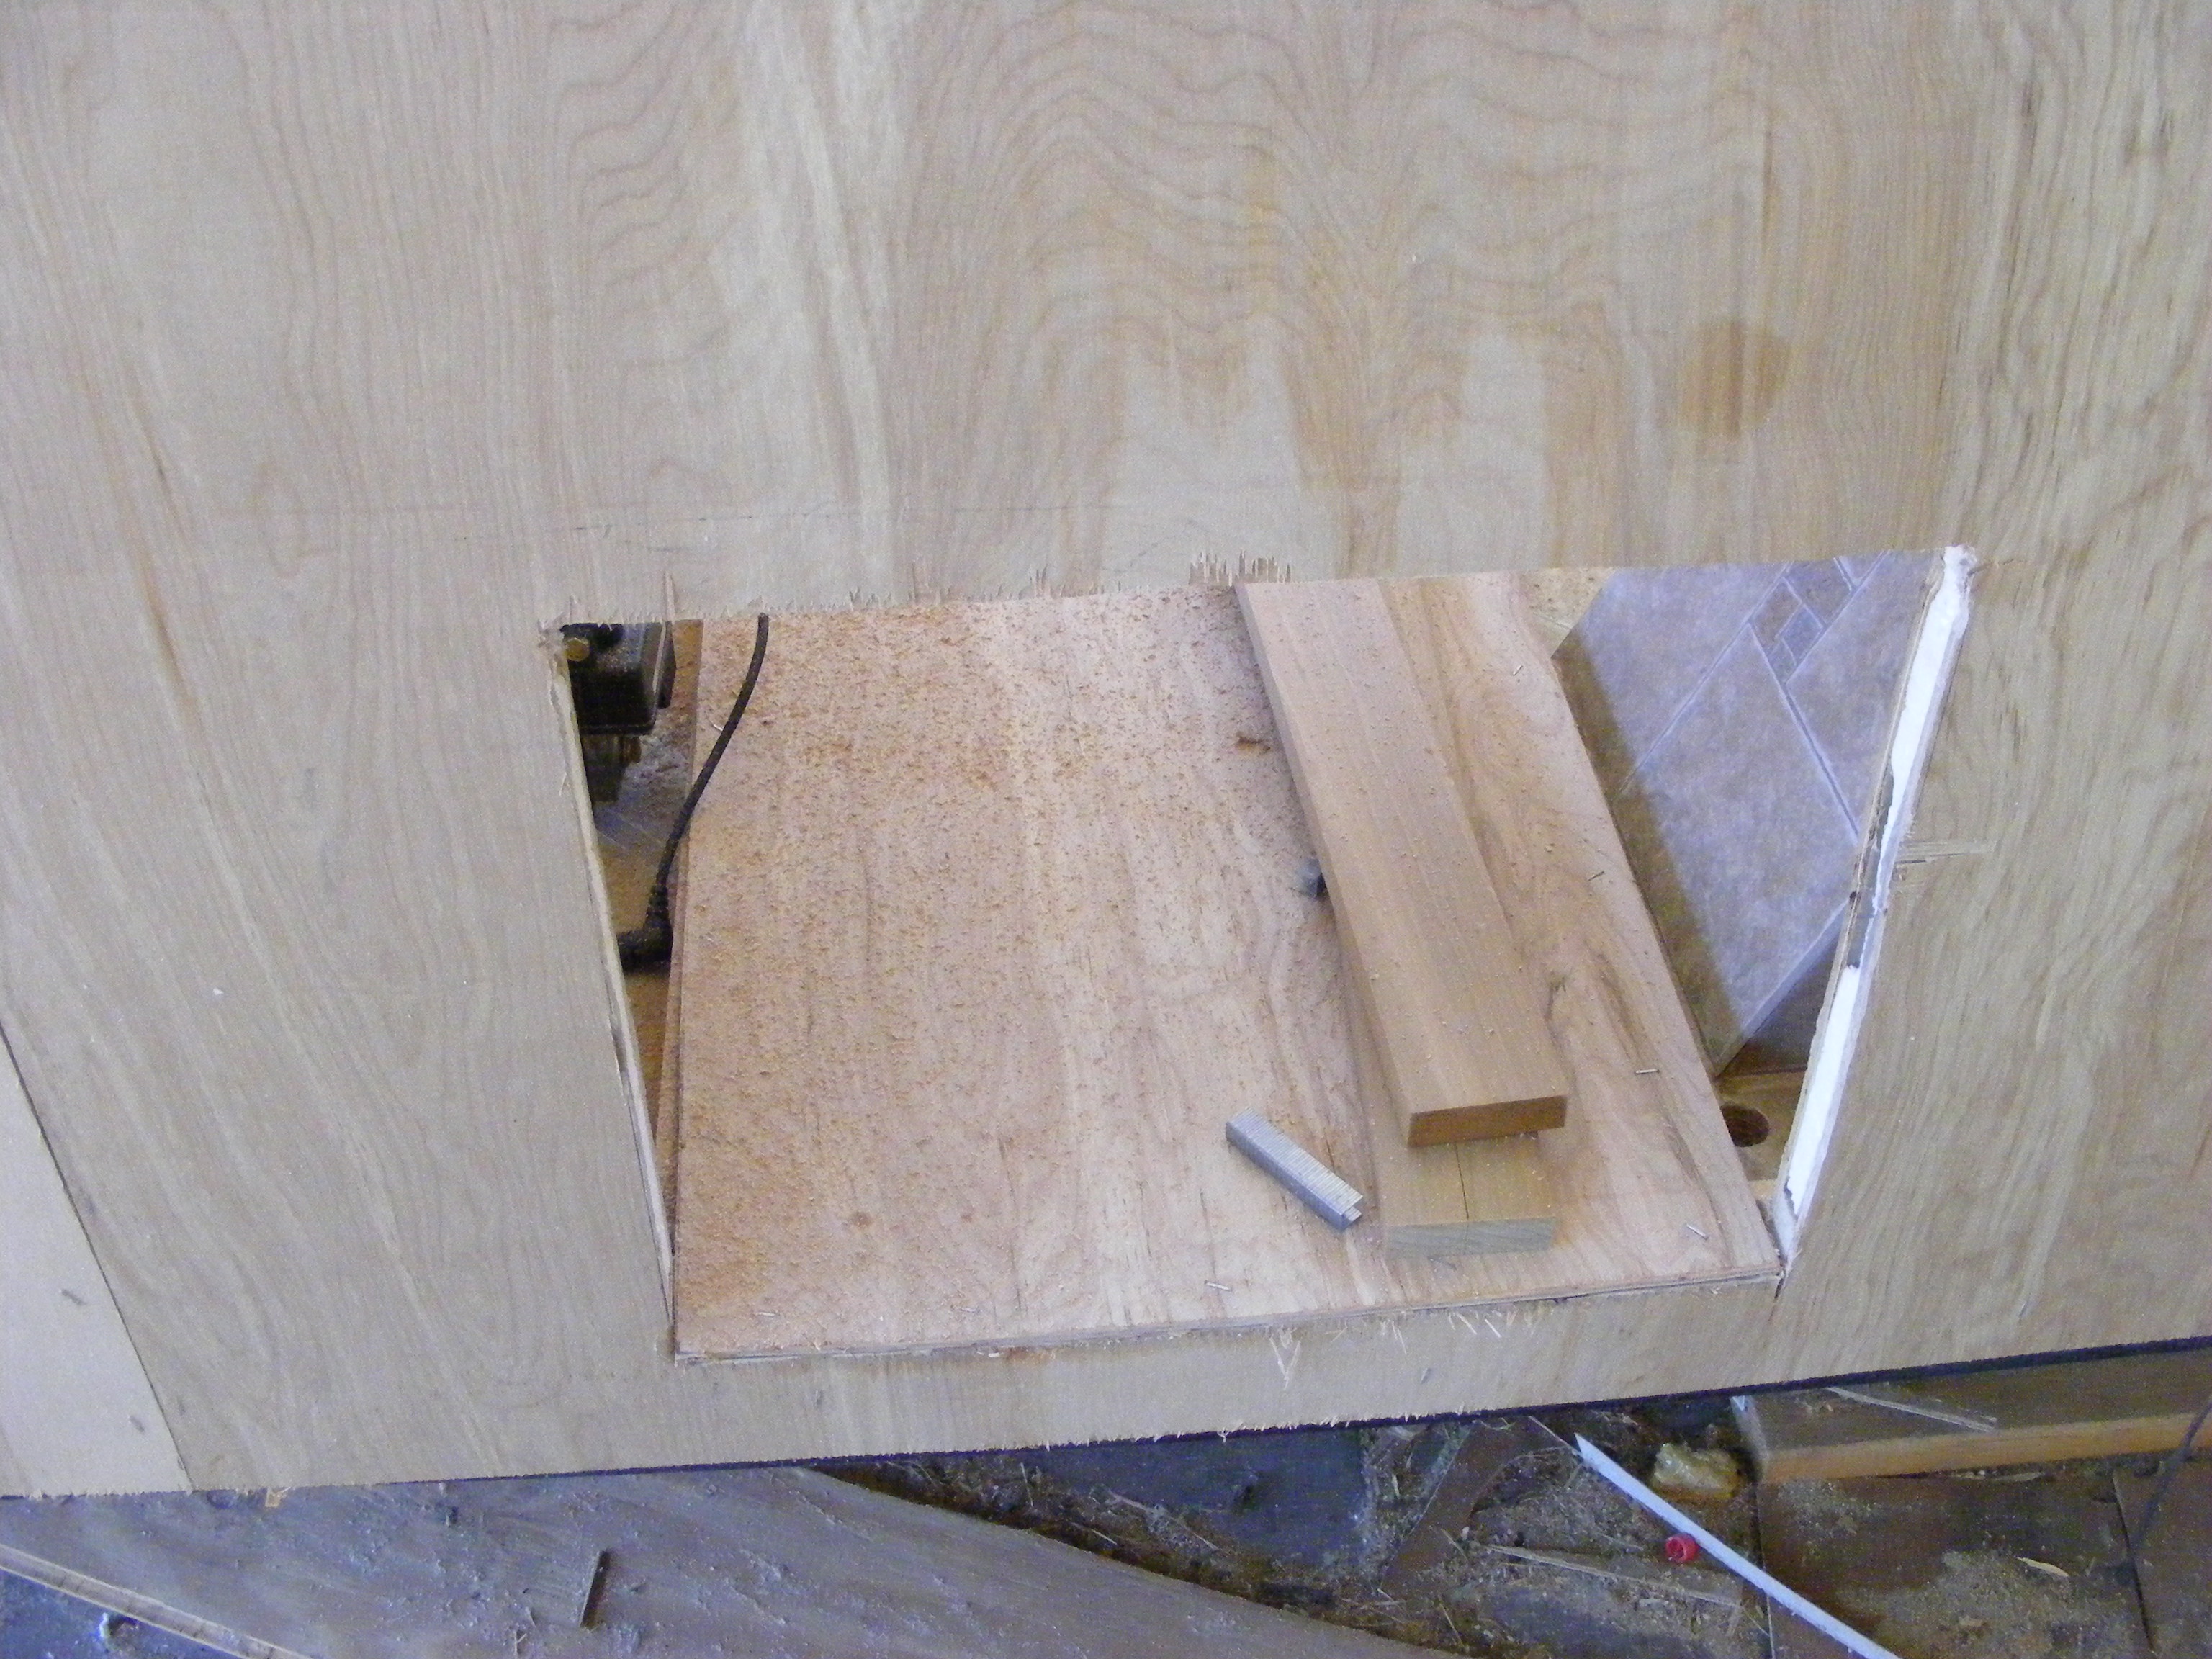
With all the cabinets installed, I drilled and cut the various holes I need for wiring and plumbing. I also cut the hole in the exterior wall for the water heater and built the platform that it will be installed on. Next on the project list is to finally run all the wiring! There’s also a few more holes to make in the exterior for the water fill compartment, the exterior shower, and two small holes for the furnace intake & exhaust.

More progress on the benches
This weekend I cut and installed the blocking for the bench seating, started installing the electrical, test fit the water tank, adjusted the linear actuators, and installed the bench seating. I also figured out where the batteries and the junction box will be installed.
Next on the list is building and installing the battery compartment, then installing the rest of the cabinets. With the cabinets installed, it will be time to start cutting into the walls and floor for appliances, wiring, plumbing, etc.

Finally got more work done on the trailer
After three weekends of problems, I was finally able to get some work done on the trailer this weekend. I managed to get two of the three bench seats framed up. They still need the blocking to support the seat, and then the bench going across between them will be the last cabinet to frame. After that, there’s some work to do getting holes cut for the appliances and getting the cabinet frames firmly attached to the trailer. Once that’s done I can work on plumbing, electrical, & LP gas.
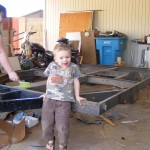
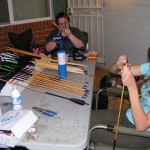
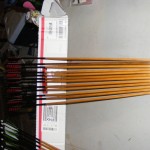
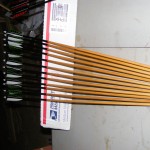
There was also some extra distraction this weekend. Kristen came by and we had a bit of an arrow making workshop, so Kristen, Jenn & I all have new sets of arrows!


Rainy weekend, so only a little bit of progress
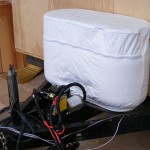
Between all the rain this weekend making it impractical to setup my table & power tools on the driveway, and Jenn hurting her ankle rather badly, not much got done this weekend. However, two important bits did get done and can be checked off the list. The rack for the dual propane tanks, cover, and automatic switch-over showed up, so I got all those installed. I also figured out a good way to get the electric winch elevated above the channel and installed with a pulley to get the cable running exactly where it needs to go. Once I get the roof built (that won’t be for a while), I’ll give the winch it’s final adjustments.
Next on the list is building a small platform over the winch that the battery box will sit on. I also still need to adjust the linear actuators. Pulling those off to adjust them is best done with the table on the driveway, so perhaps next weekend will be sunny again.


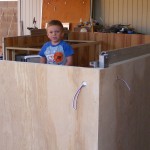
Nathan gives a tour of this weekend’s trailer progress.
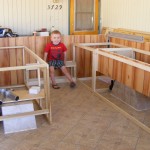
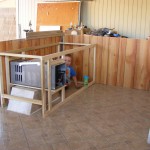
We made some more progress on the trailer this weekend. The big event is the kitchen cabinet is framed in. Next to it we have the other drawer cabinet framed up, and the step to get up into the bed is sitting at the end. There will be enough room under the kitchen cabinet for the water heater and water pump, so that’s good news too. We even got the wiring harness for the linear actuators done, and you can see in the pictures that Nathan gives a pretty good demo as to how it works.
Next on the list is adjusting the stroke length of the actuators to make them identical, framing up the bench seating, and then going back outside to figure out how everything is going to fit on the tongue of the trailer.

This weekend’s progress
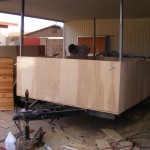
We made some good progress on the trailer this weekend. On Saturday, the interior paneling was installed, and the spacers for the bed rails were glued & screwed into place. Then on Sunday, I sanded the top edge of the walls, installed the bed rails, screwed the lifters to the floor, and started work on the first cabinet. Eventually, there will be two drawers in that cabinet, and the slot for the furnace is there already.
Next weekend, I’ll probably need to start on the cabinet that will hold the sink, & stove since the spacing needs to be somewhat precise. After that cabinet is done, the other two on that wall will simply fill the remaining space.
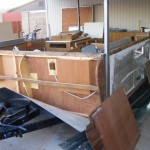
The great trailer rebuild project, part 1 of several…
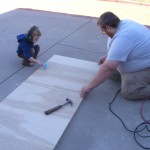
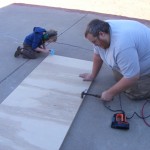
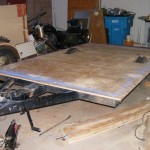
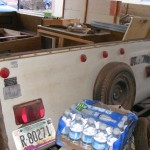
I’m currently working on rebuilding our 1970 Starcraft trailer. Most of these pics have been posted to Facebook already, but since we have wordpress setup for this sort of thing, it seemed like a good idea to use it.