
Spoiler-alert, the fins turn out great!
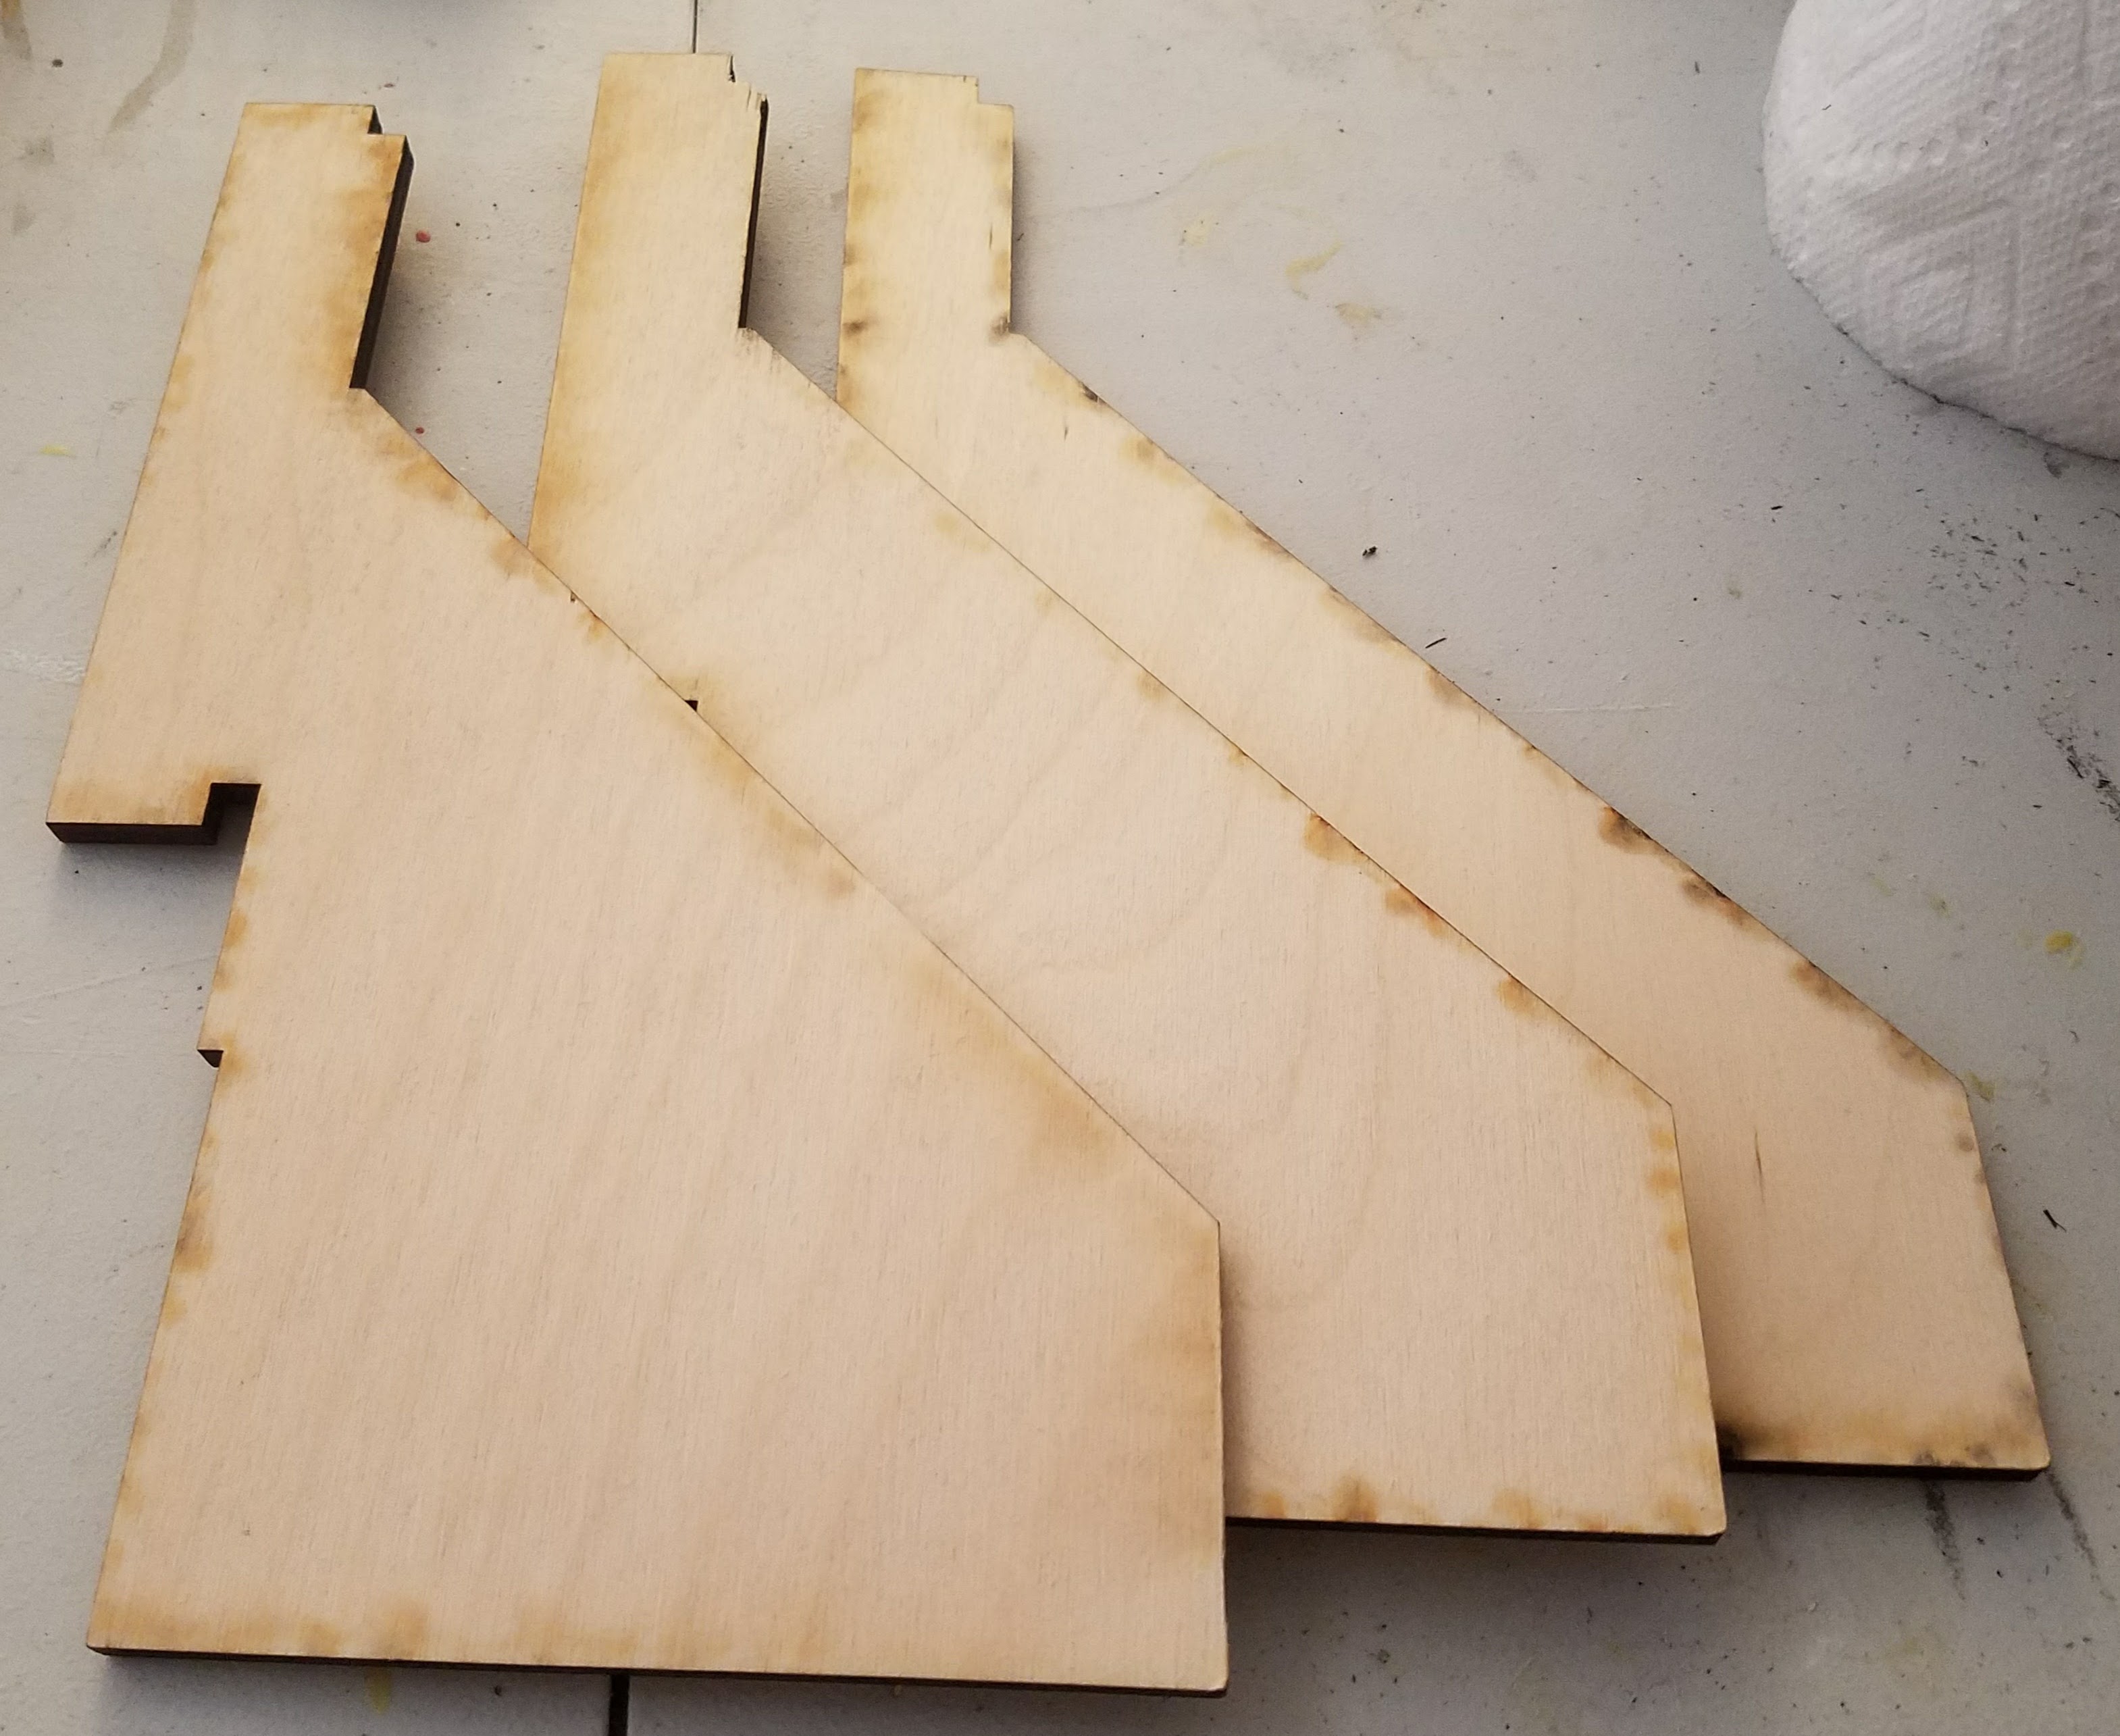
Original laser-cut 1/4″ birch plywood fins.
At the National Sport Launch 2017 in Alamogordo, NM, I picked up a large crayon bank kit from Discount Rocketry. It comes with a 38 mm motor mount and 1/4″ birch plywood laser-cut parts. The kit is nicely put together, but I wanted to do a little something extra with the fins to help ensure a good flight with a J motor in it. My goal was to bevel the fins and laminate them with carbon fiber. I’ve done a small amount of fiberglass work, but I’ve never dealt with carbon fiber, and I’ve never done vacuum bagging before, and both of those would be required for this project. The equipment for this project included a fin beveling jig, a Foodsaver vacuum sealer, a custom edge drilling guide, and a buffing wheel with a polishing compound. The supplies included 5.7 oz carbon fiber cloth, 2 oz fiberglass cloth, laminating epoxy, 100% polyester smooth tightly woven cloth (instead of peel-ply), paper towels (instead of breather material), multiple grits of sandpaper (120, 180, 220, 400, 600, 800, 1500, and 2000), and a 12″ vacuum bag roll.
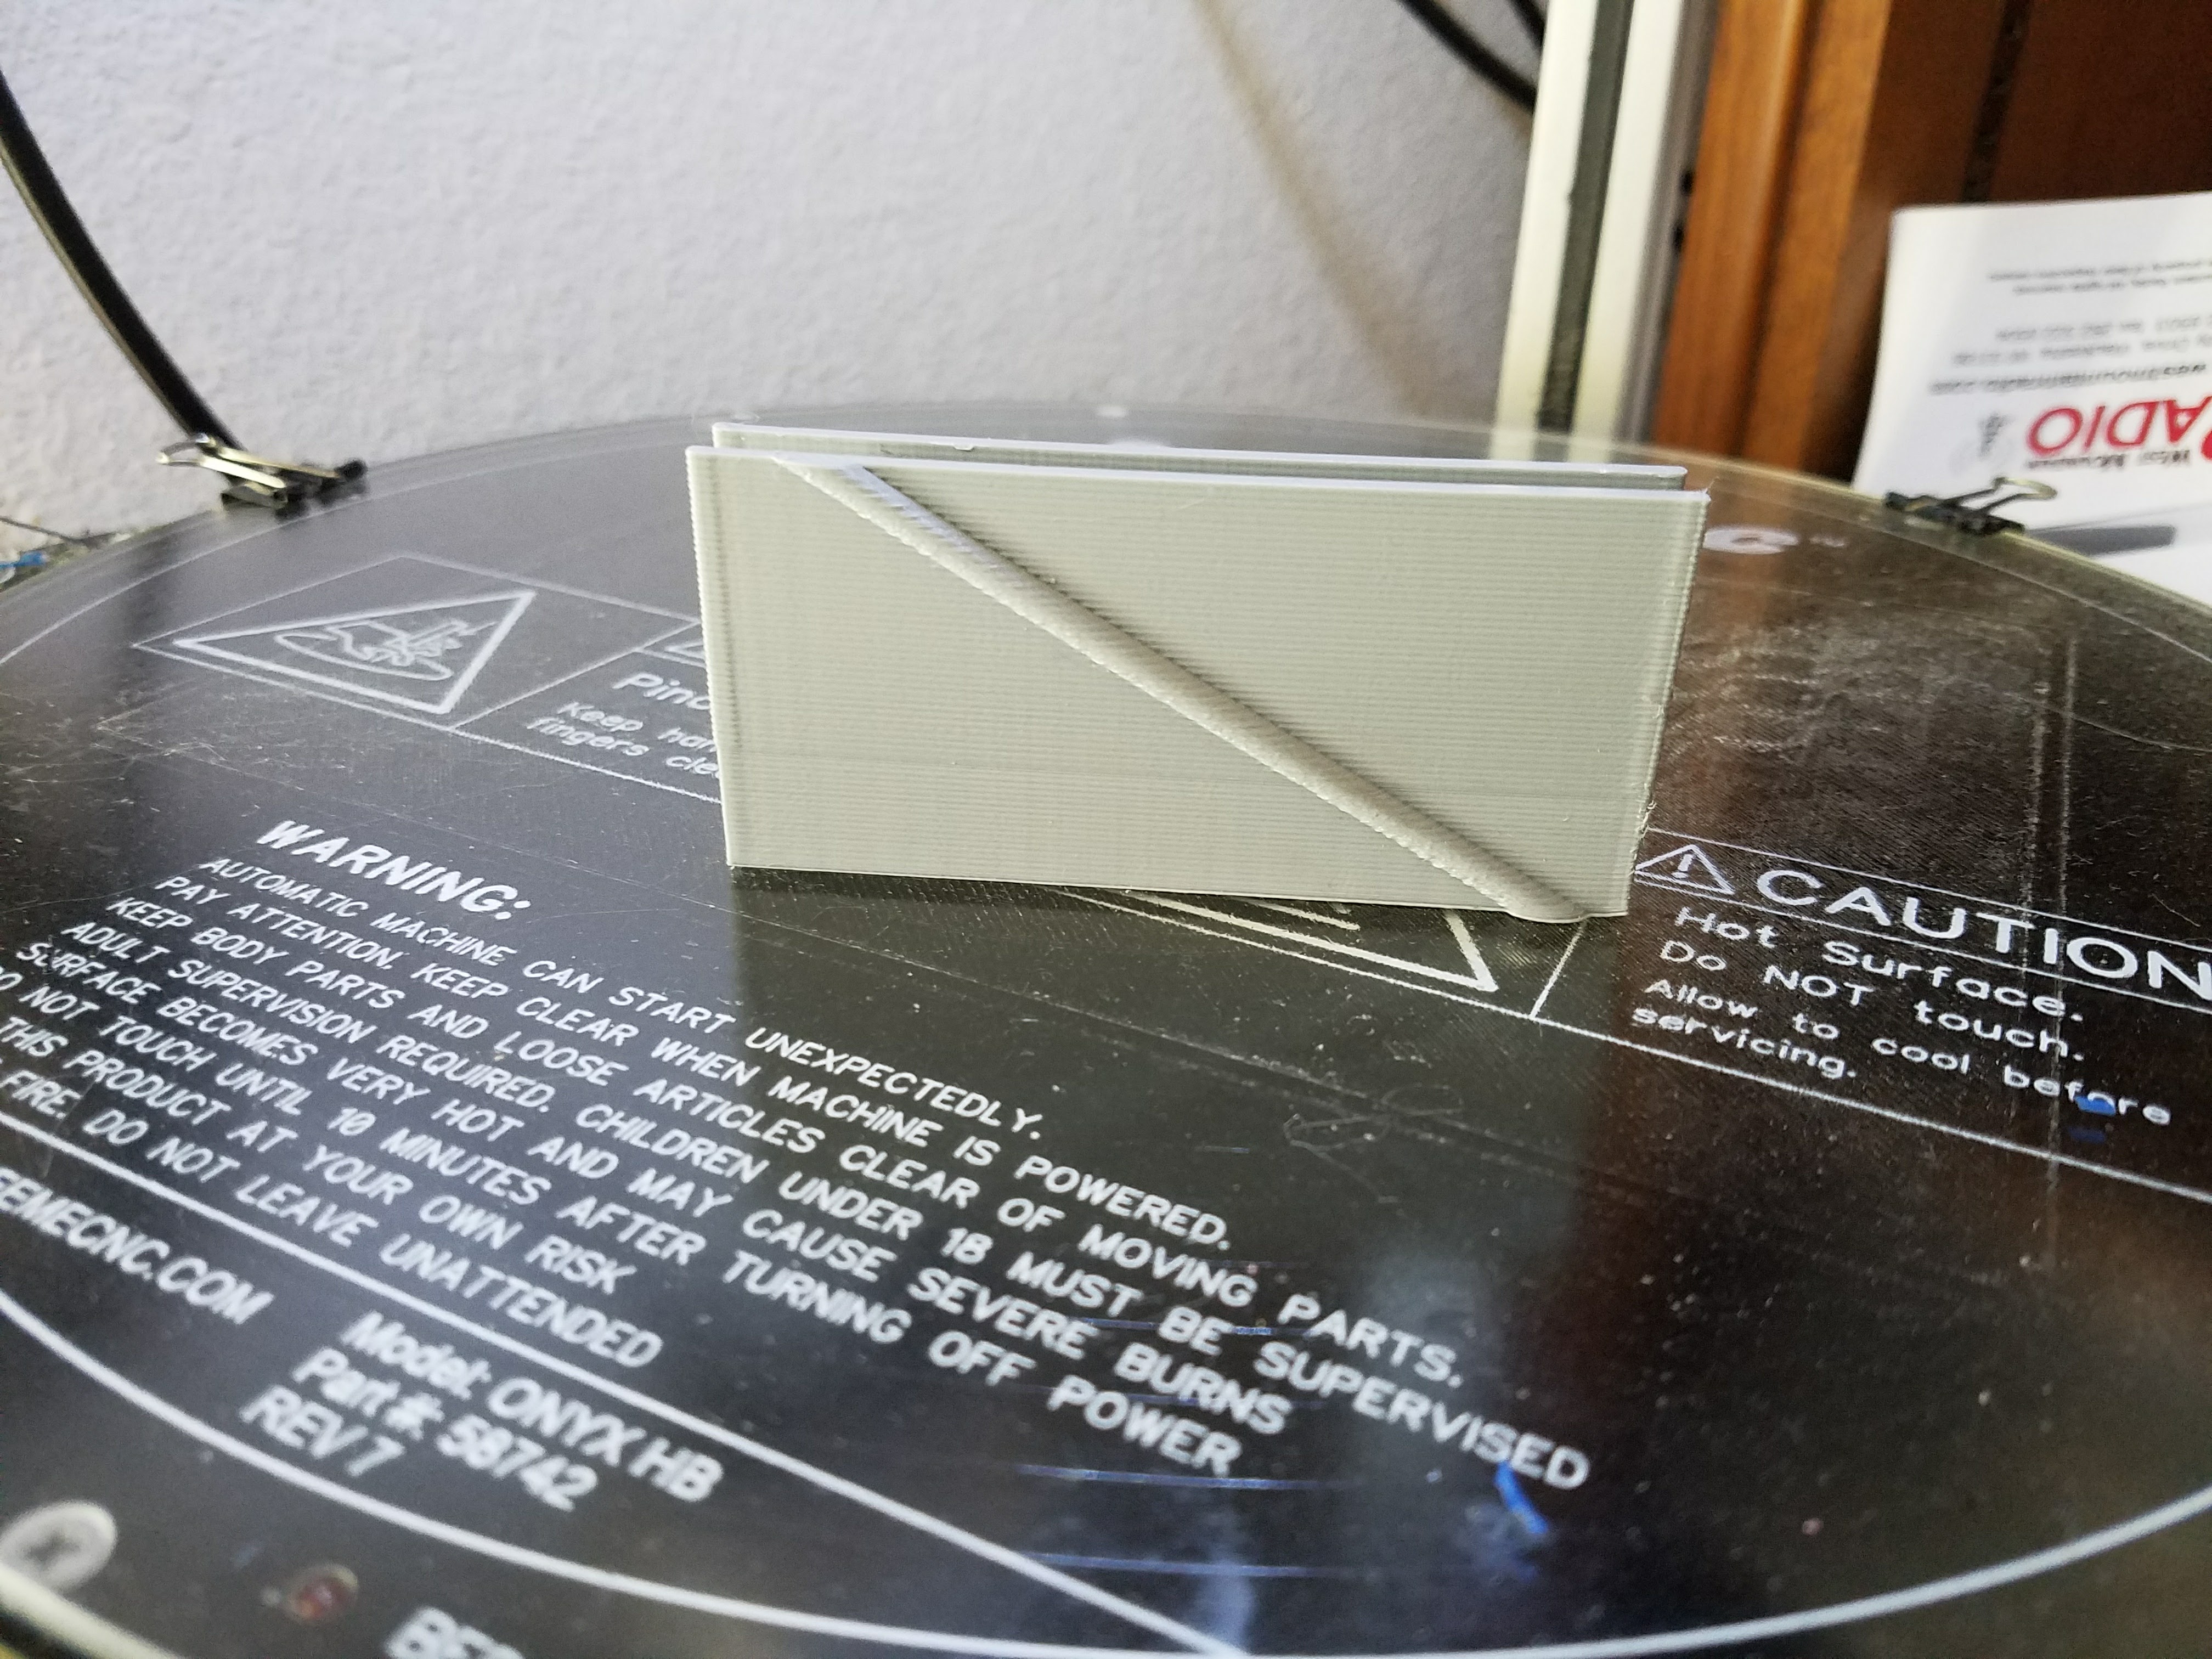
Parametric angled edge drilling jig.
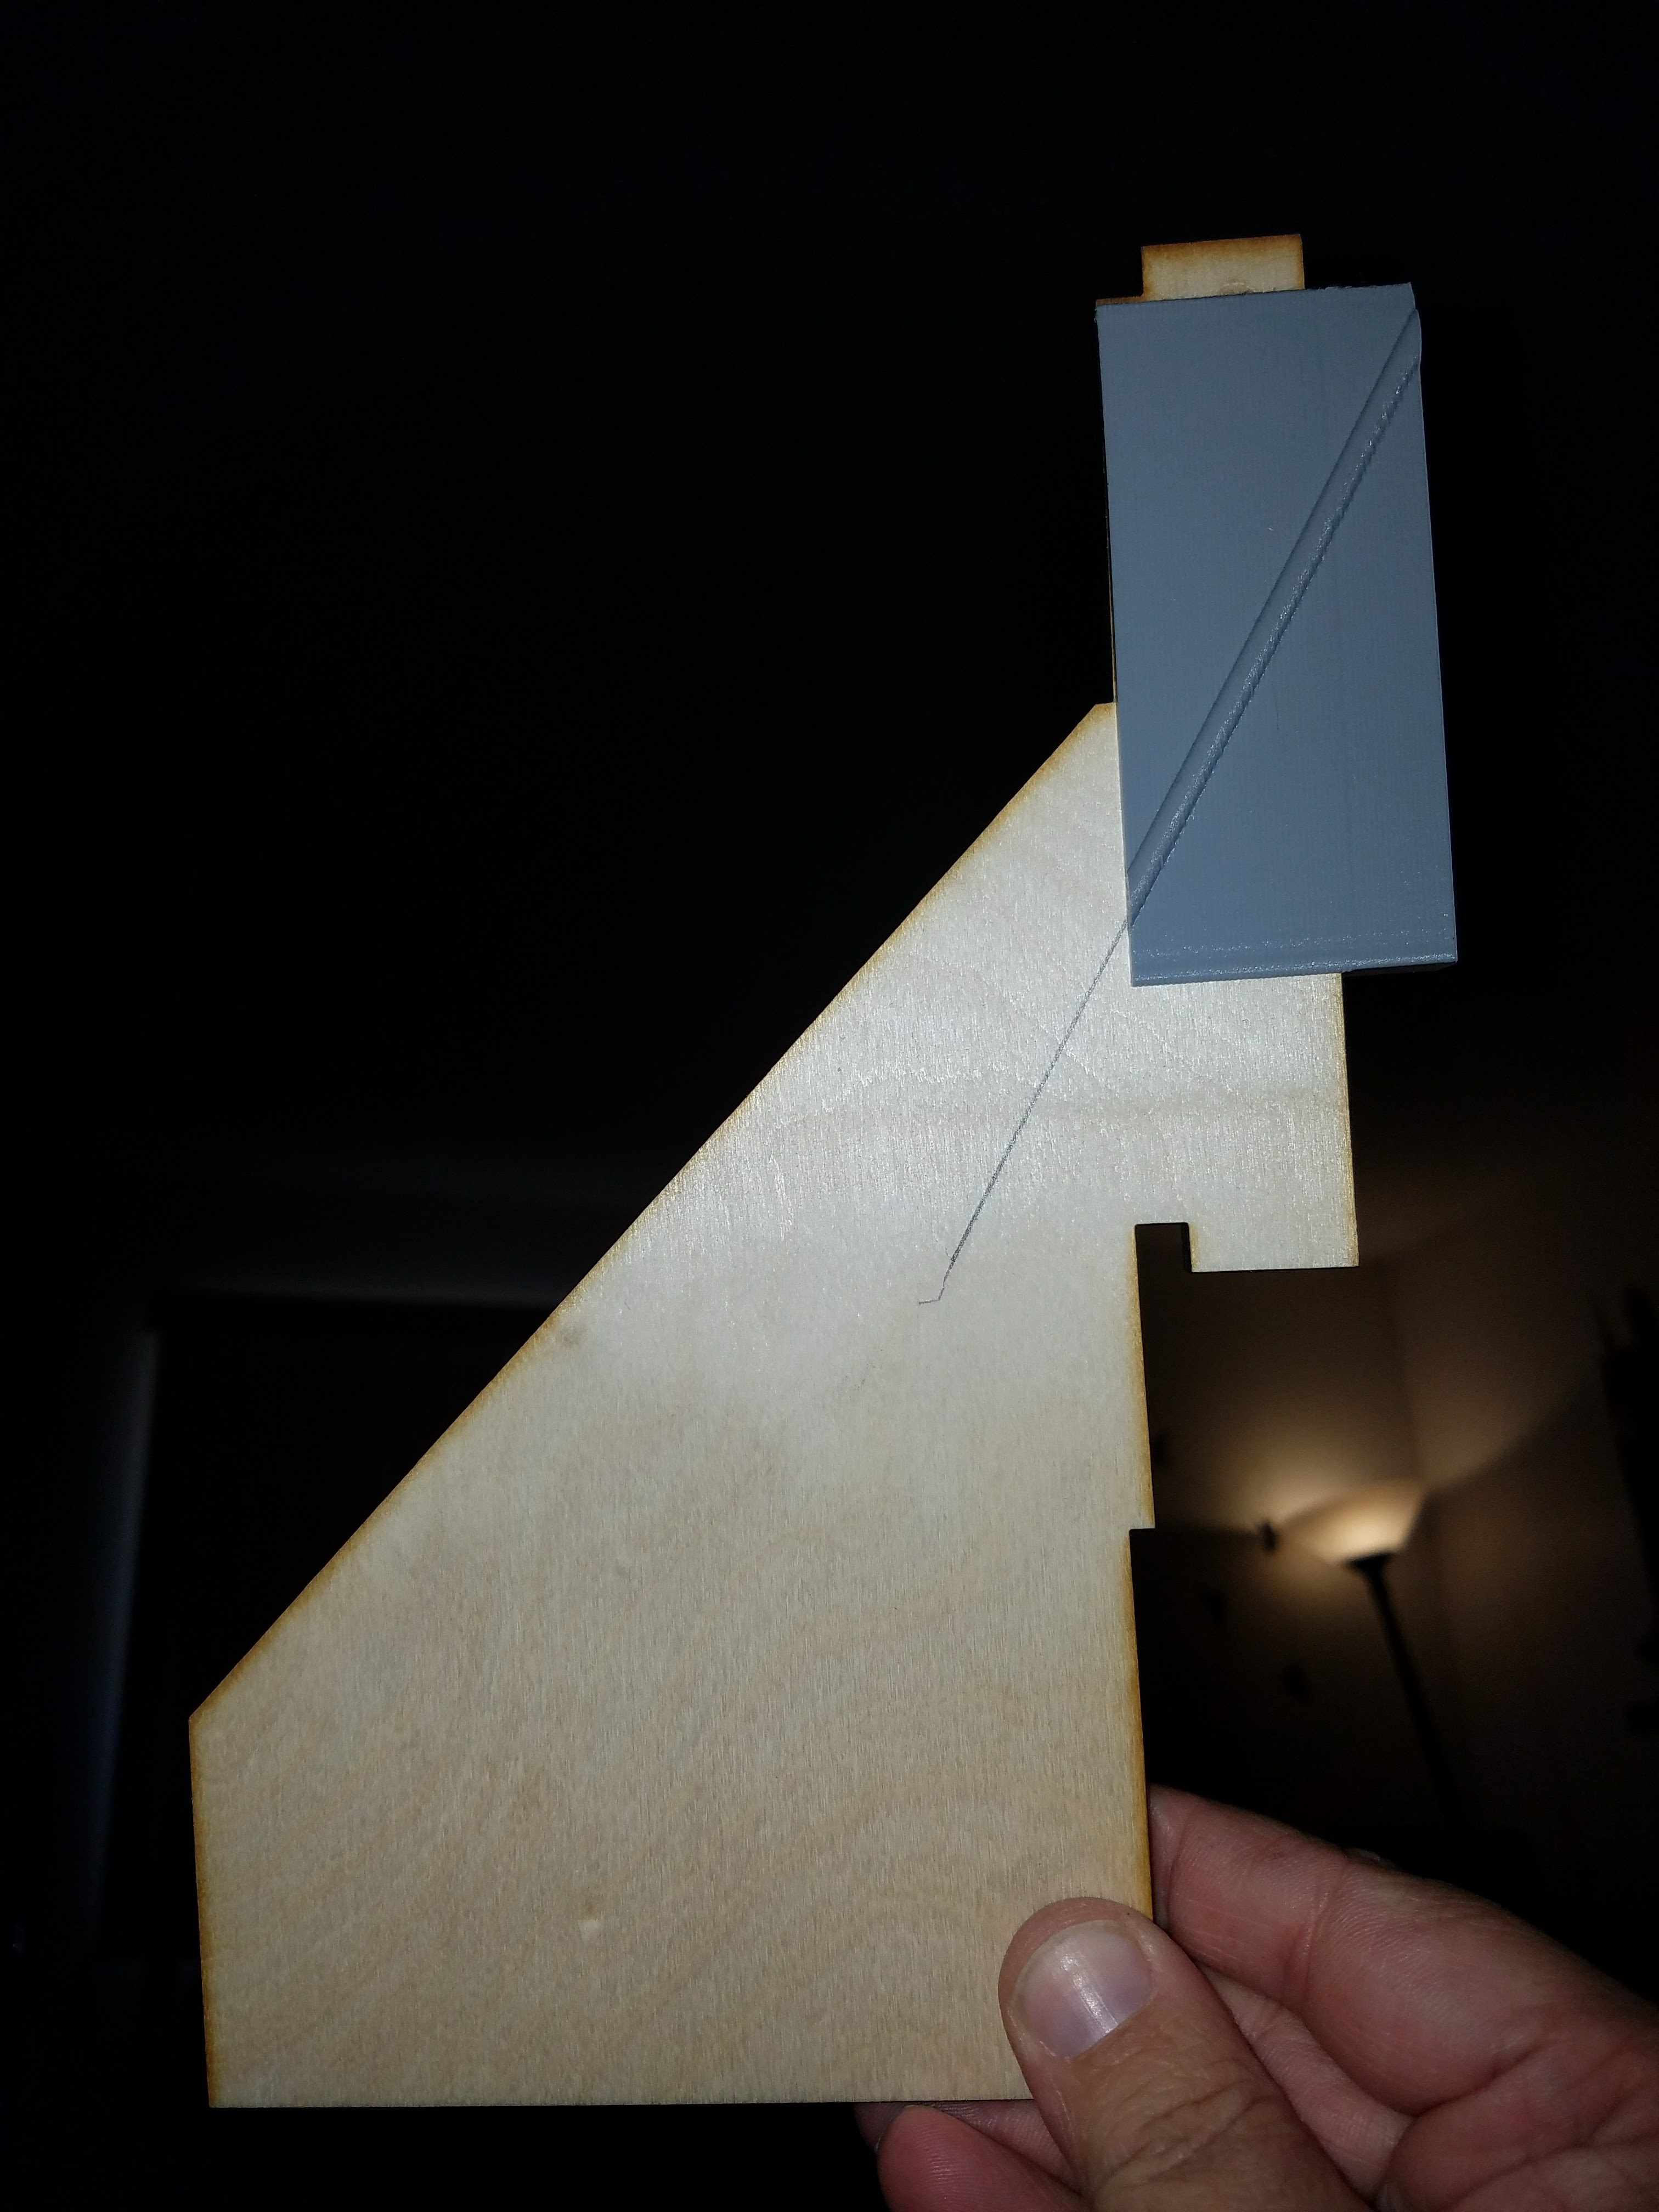
Fin with the edge drilling jig on and ready to drill.
The first challenge was to bevel the fins. I have a fin bevel jig that I use with my sanding station that’s based on the jig described on John Coker’s site. The challenge is the shape of the fins (see above). The tab sticking out of the top of the fin prevents the fin from sliding through the jig. The easy solution is to cut the tab off and reattach it later. To help with this, I designed and 3D printed a parametric edge drilling guide. I configured the guide to fit over the 1/4″ plywood material with an angle 60° from square. The model has a raised bump on it to show where the hole will go. I made unique marks on each fin before starting to make matching up the tab with the fin easier later, then drilled each fin with the edge jig. I then drew a line perpendicular to the drilled hole intersecting the top of the fin’s leading edge and cut the tabs off along that line with a thin pull saw. With the tabs removed, it was straight forward to run everything through the fin jig to bevel the edges. Once the edges were beveled, I glued the tabs back on using a 1/8″ dowel in the hole through the edge which aligned everything perfectly as well as provided some extra strength to the joint. Once the glue dried, I used a sharp knife to blend the root of the tab in with the beveled fin edge to make a smoother surface for laminating later, and then I hand sanded the bevels and transition with 220 grit paper.
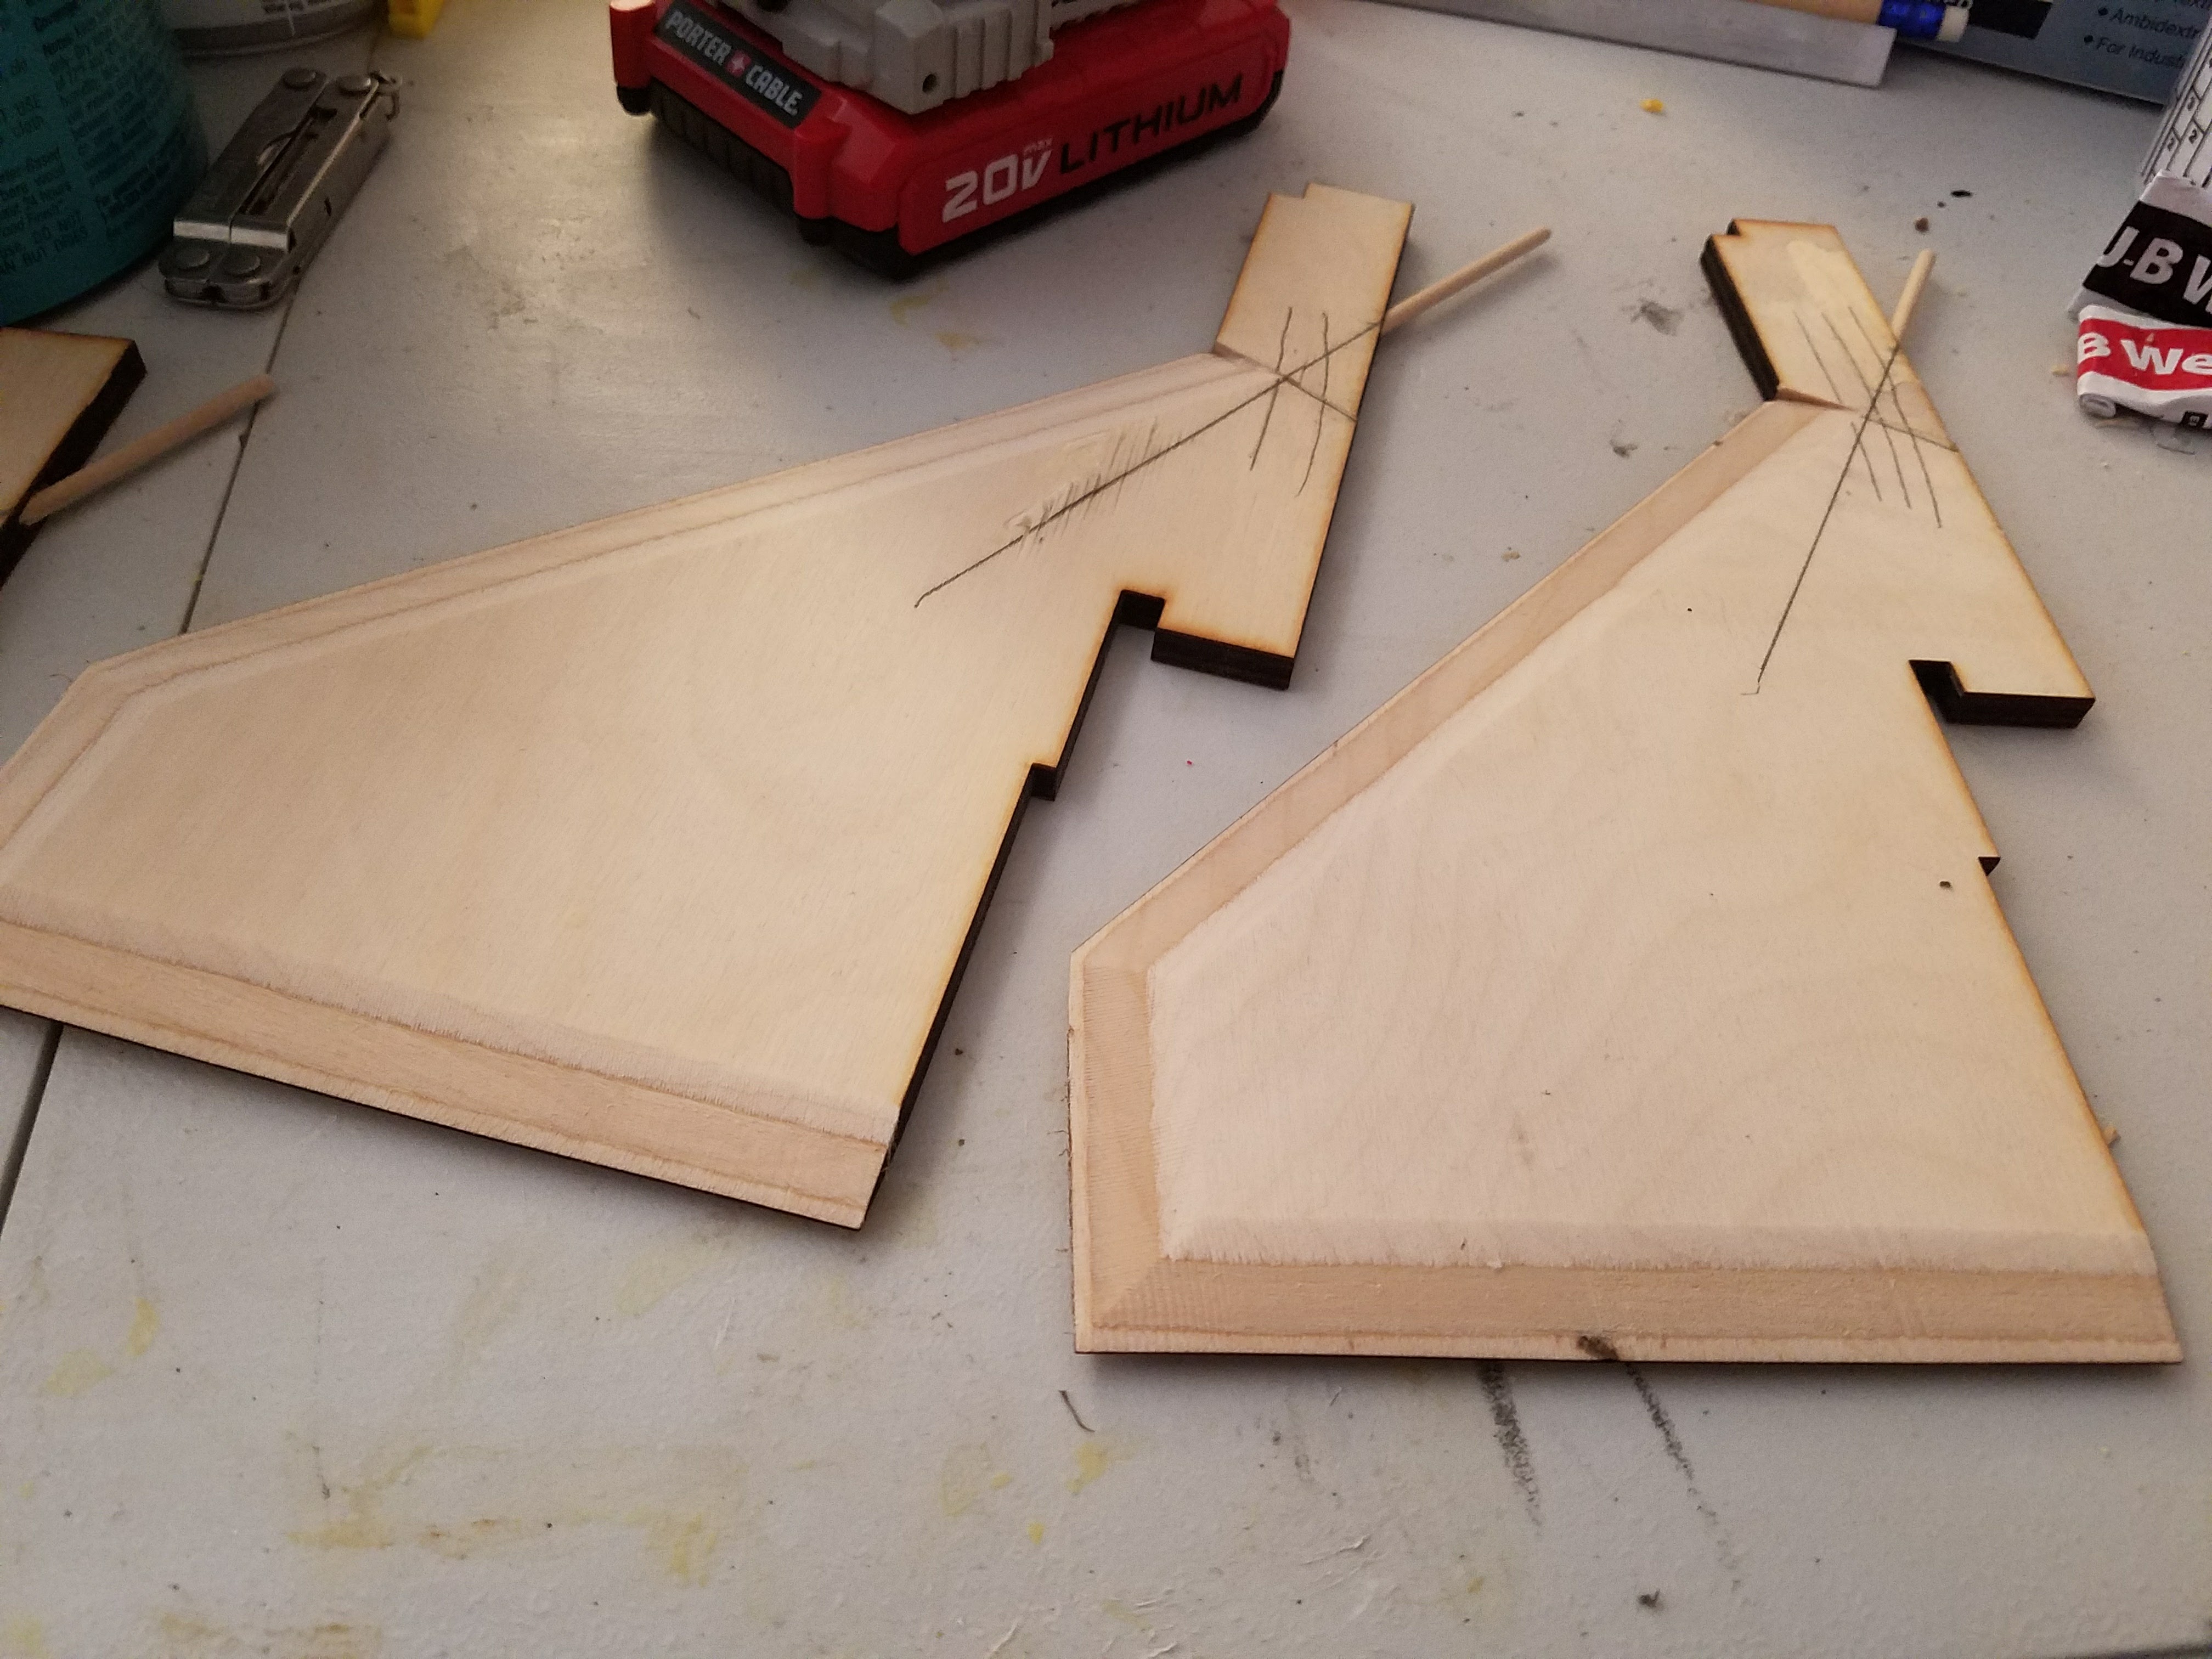
Fins reassembled after beveling using glue and a dowel.
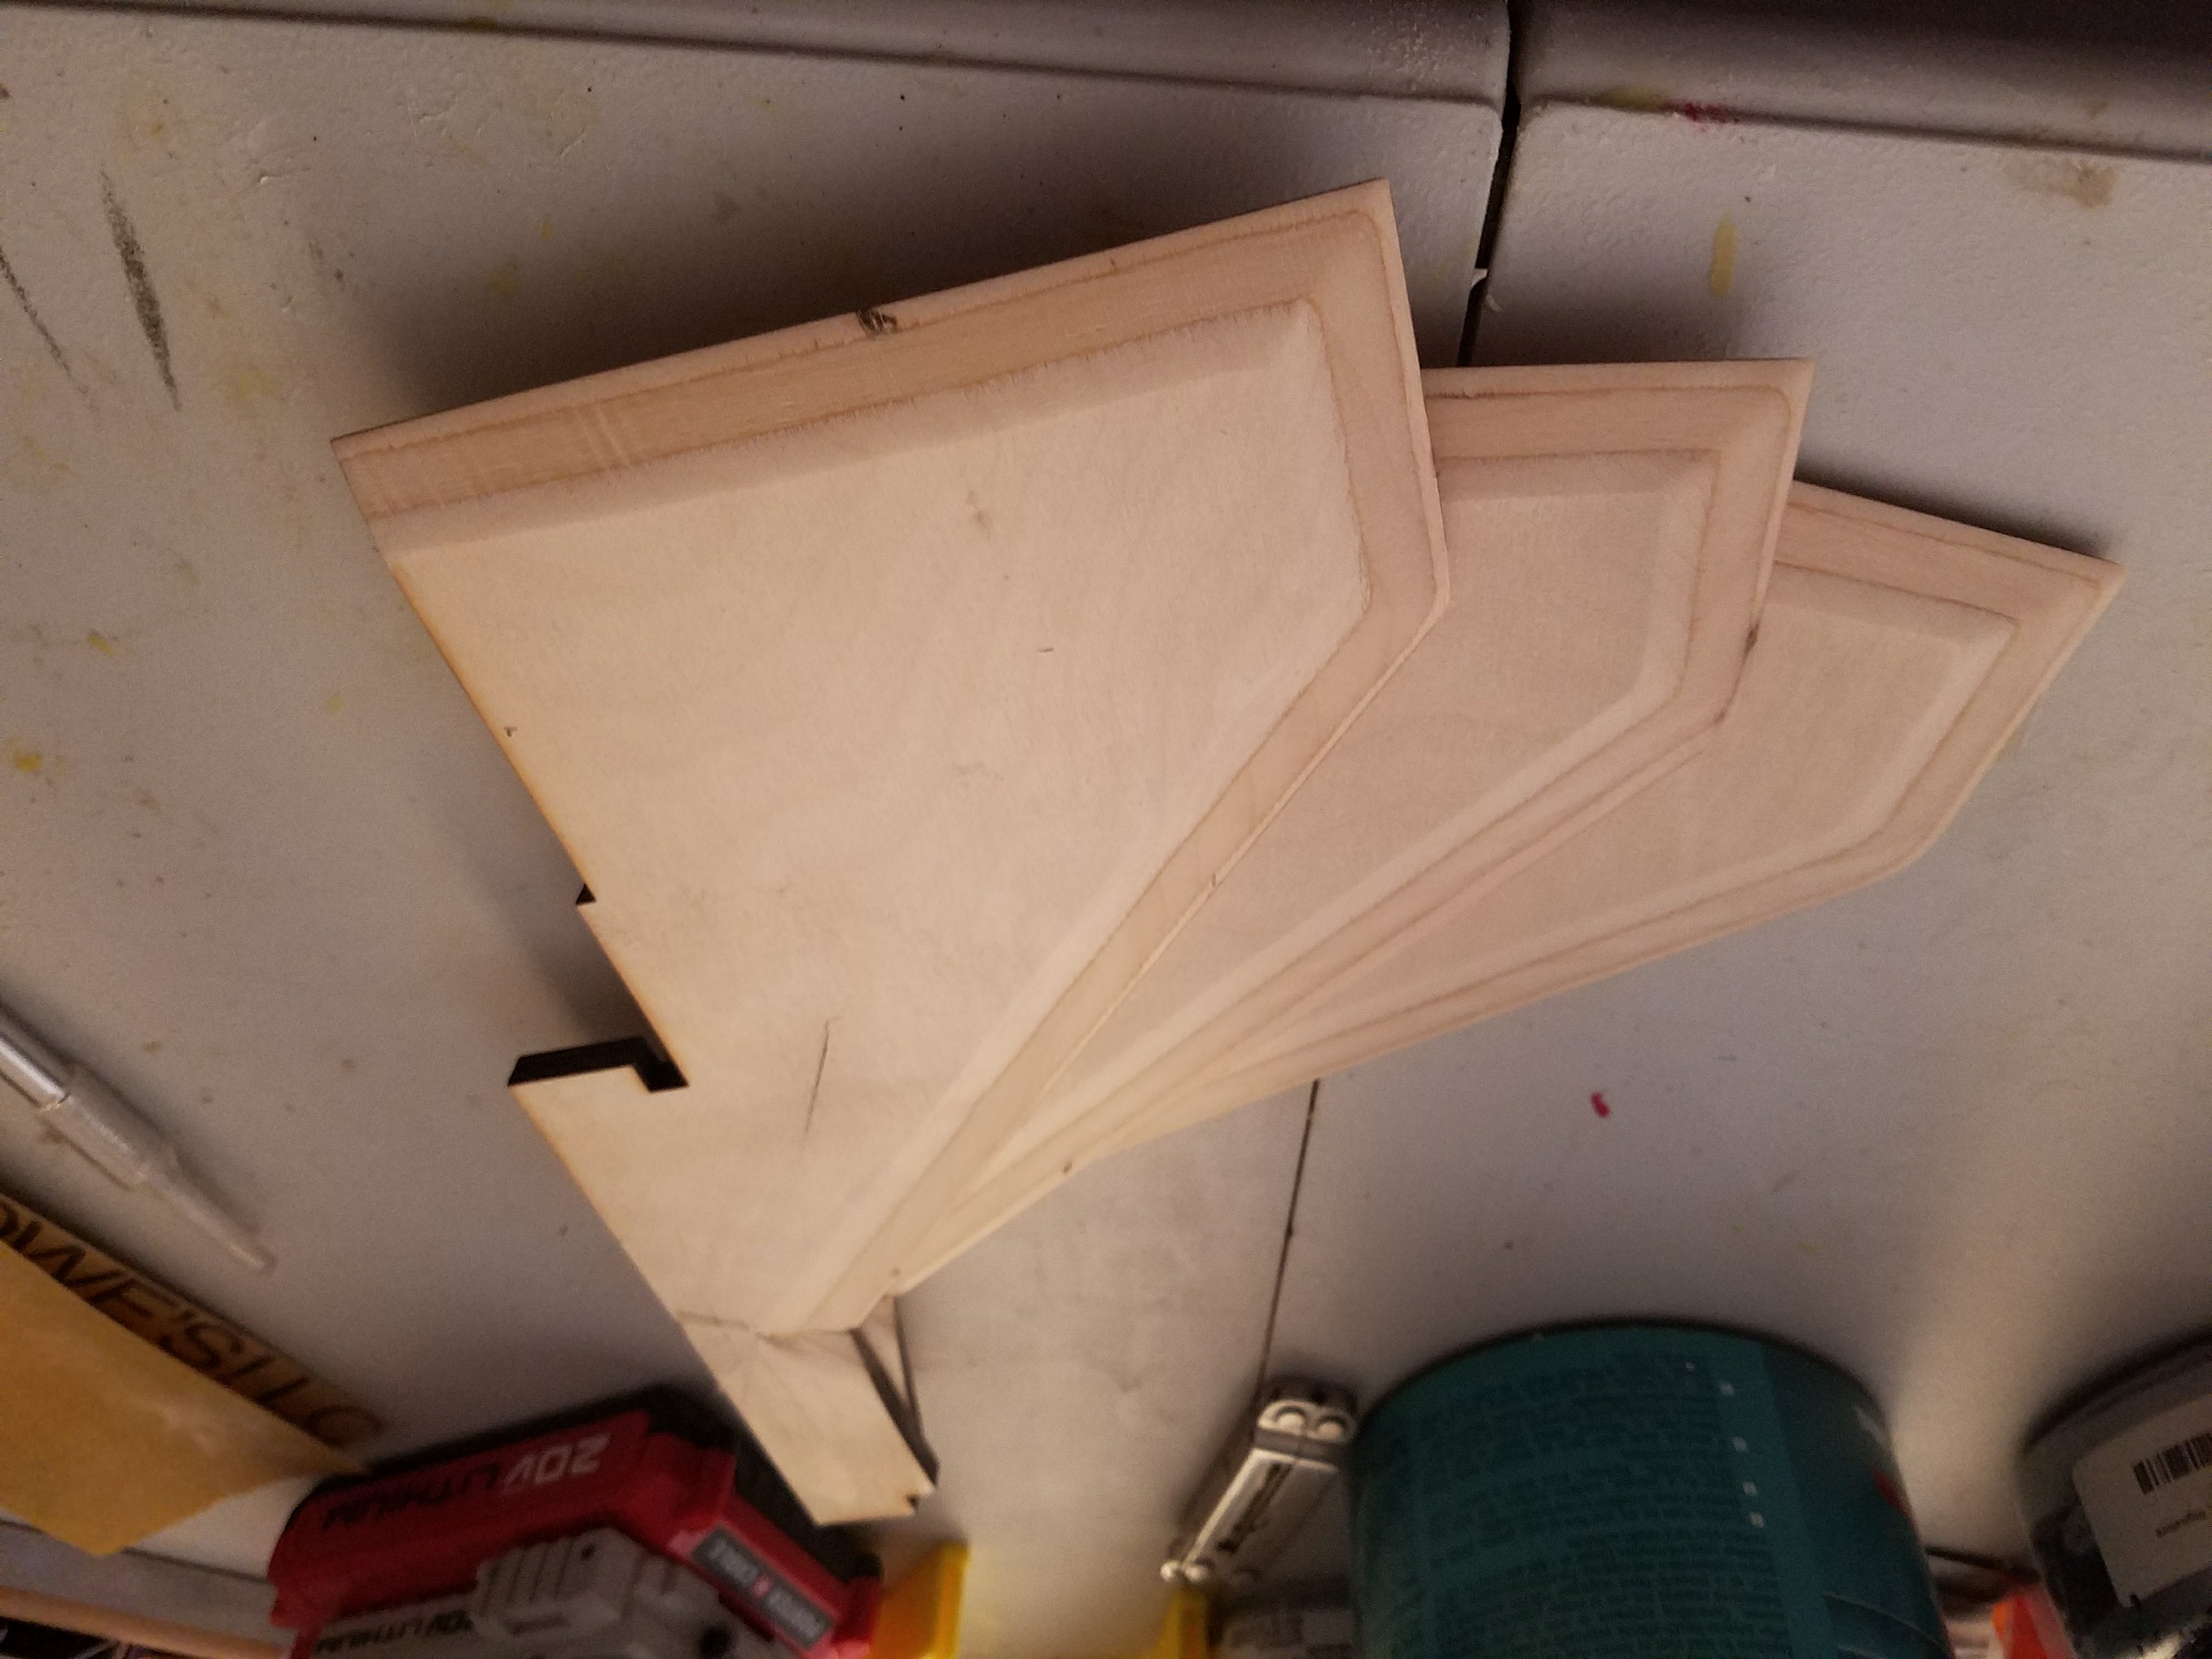
Fins after blending the bevel into the tab and sanding.
With the fins beveled and reassembled, the next step is to prepare everything for laminating the fins. Once you mix the epoxy, your time is limited, so it’s critical to have everything measured, cut, and laid out neatly before you begin. My plan was to laminate a layer of carbon fiber on both sides of the fins, and laminate on top of that a layer of 2 oz fiberglass as a sanding veil. The next layer needs to be a release fabric (or peel ply), and for this I used a 100% polyester fabric from my local fabric shop. You want something breathable with a very tight weave, and it should be shiny. The shiny fabric means there aren’t any fuzzy threads to get stuck in the epoxy, and the polyester doesn’t adhere to the epoxy. To get things ready, I cut 6 pieces of the carbon fiber, 6 pieces of the fiberglass, 6 pieces of the release fabric, and 6 double-layer pads of paper towels to soak up the excess epoxy. I also cut 3 vacuum bags and double-sealed one end. I cut the bags much longer than necessary to give myself some room when trying to get everything placed neatly in the bag with the epoxy clock ticking. Next I got out 2 disposable chip brushes (only 1 is necessary, but be prepared for anything before laminating), I set out 3 pairs of gloves within easy reach, and I stacked up 3 sheets of masking paper on my work surface. Normally I only use one layer of masking paper to protect the surface, but I wanted to be able to make whatever mess was necessary for a fin and then just throw away a layer and immediately get started on the next fin without worrying about it. I also put 2 small layers of fiberglass tape on another piece of masking paper nearby.
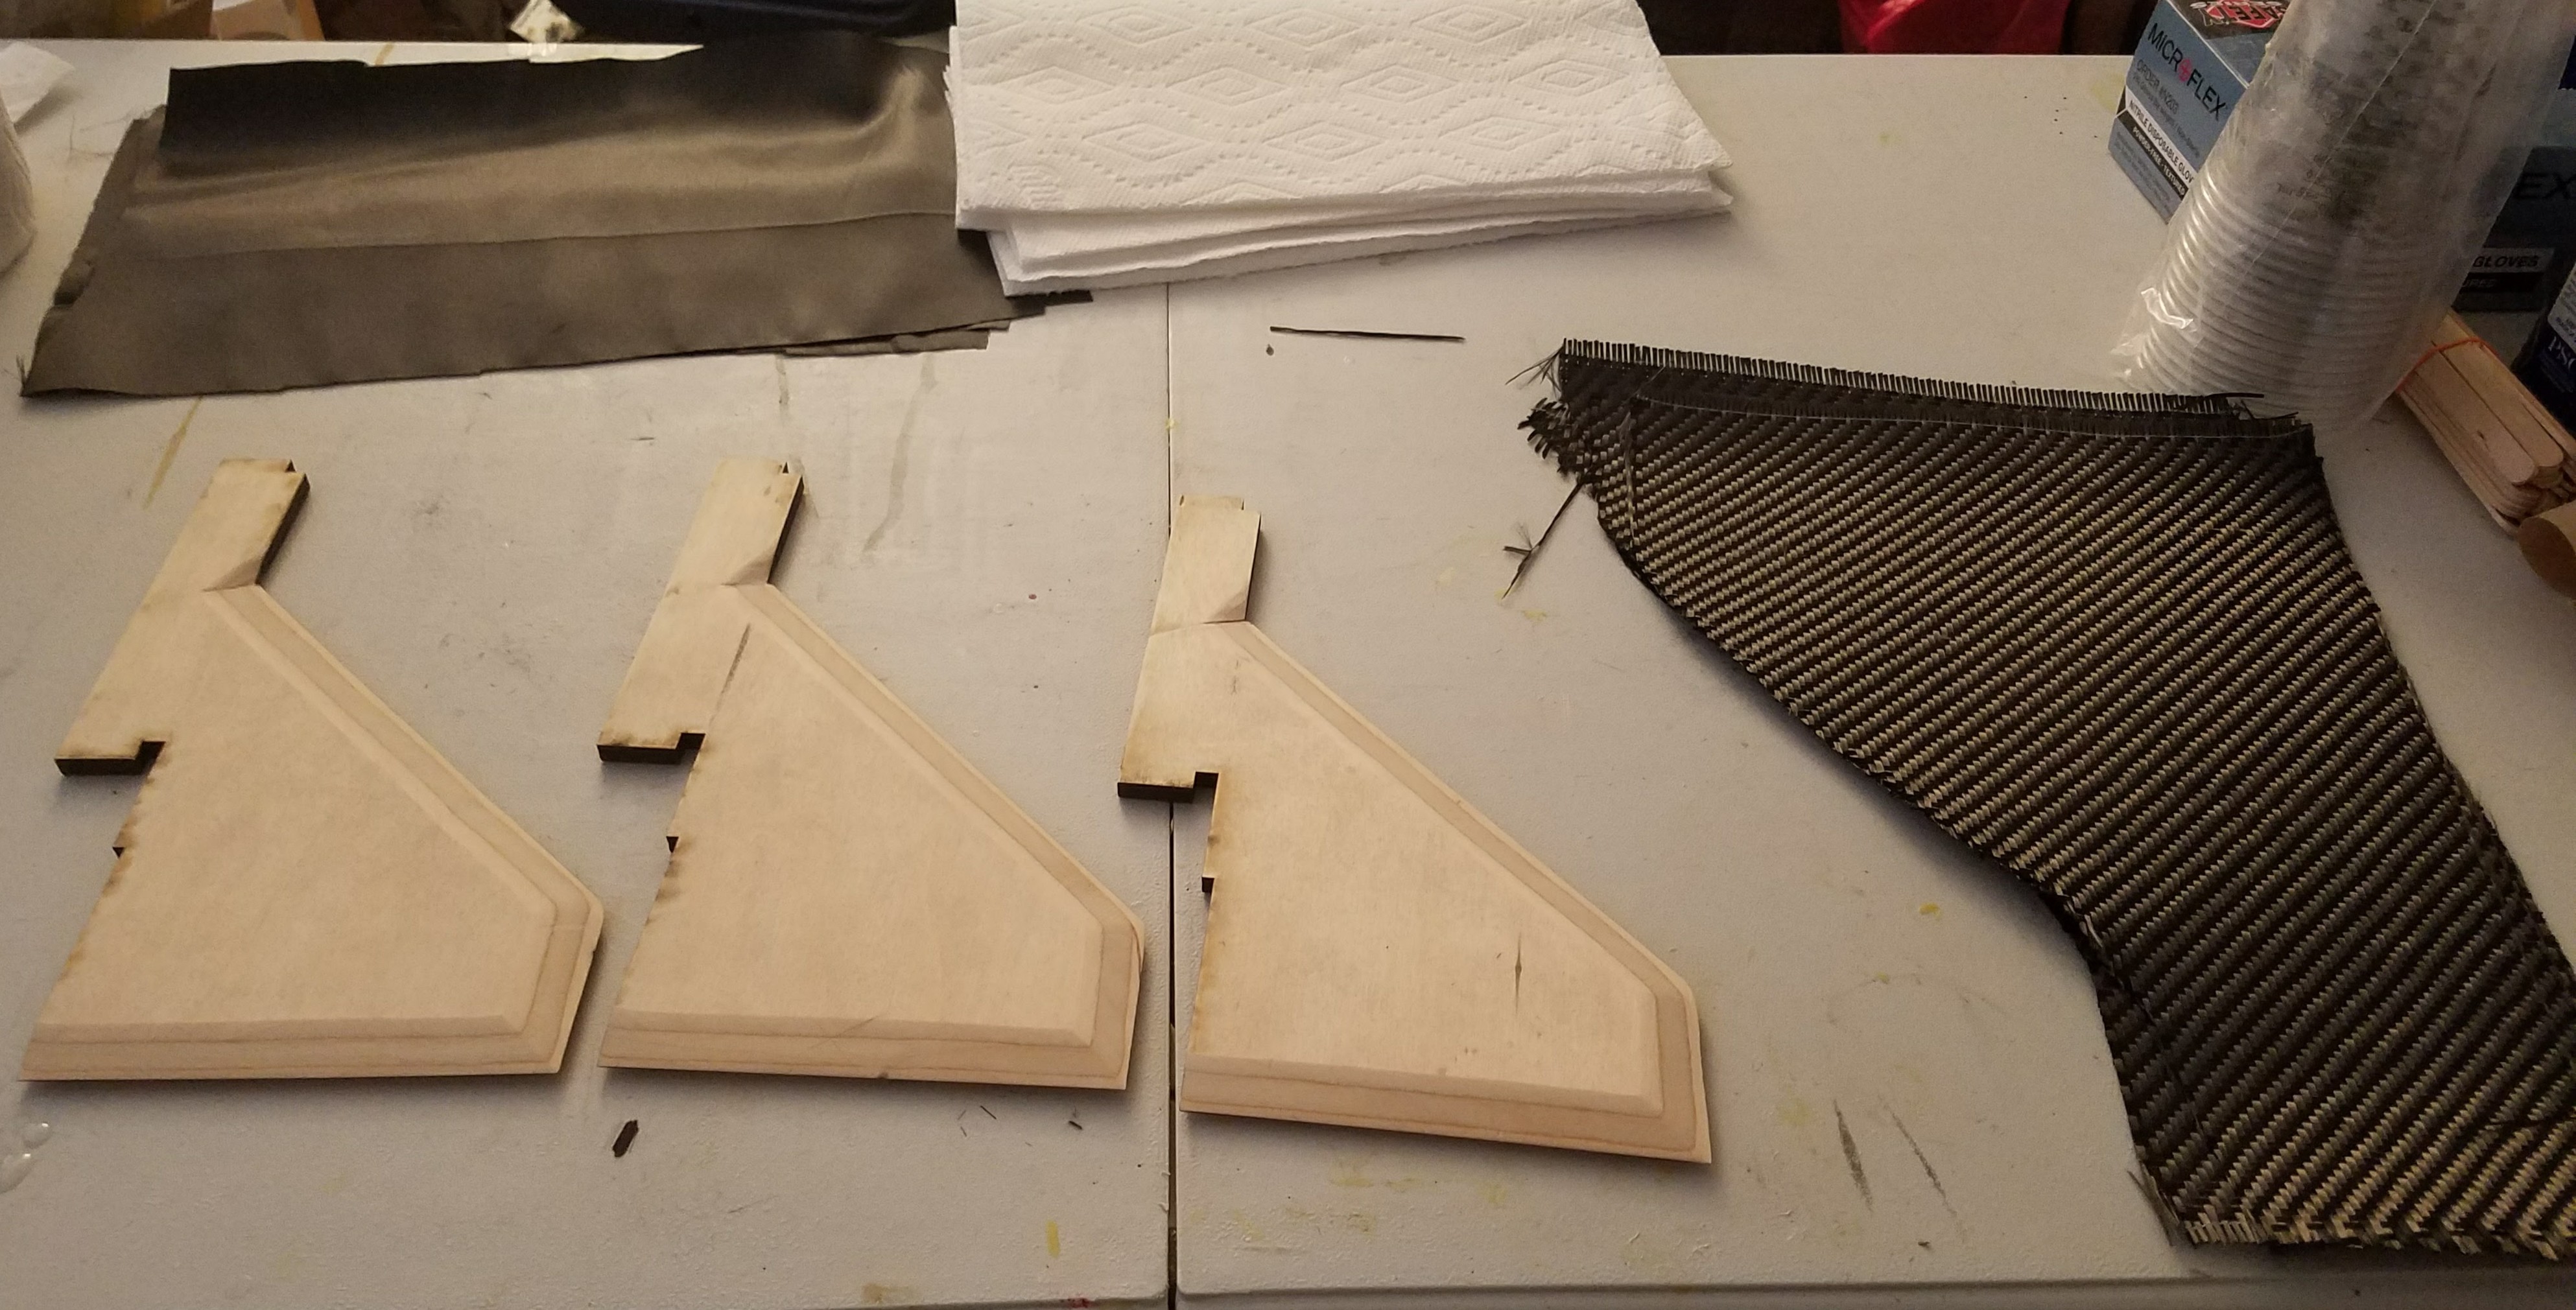
Most of the supplies laid out and ready for the epoxy work.
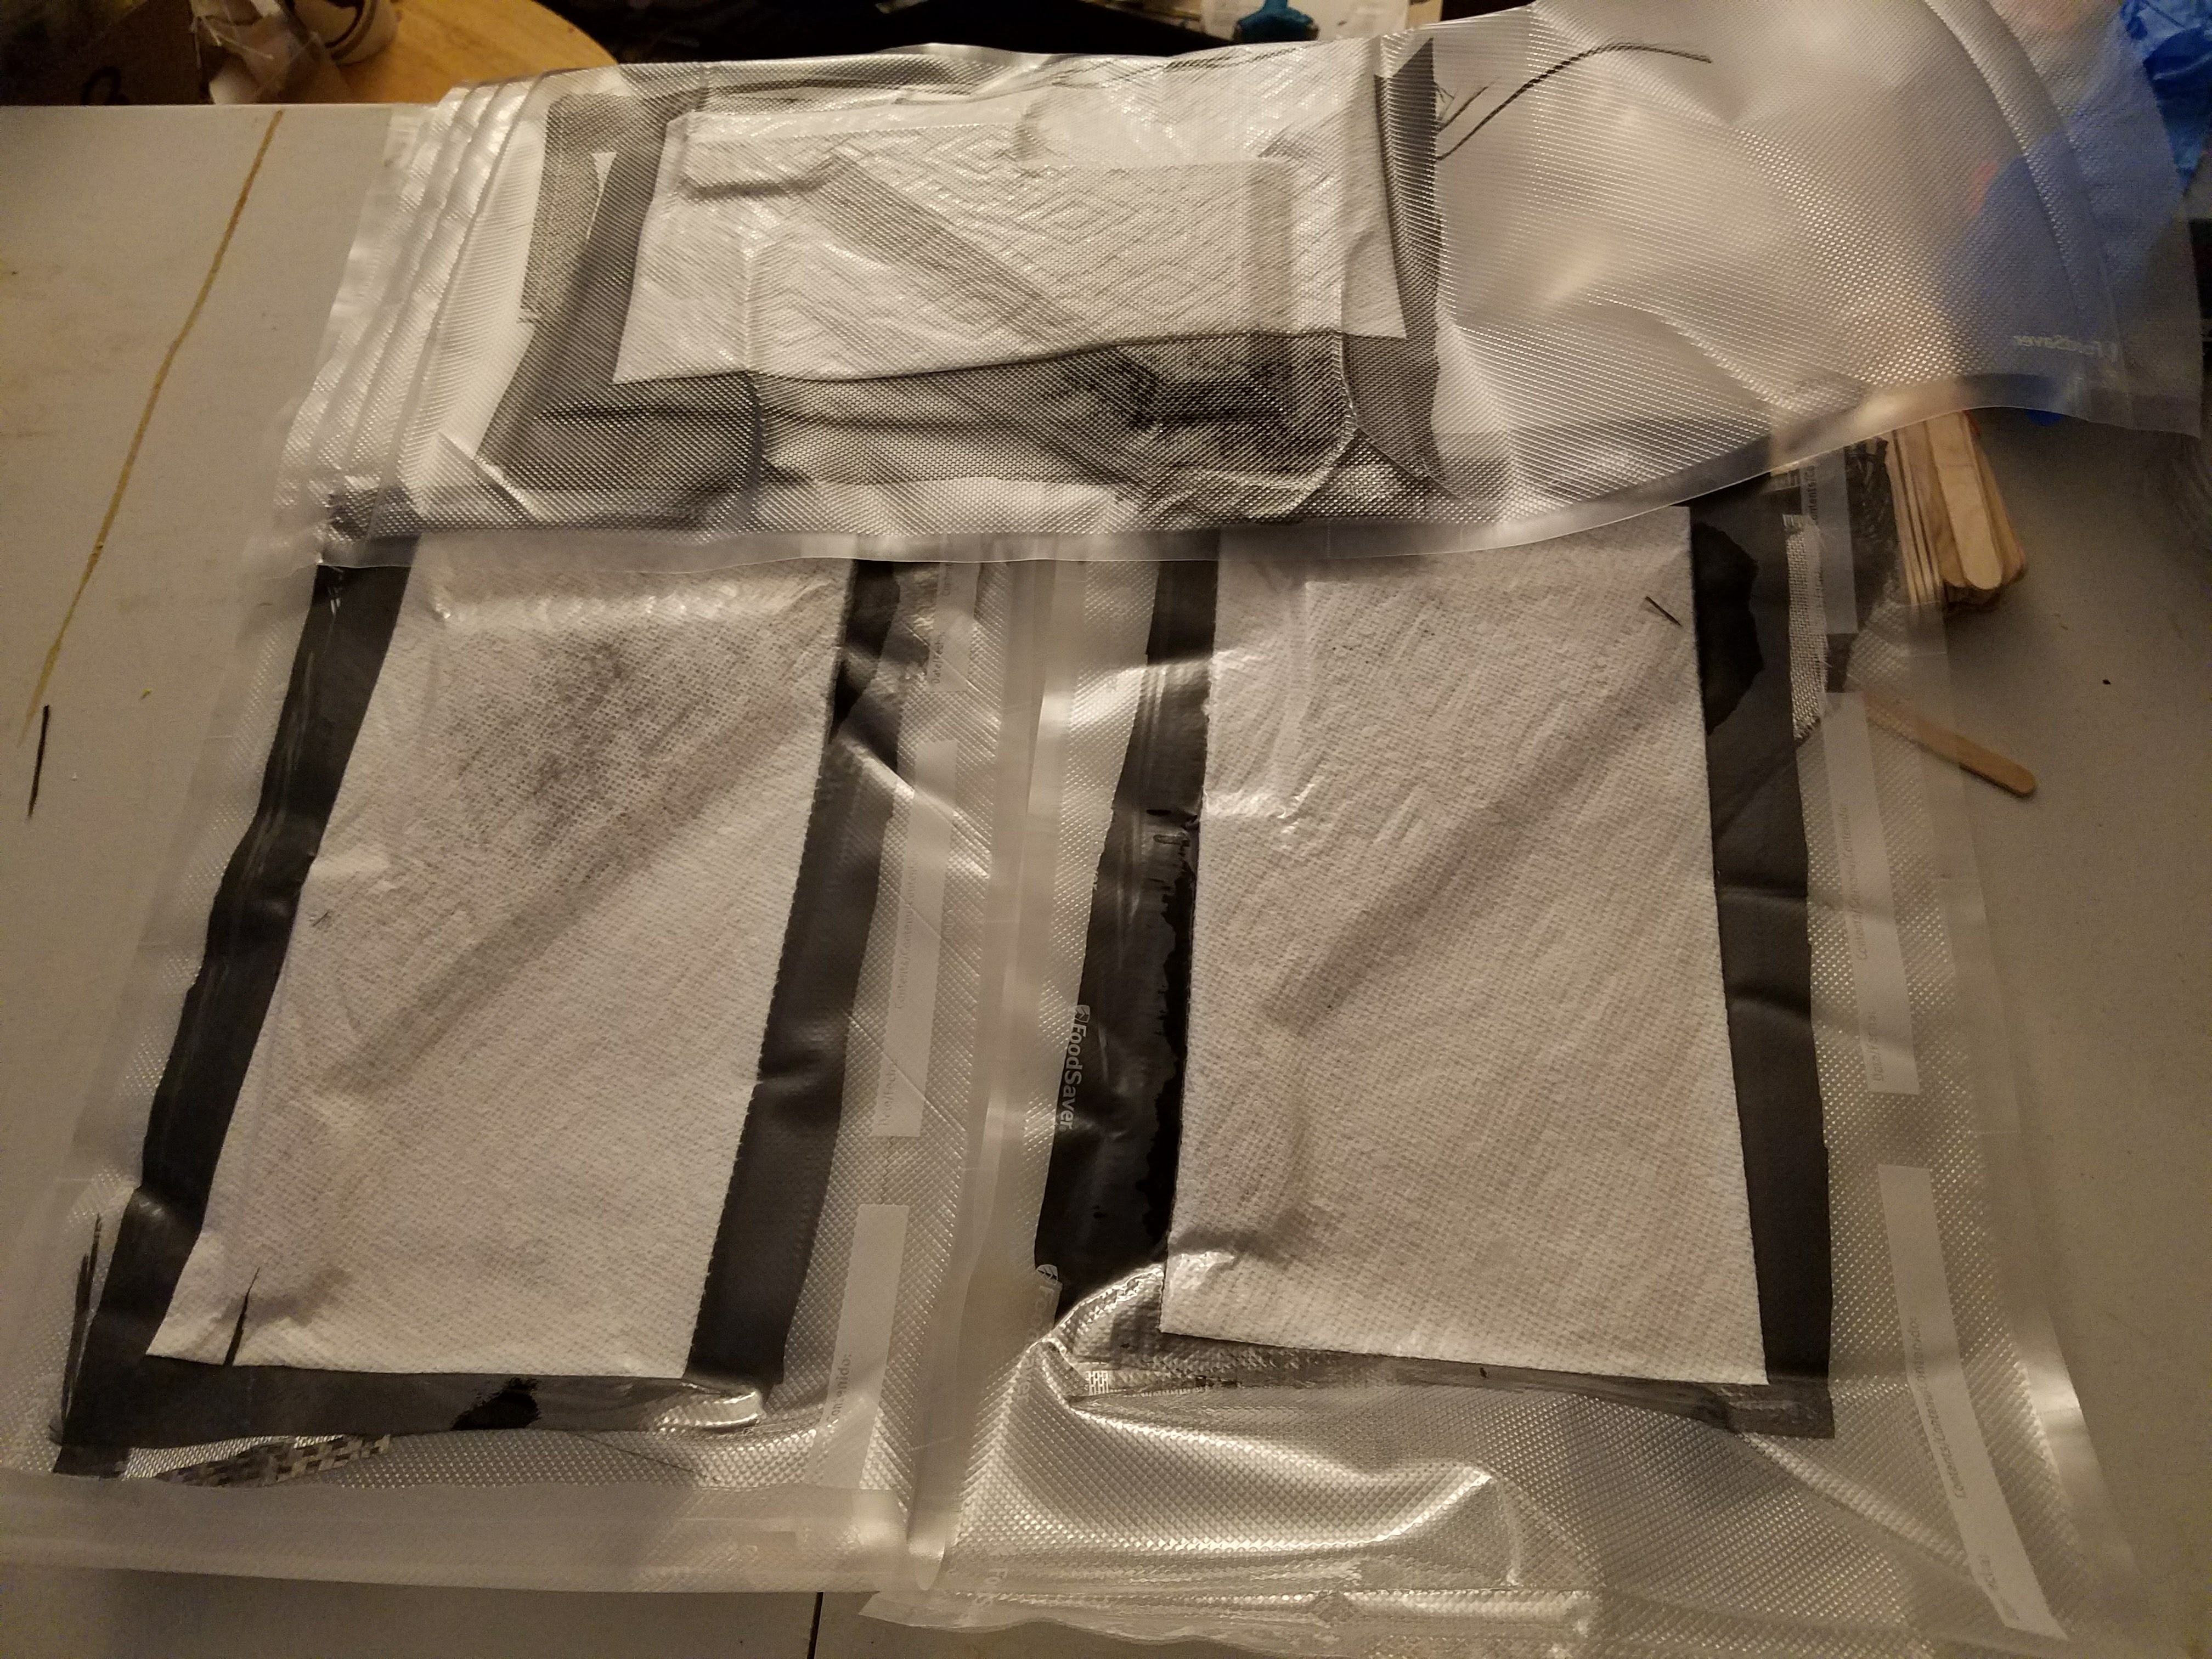
Fins stacked, epoxied, and vacuum bagged.
Once all the tools and supplies were carefully measured, cut, and arranged neatly on my workspace, it was time to laminate the fins! I mixed up a small amount of epoxy (this type of lamination doesn’t use very much). I placed a fin on the masking paper and brushed on a thin layer of epoxy since I knew the plywood would soak some of it up. Next, carefully lay a piece of carbon fiber cloth onto the fin. (Side note, carbon fiber comes apart very very easily when it’s dry, so be super careful when handling it!) I gently smoothed it out while pressing it into the layer of epoxy. I then brushed on a layer of epoxy on top of the carbon fiber to ensure it was completely saturated and carefully placed a layer of fiberglass on top of that. Again, smooth the fiberglass out gently while pressing it into the epoxy. Be extra careful to press it into the transition between the bevel and the tab, and ensure that that are no wrinkles anywhere, especially where it bends over the bevels. Brush on a small amount of epoxy anywhere the fiberglass isn’t complete saturated, then place the release fabric on top. Again, take the time to ensure everything is perfectly smooth with no wrinkles or air bubbles. Place a paper towel pad on top of that, then flip the entire stack over. With the fin flipped over, repeat the process on the other side being careful the ensure the layers meet up with no wrinkles or bubbles at the sharp edges of the fin. With both sides ready, I pulled off one glove to handle the vacuum bag with a clean hand, and used my gloved hand to pick up the masking paper with the fin on it, let the masking paper fall away while carefully sliding the fin layup into the vacuum bag. When the fin is in, check one more time to be sure there are no wrinkles or bubbles anywhere. Now you can remove the remaining glove to avoid getting epoxy on your vacuum sealer, and vacuum & seal the bag. Once sealed, I went ahead an applied a second seal to the bag. Time is still ticking on the batch of epoxy, so put on a second pair of gloves and do the next 2 fins in the same manner. The epoxy I use has a 30 minute working time; in retrospect, I would have preferred more working time, but everything went fine and the fins were all bagged up nicely. I applied some leftover epoxy to 2 layers of 5 oz fiberglass tape and set that aside. That small piece would serve as a guide to get some idea of how far along the curing process was inside the vacuum bags.
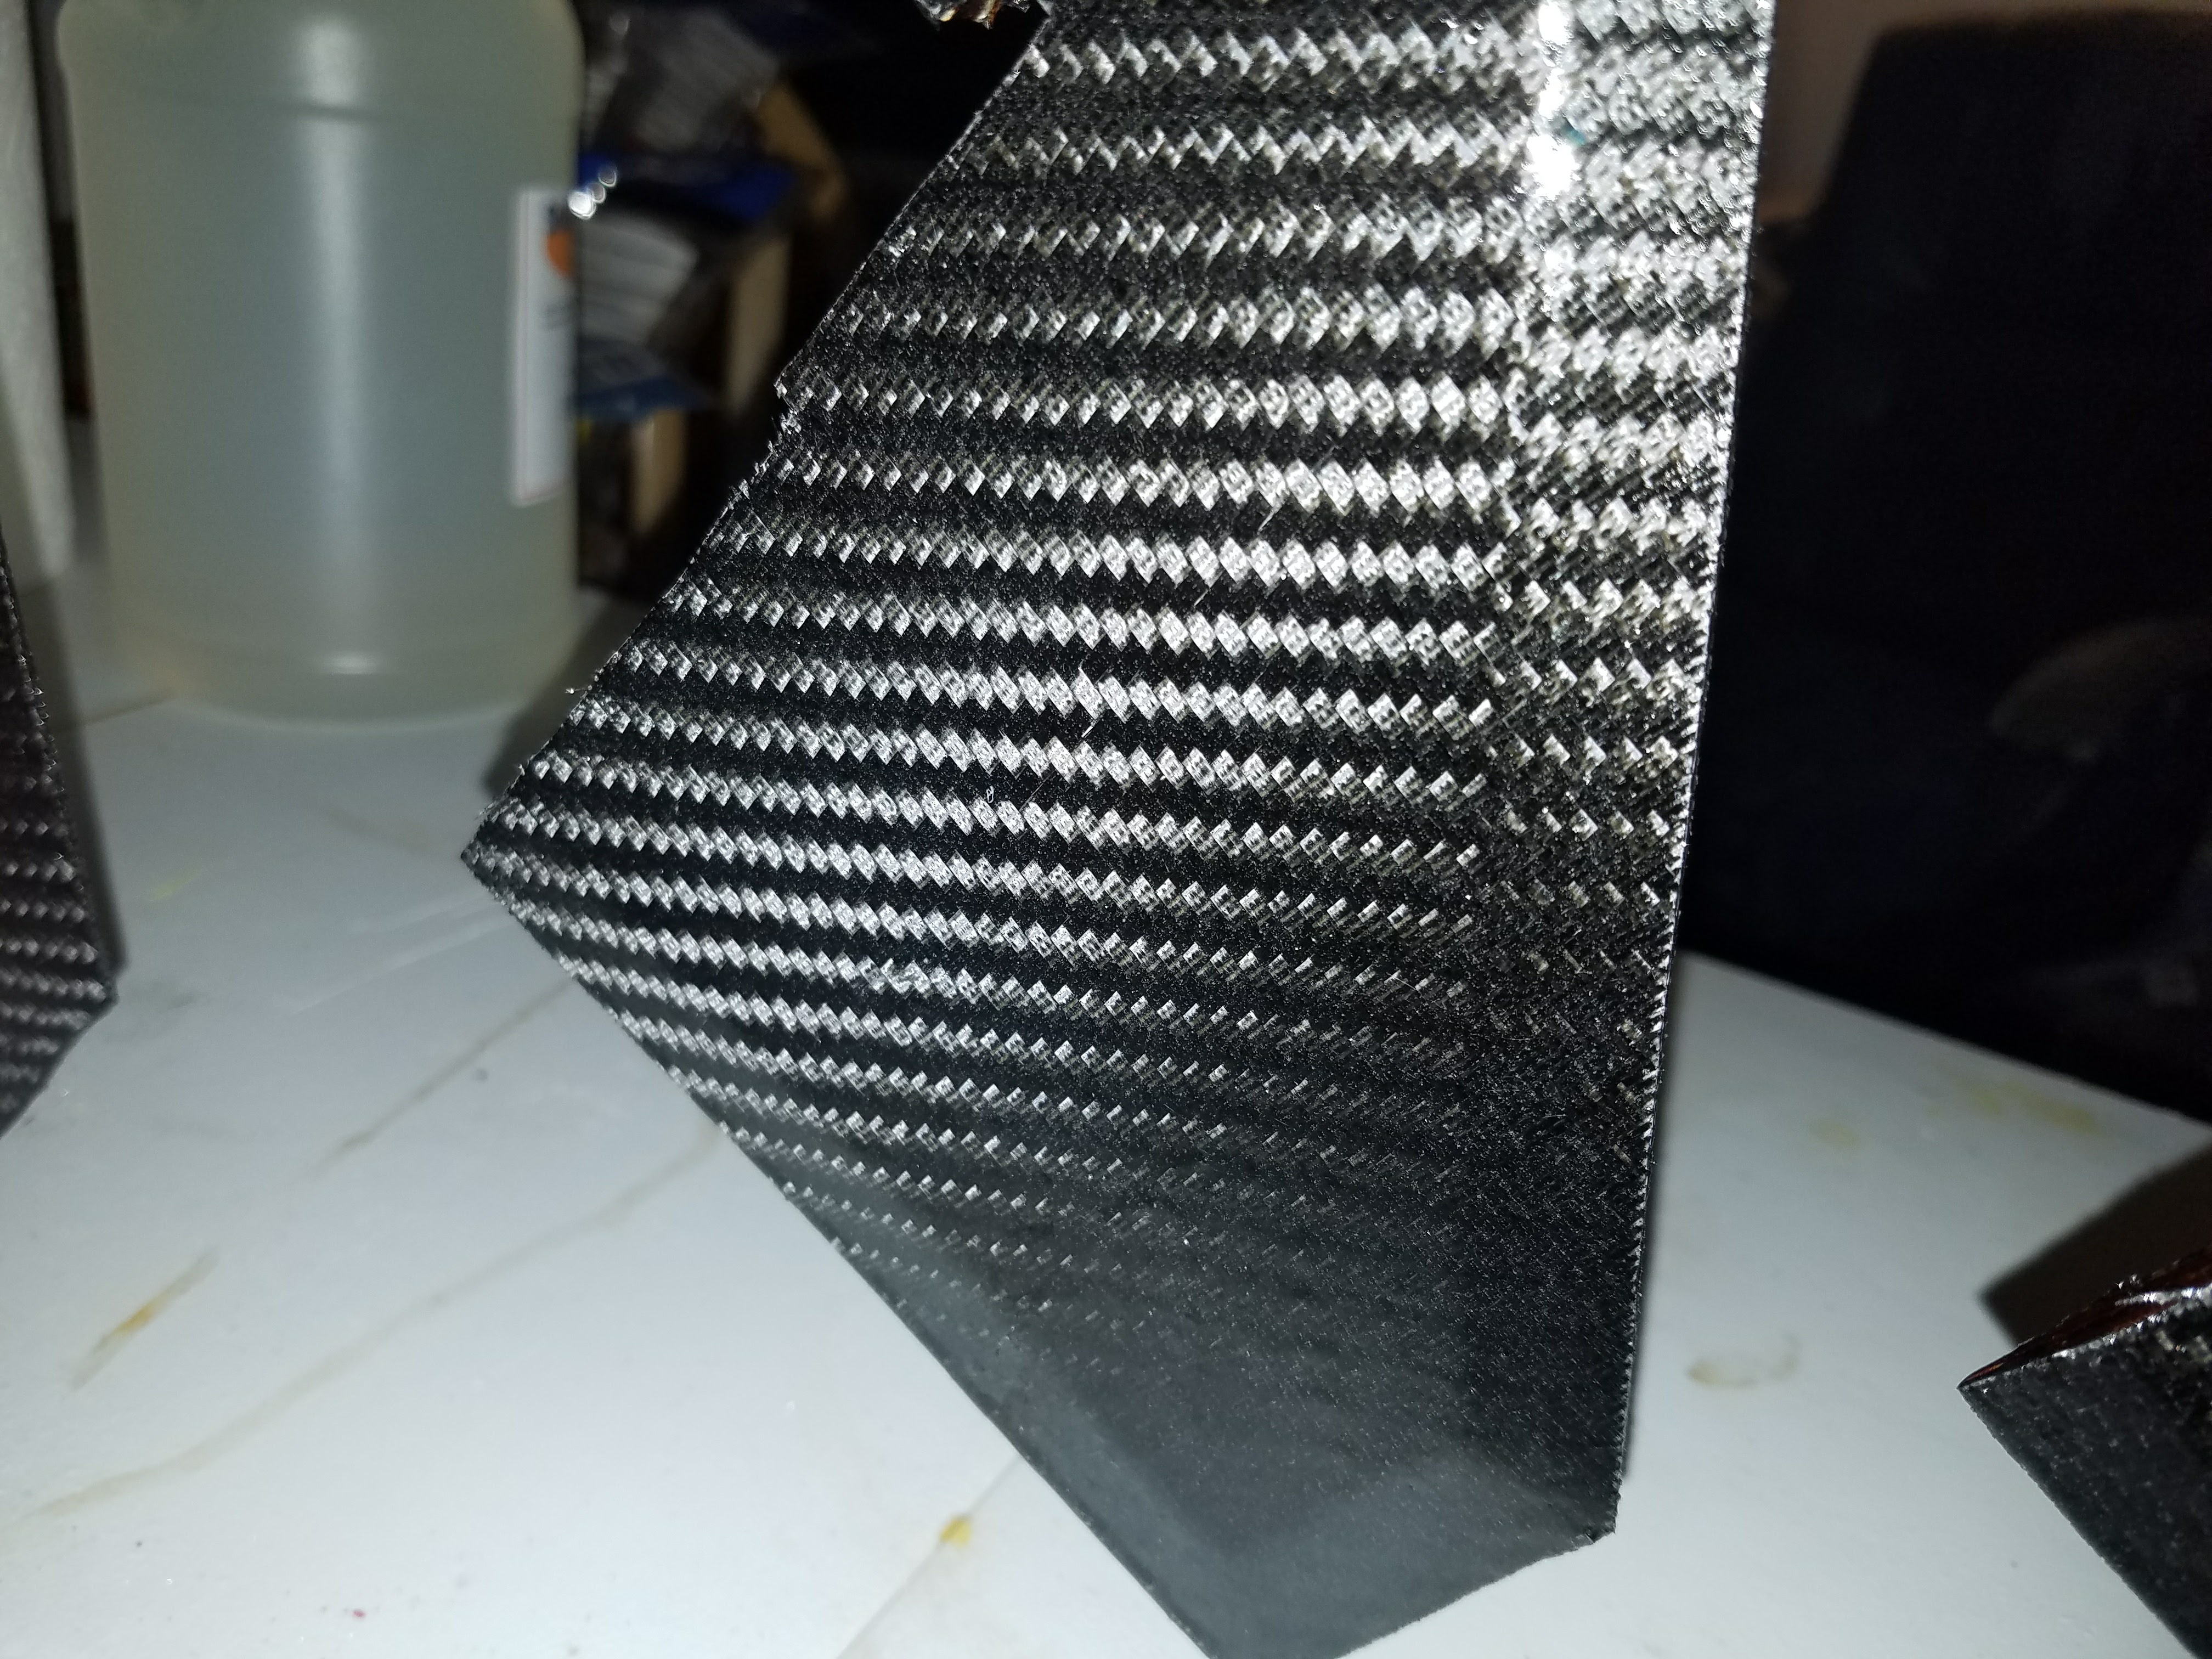
Fins after curing. The surface looks better than it is in this picture. There are a lot of surface irregularities to sand and polish out.
Epoxy curing times vary by thickness, temperature, and epoxy type, so judge your curing time based on experience with your epoxy, and also with the small 2 layers of fiberglass that you set aside at the end. The goal is for the epoxy to not feel sticky anymore, and the cloth should be fairly stiff, but still a little bendy. I’ve heard this referred to as the “leather stage”. Once your epoxy has gotten to this stage (it took about 5-6 hours for me), put on some gloves and cut open the vacuum bags. Carefully peel off the release fabric with the paper towels and dispose of it. You want a very sharp knife for the next step. I put new #11 blades in 2 Exacto knives for this. Carefully cut around the edges of each fin. The fabric and epoxy is pretty easy to cut at this stage, so the more accurately you cut now, the less sanding you’ll have to do later. I noticed at this point that the vaccum bag had pulled the release fabric tight enough that the holes in fiberglass layer weave were visible. The epoxy was cured beyond where the fabric would absorb more, so I mixed a small batch and did a light skim coat to fill the weave to make sanding easier. Since the epoxy was still flexible, a chemical bond is possible. From here, I let the fins cure completely for several days.
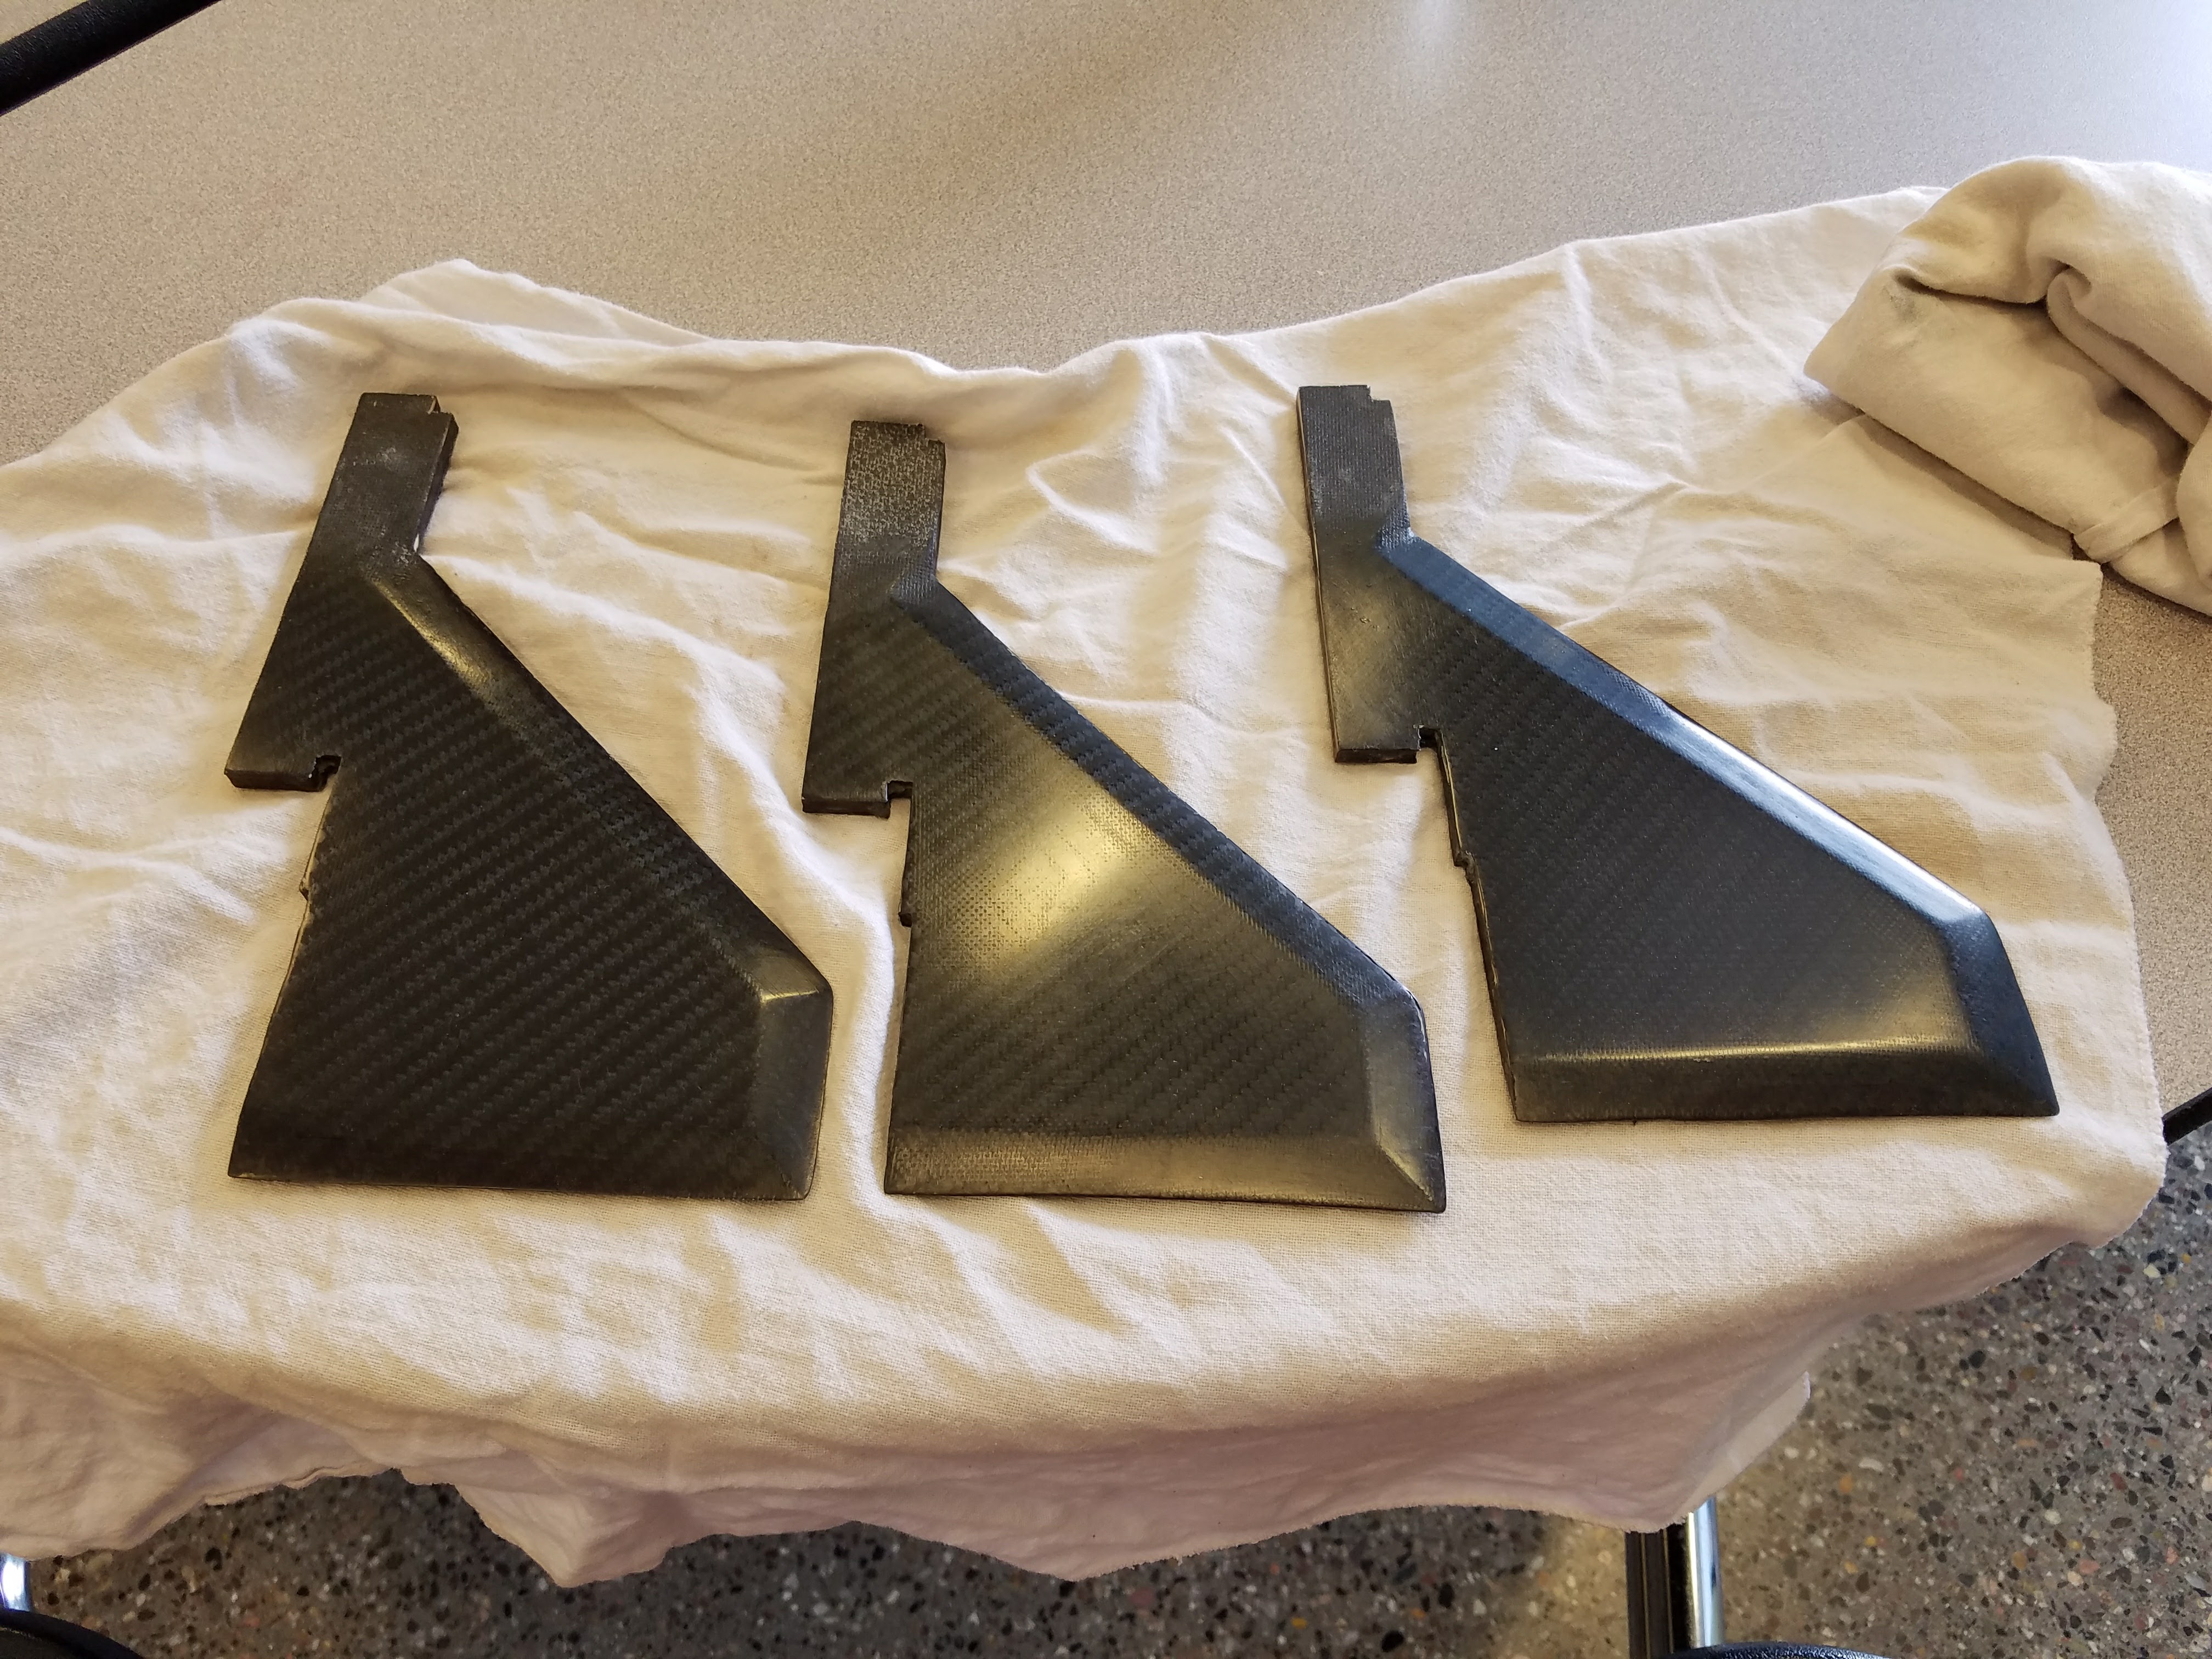
After sanding and polishing. I left the top part of the tabs alone since those need to be glued into the fin can later. 220 grit sandpaper will be used to rough up other parts of the fins as needed for a good bond.
The last step is sanding and polishing the fins. I used a sanding block with 120 and 180 grit sandpaper to ensure the surfaces were flat, and then I hand sanded with grits 220, 400, 600, 800, 1500, and 2000. Be careful not to sand all the was through the fiberglass layer. That layer is sacrificial to allow you to get a smooth finish without sanding into the carbon fiber. With each grit, sand perpendicularly to the previous grit, and sand until the marks from the previous grit have been removed. Don’t press too hard; let the sandpaper do the work to avoid any gouges in the work. When you’re done with the 2000 grit paper, the surface should be very smooth. It won’t be mirrored, but it will look somewhat semi-gloss in appearance, and you should be able to clearly see the weave of the carbon fiber through what’s left of the fiberglass sanding veil. At this point, I took the fins to my grinder and used a cotton buffing wheel with a #4 white polishing compound, and the fins came out quite nicely! To get that little bit of extra shine, I applied some Minwax paste finishing wax and buffed it off after it dried with a clean, soft cotton cloth. The resulting fins look great! I’ll use some masking tape and 220 grit sandpaper to rough up the surfaces that I will be joining in the fin can with epoxy, and the areas where I’ll apply the fin fillets later. With the fins done, I’m finally ready to start building this rocket.
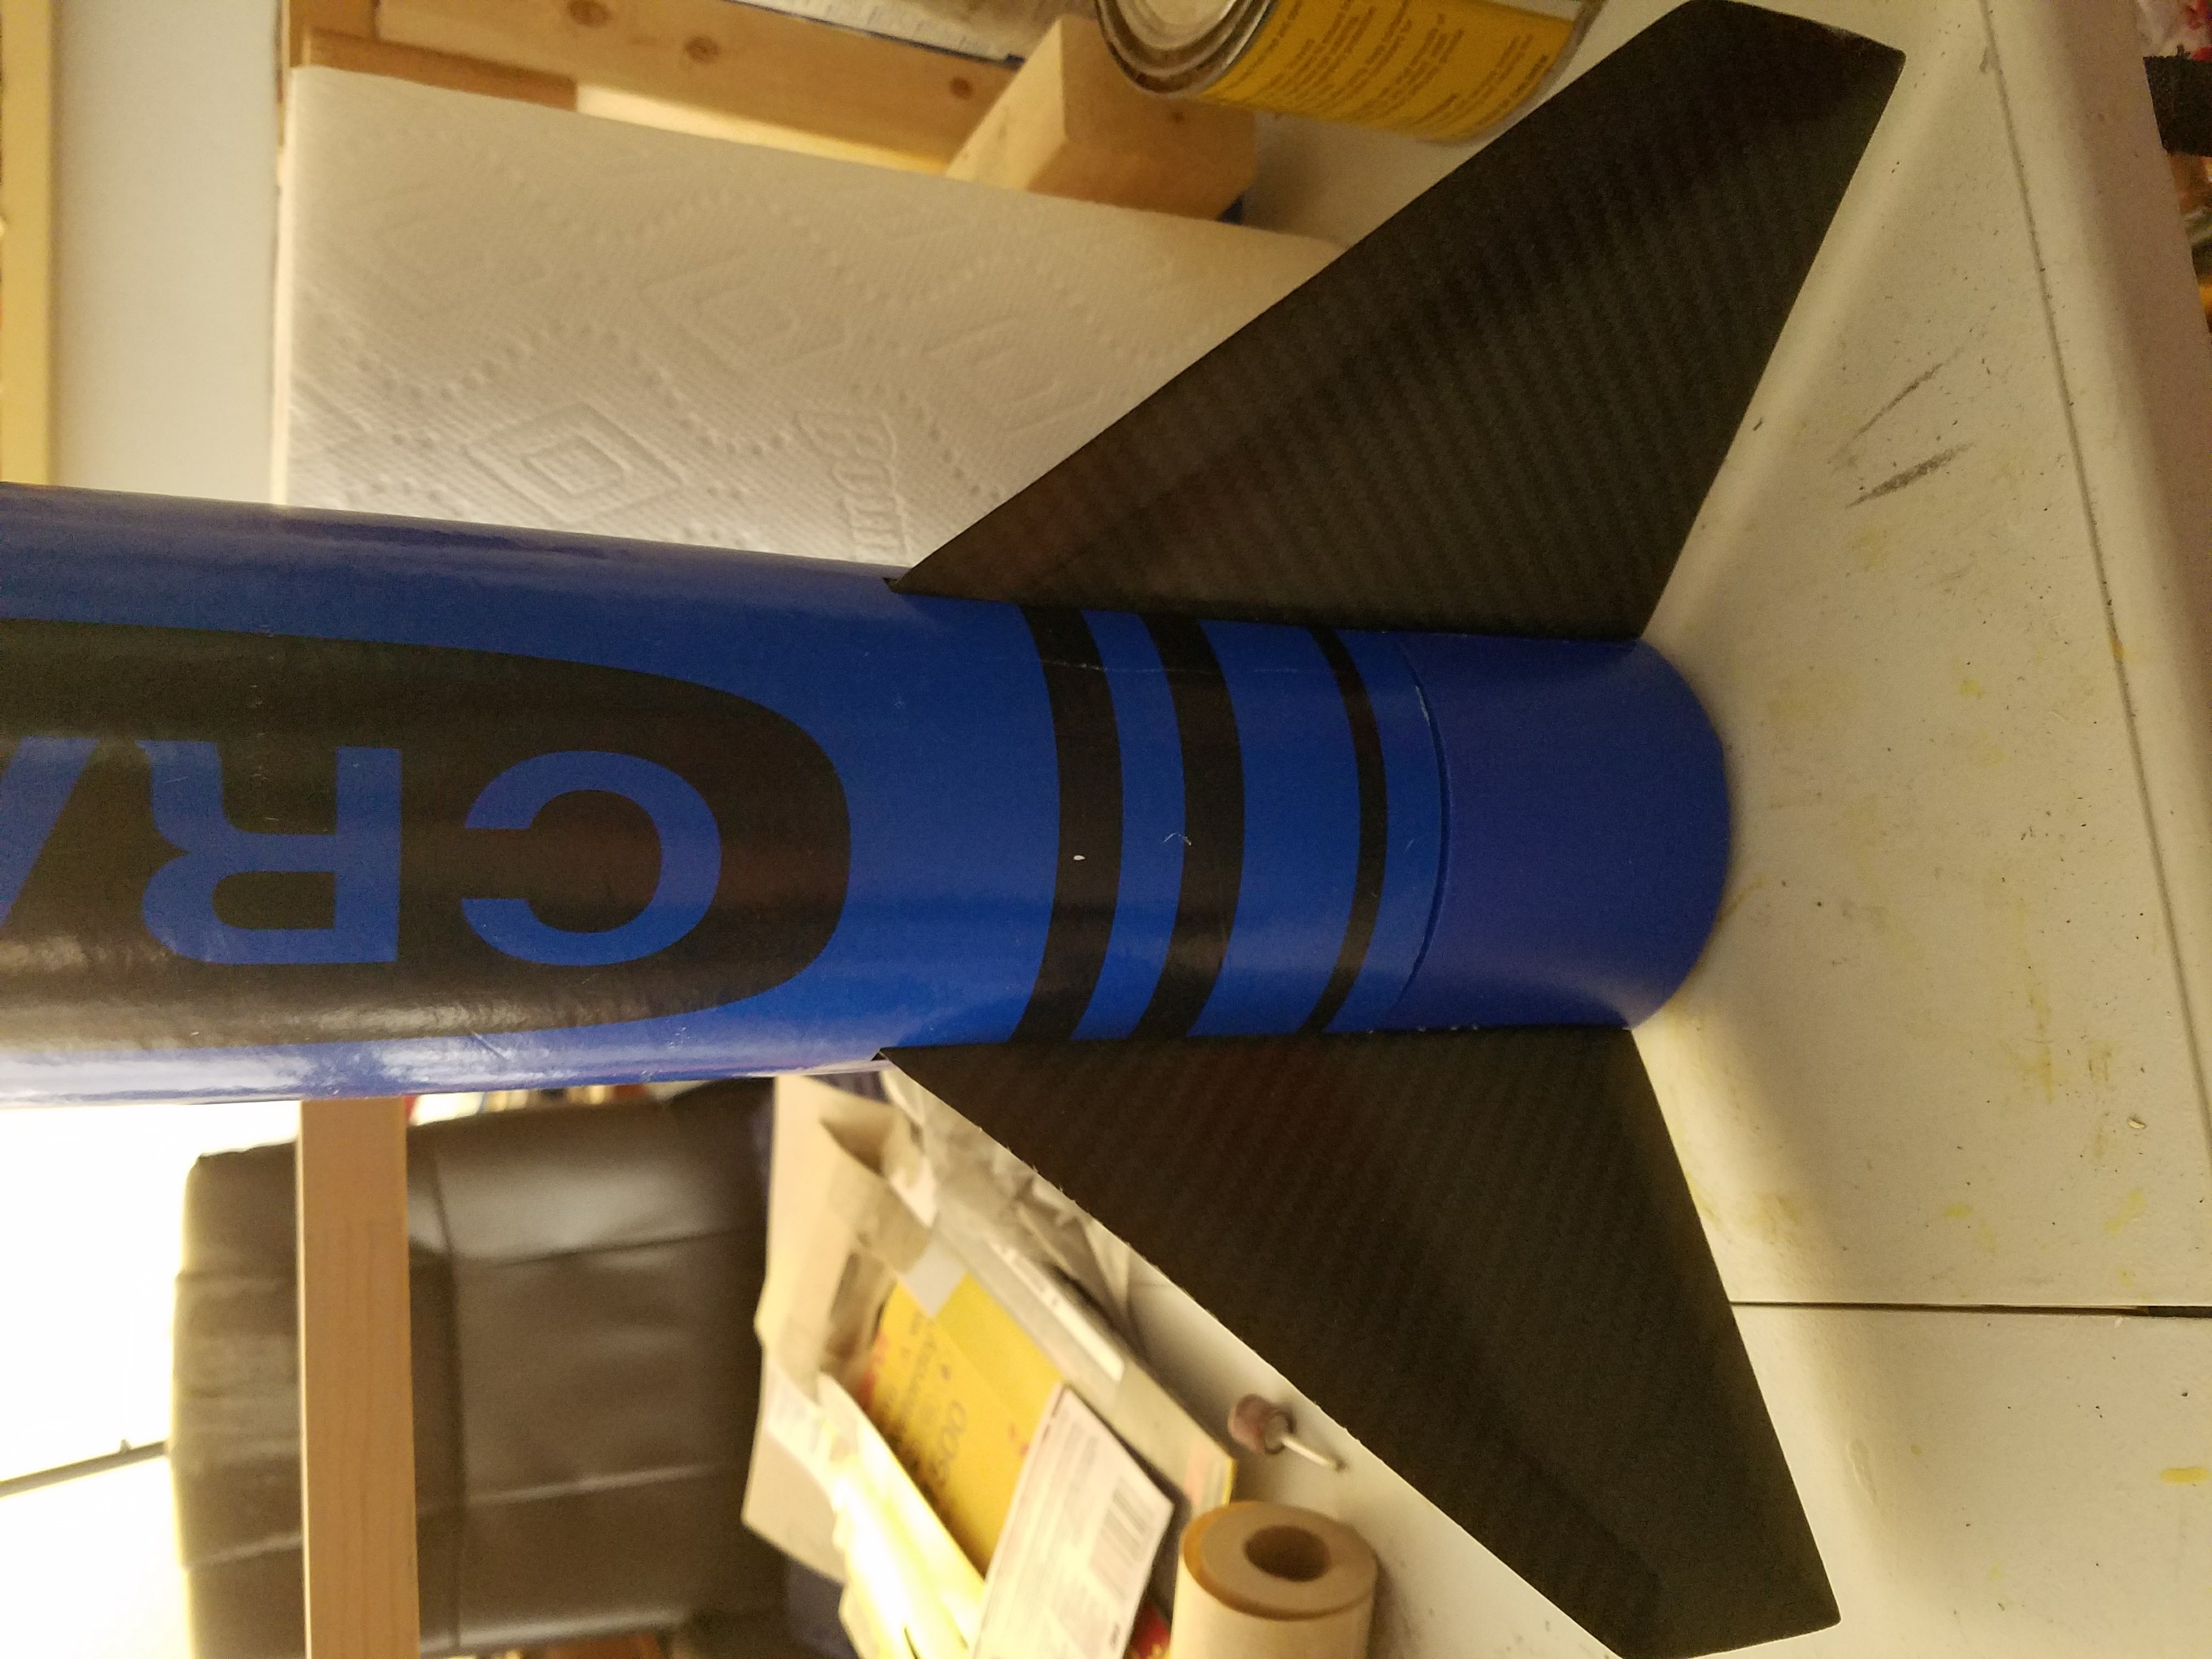
Dry-fit assembly with the finished fins.
I had to do a little work on the kit’s centering rings to get them to fit the fins now that they are a bit thicker, but with all that work complete, I dry-fit the fins with the motor mount tube, centering rings, body tube, and plastic end cap. The resulting assembly looks fantastic! I can’t wait to start building the rocket with them. Aside from giving the fins a great look, the beveled edge and carbon fiber should increase performance and give the fins a lot of added strength to handle the larger motor I plan to fly it with.