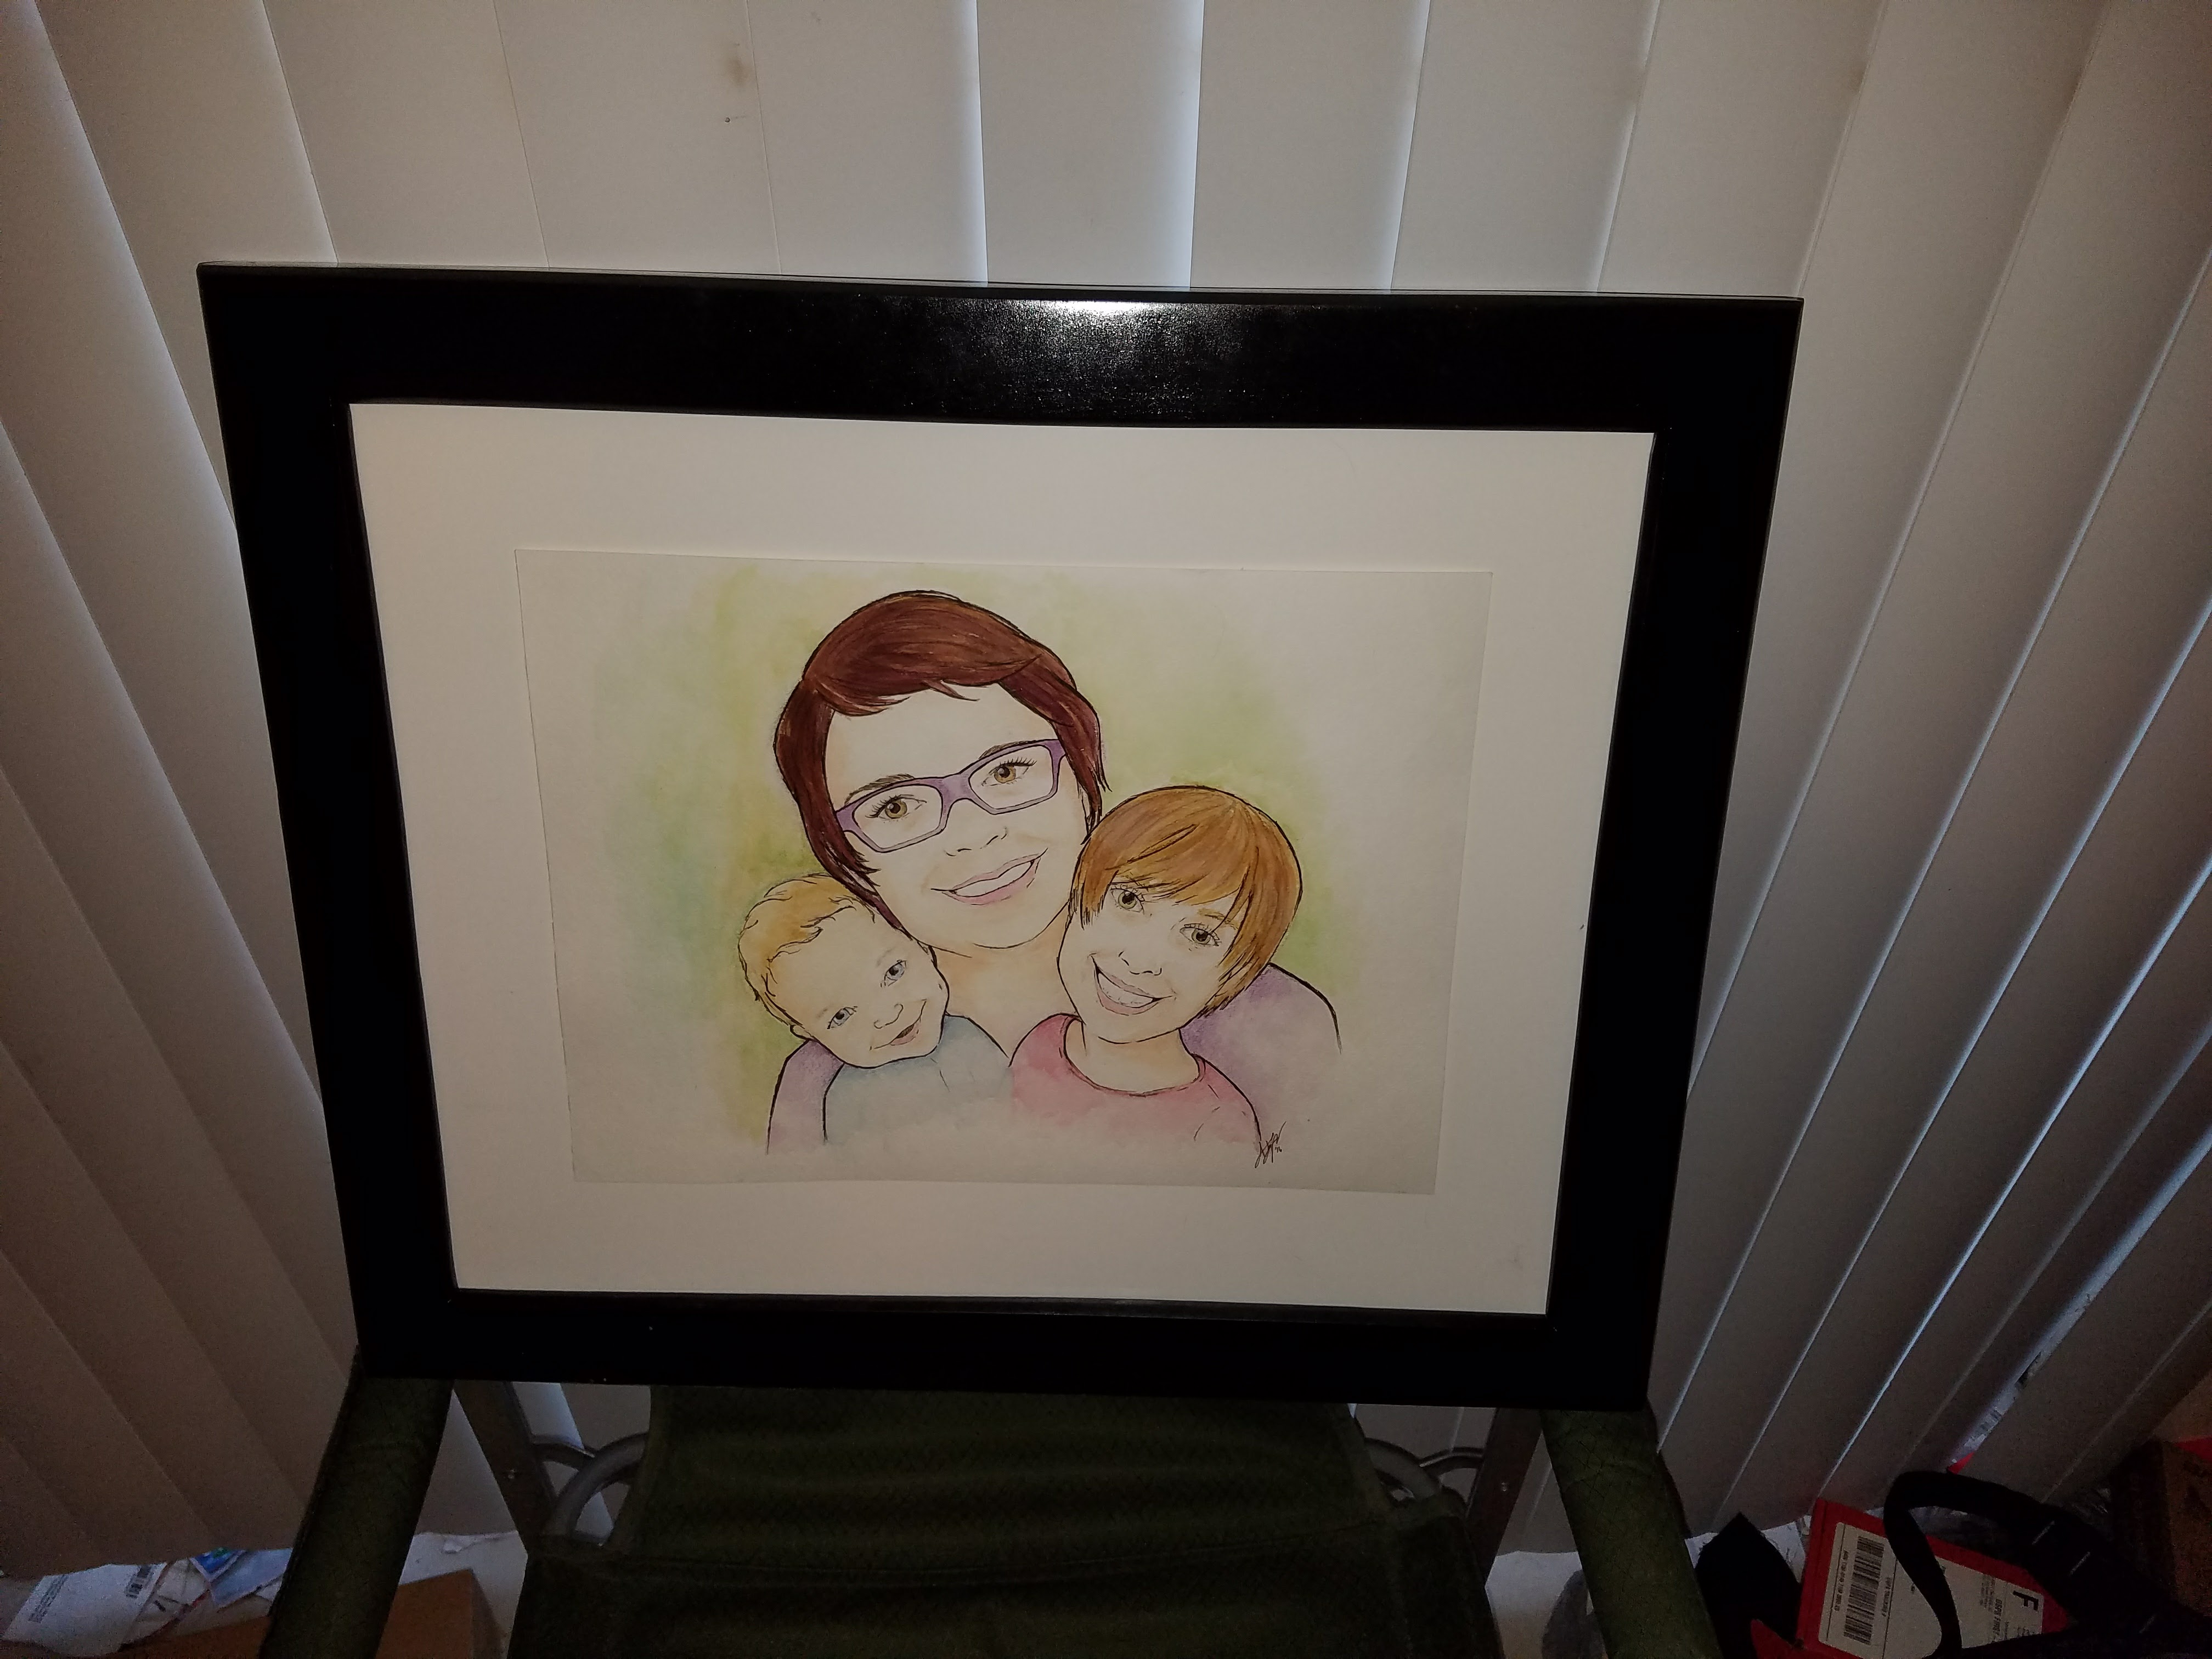
 Ariel Lyons, a fantastic artist whom you should contact for all your art commissioning needs via her Facebook page https://www.facebook.com/priddylyons/, painted a family portrait for my sister-in-law. I’ve done some picture framing before, and I’ve made a few custom frames in the past, but this project is different. This is a one-of-a-kind piece of original art, and that means we have to take the frame package much more seriously. For this type of frame package, we want to be sure that everything is acid-free (I know, wood frame, I’ll get to that); not only should things be acid-free, but the mat board should be buffered as well to prevent environmental pollutants from causing harm. The glass should be UV filtered to prevent fading, the frame package should be sealed against dust while allowing it to breathe, and the art must not touch the glazing to prevent humidity (and worst case, condensation) from damaging the art.
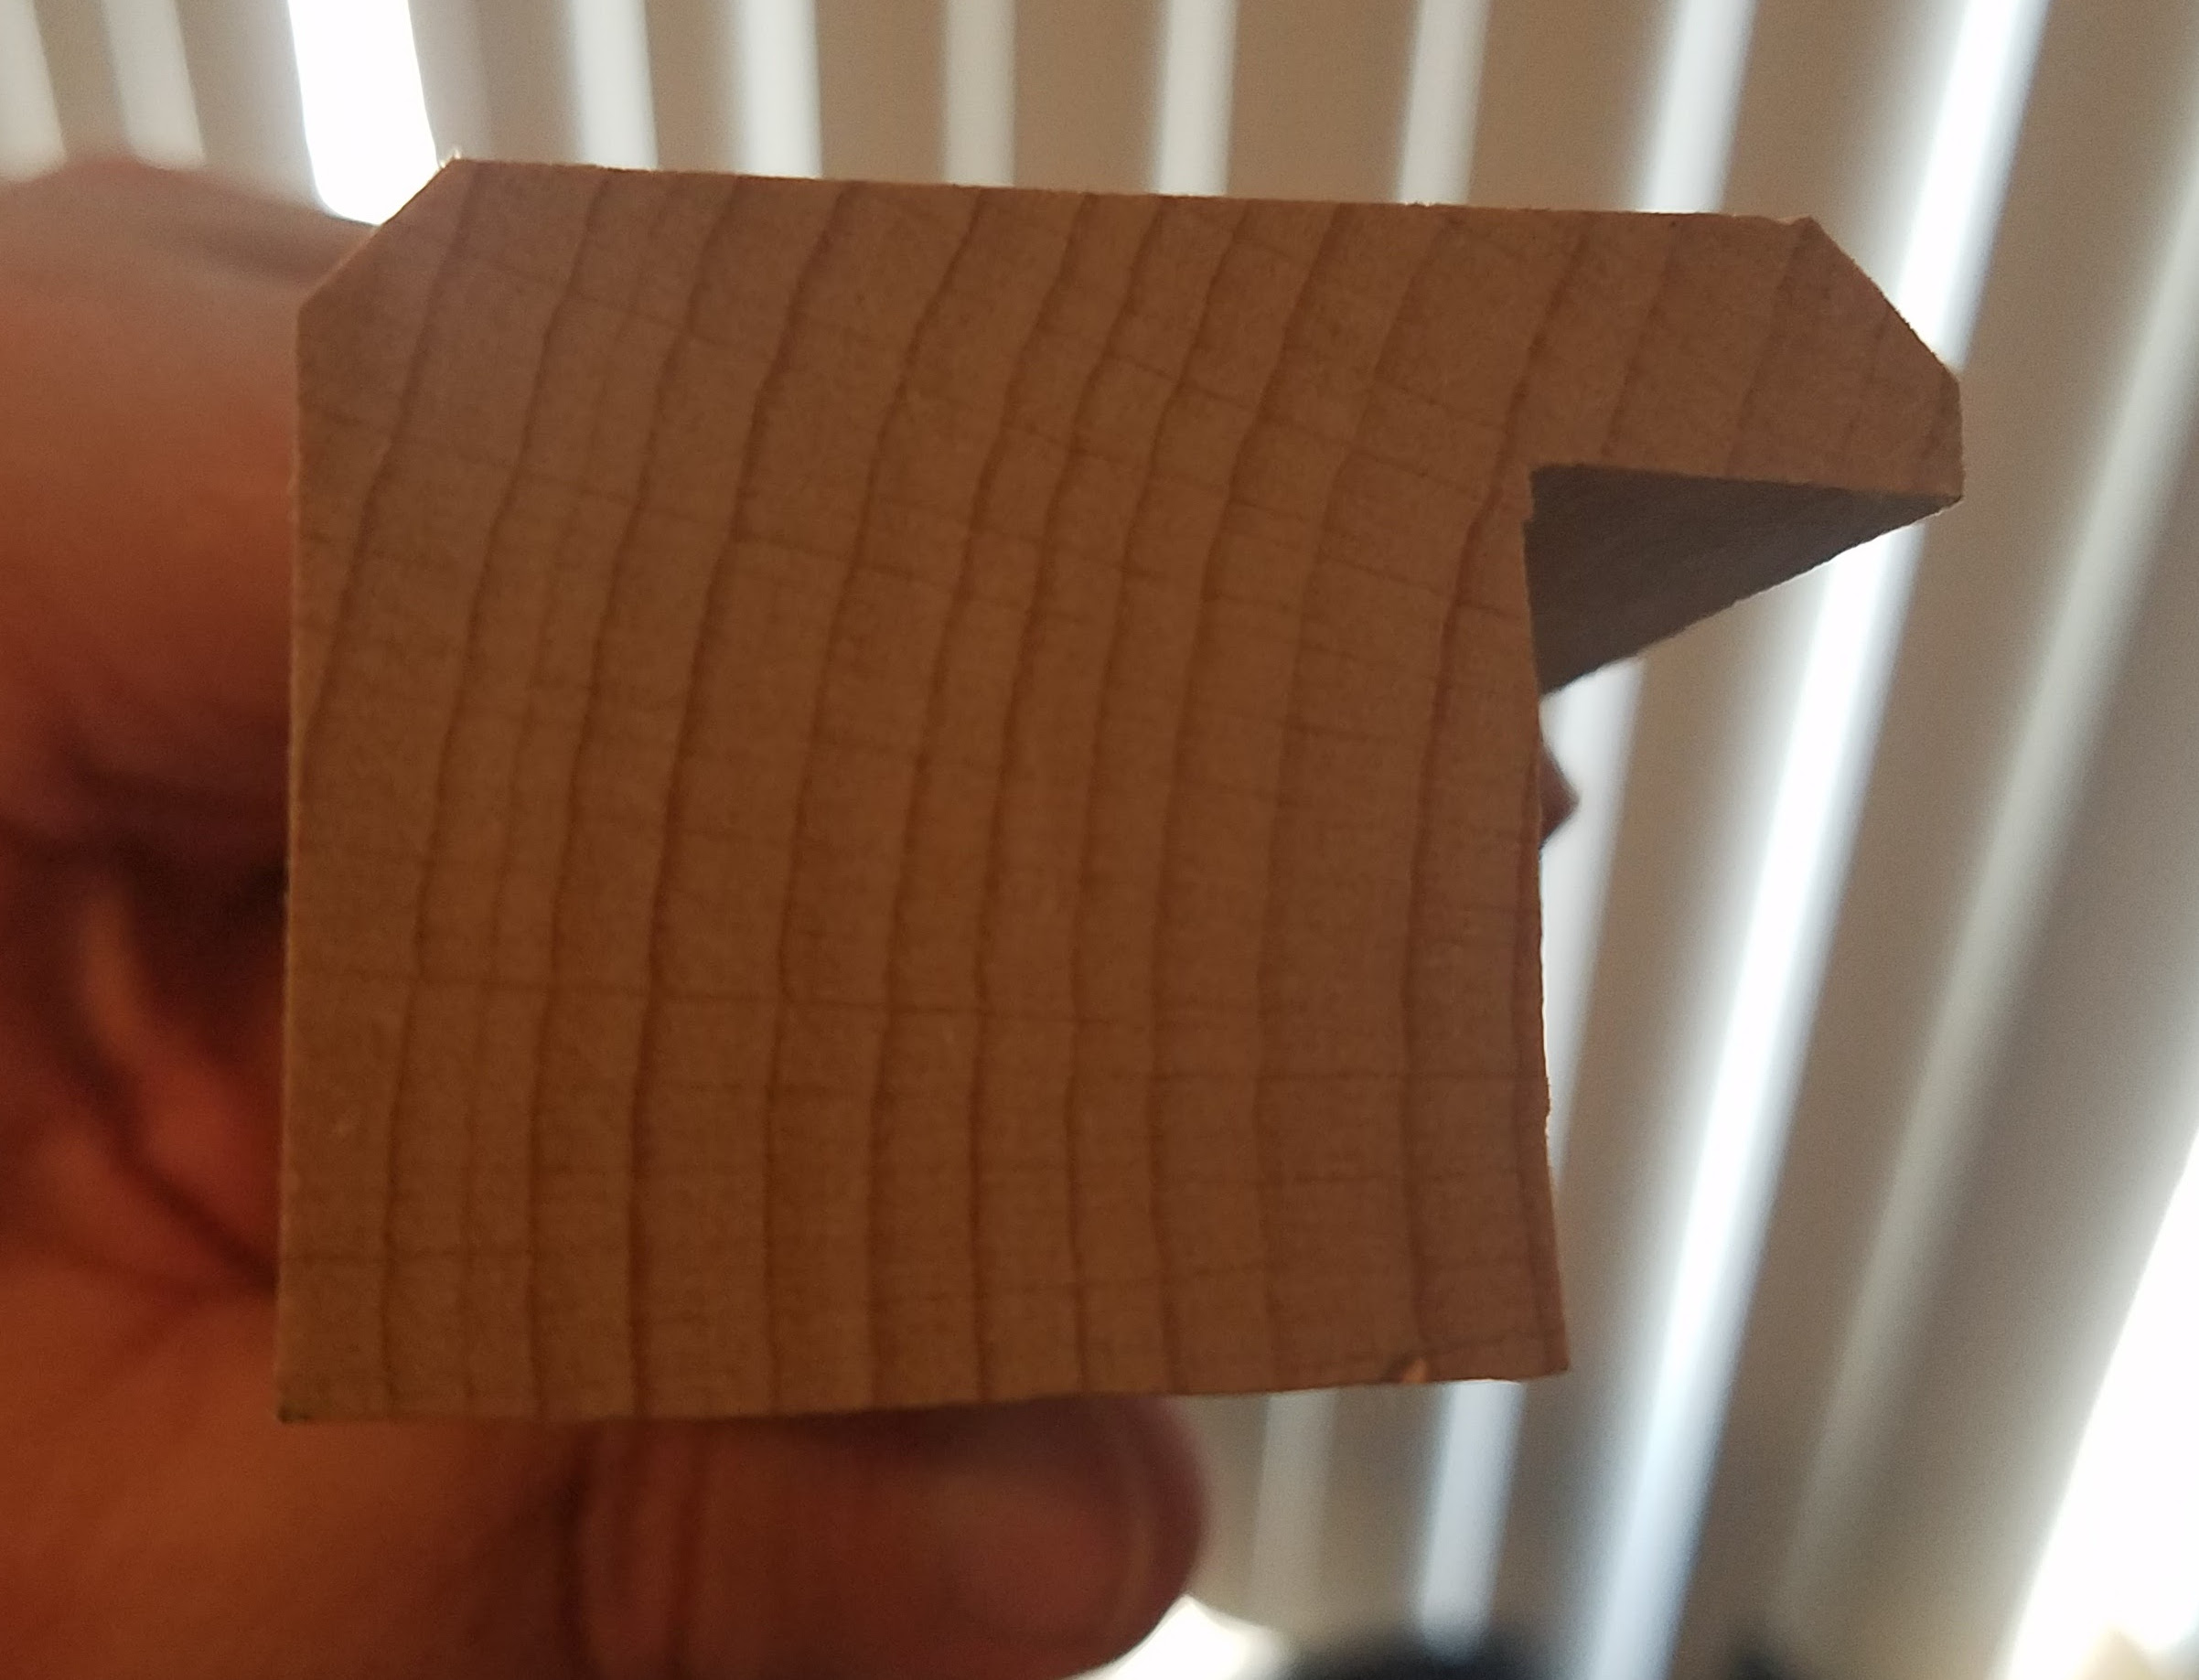 Now that we have our requirements, let’s get to work. Step 1, we need a frame. The plan is to make a simple, black frame out of wood. For this, I chose European Beech. Beech is a lovely wood to work with, but it can stain irregularly if you’re not careful. I’m using an alcohol-based aniline dye which the beech will take beautifully. For the frame molding, I’m starting with an 8/4 S2S beech board, and I had my local wood supplier straight-line one edge for me (making it S3S). While fancy tools like routers and dado blades can make some of this easier, I did all of my work on the table saw with just a simple combination blade. The planed thickness of the board was 1 7/8″ which is perfect for my frame width, so next I ripped two pieces 1 5/16″ wide. The board is long enough that I can get two frame pieces out of each molding blank. Next I made a cut 1″ tall 1/2″ in from one edge, and then I setup the saw to cut out the rabbet leaving a 5/16″ lip 1/2″ deep to hold the contents of the frame. I calculated that the depth I need for this frame job is about 3/4″, so having the 1″ depth gives me a little wiggle room. With the rabbet cut, I setup the table saw for a 45° chamfer, and I cut a chamfer on both the inside and outside edges of the frame. A little sanding to clean up the saw marks, and the frame molding is complete.
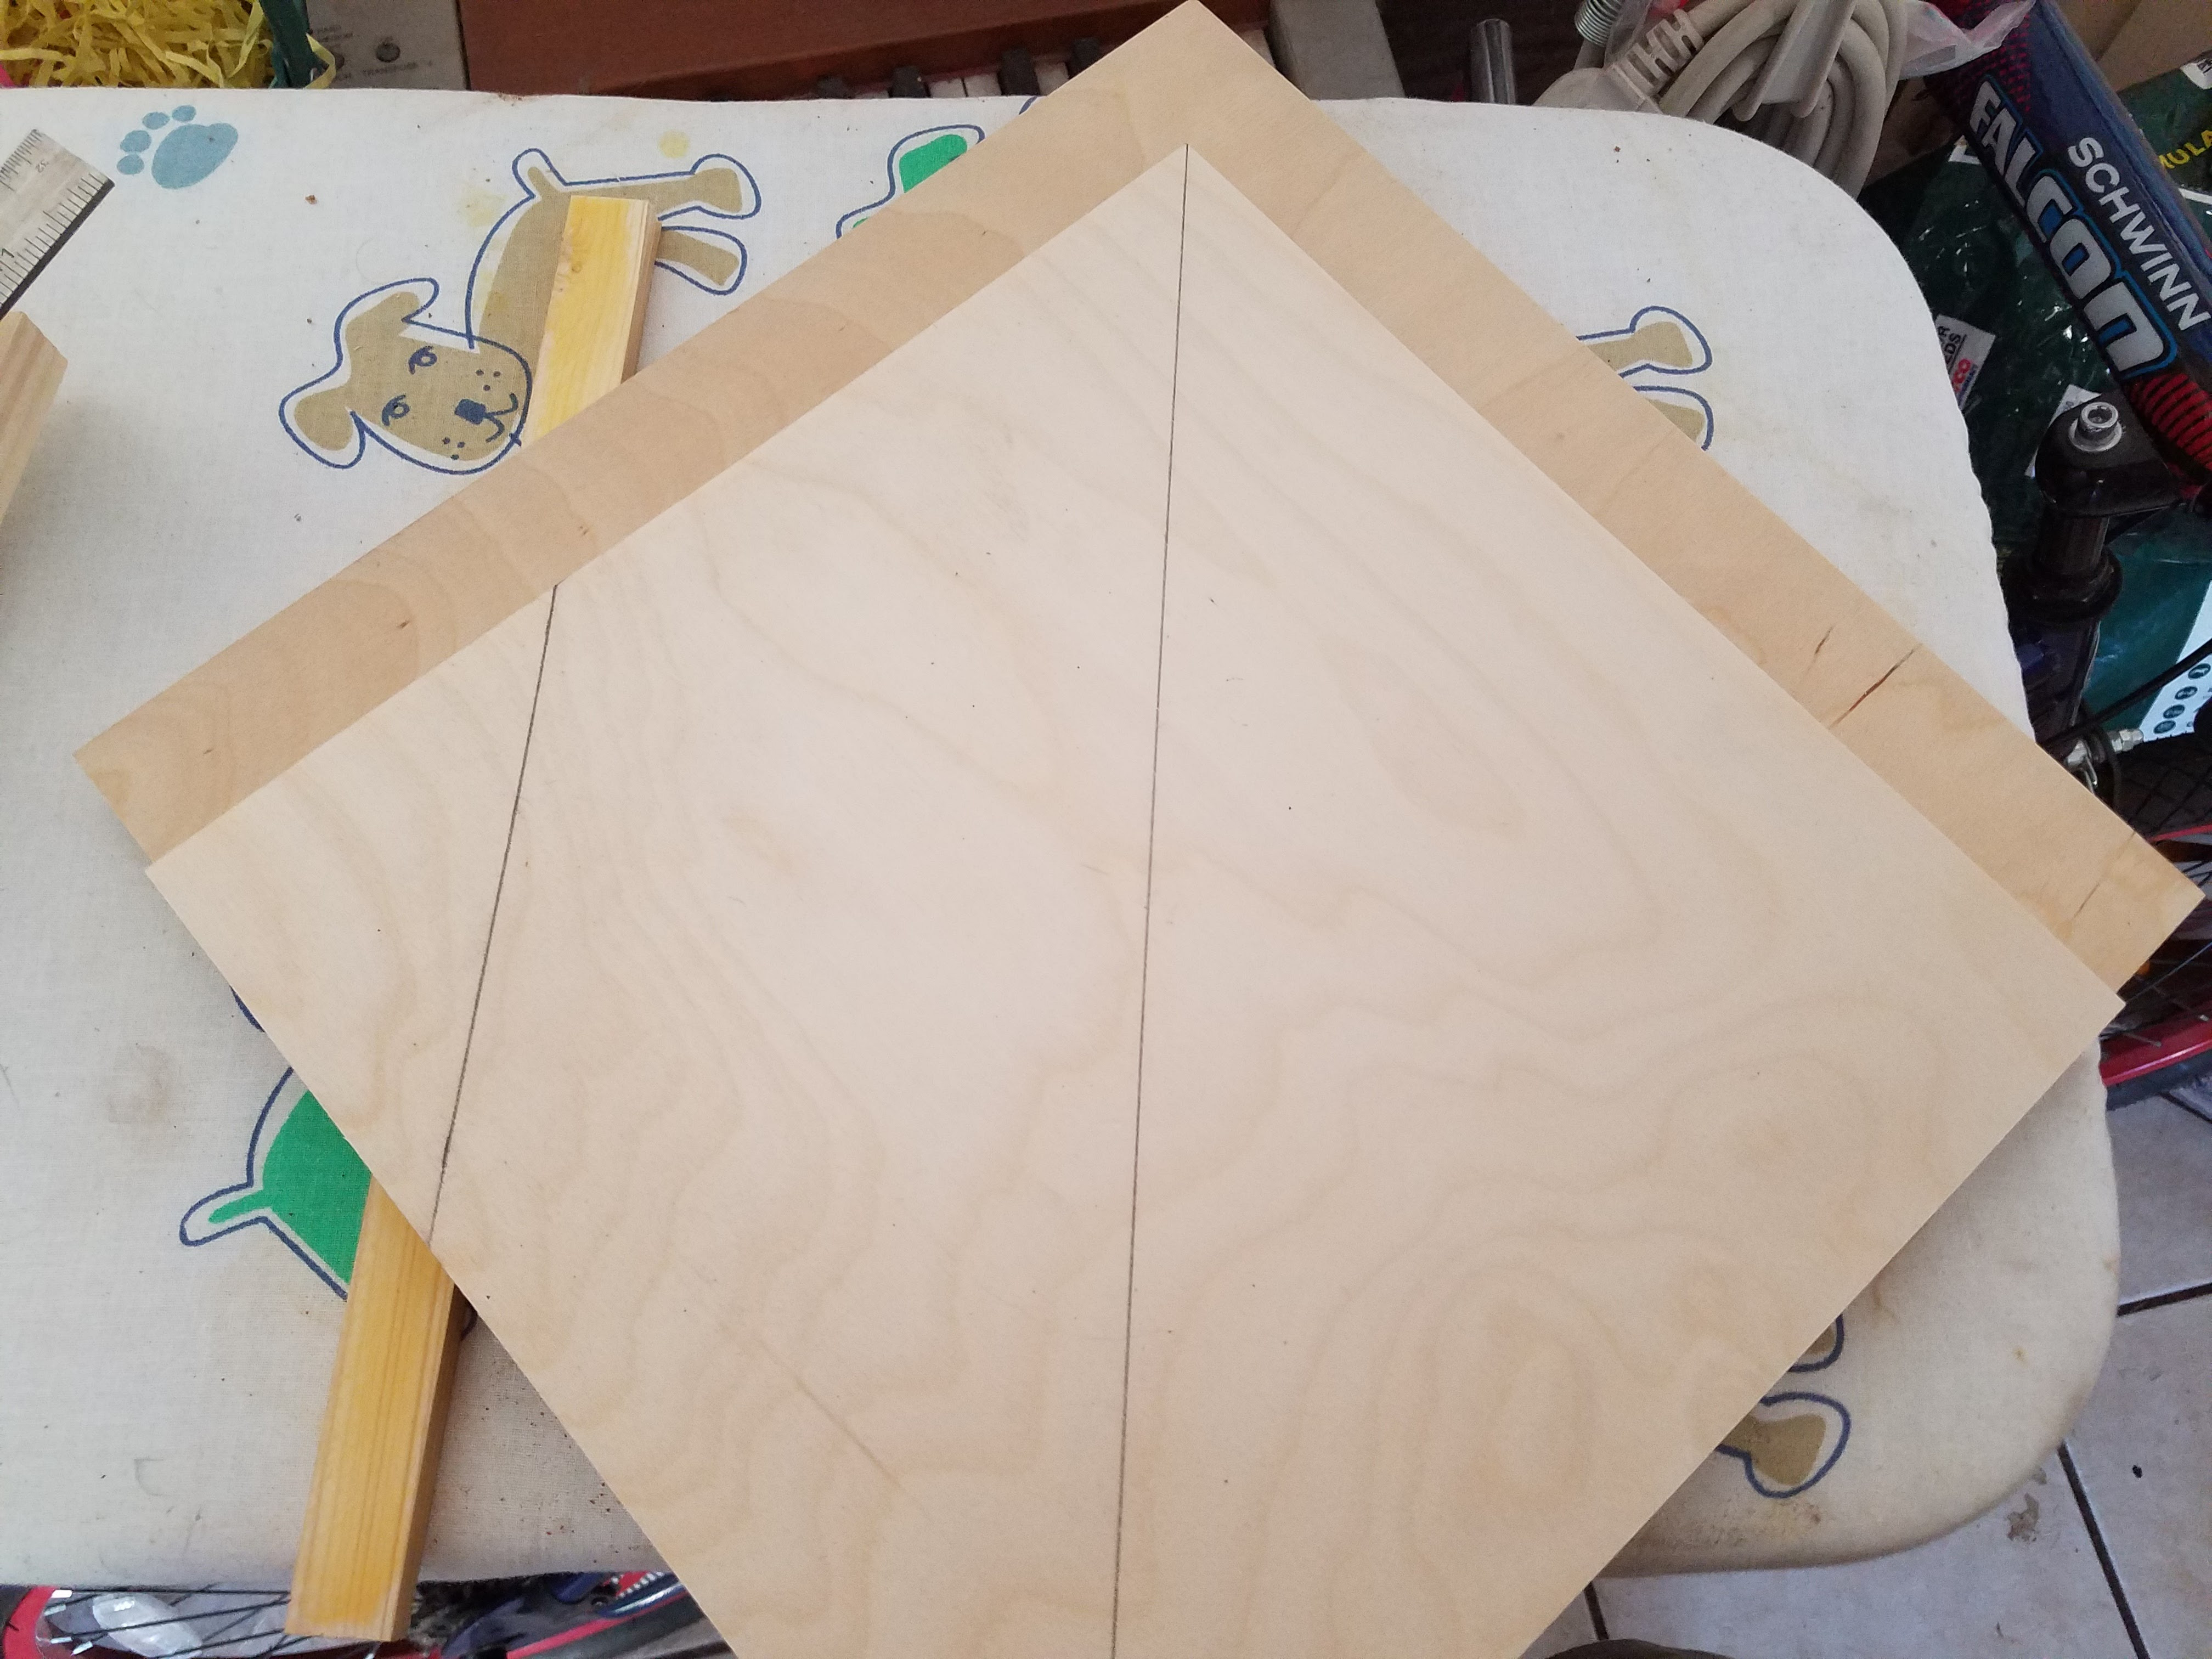 Next the molding needs to be cut into the 4 frame pieces. The painting is 11″ x 15″, I want a 2″ mat around it, and there’s the 1/2″ rabbet, so that means my framing components will all be sized to 16″ x 20″. I’m adding 3/16″ to that to give a little wiggle room for spacers, normal expansion due to temperature & humidity, and in case the glazing or mat board aren’t cut perfectly to size. Now let’s math. If you take the size of the side (mat size plus 3/16″) and subtract twice the rabbet width, you get the frame opening length of that side. Since we’re dealing with 45° miters, add to that twice the width of the molding, and you have the length of the side from long point to long point. Double and triple check your math and your measurements before cutting your miters. I have a fancy laser guided miter saw, but I’m going back to the table saw to cut the miters with a simple miter jig. This jig is a 1/4″ piece of plywood, 12″ x 12″, with a 1/2″ piece of plywood, 8″ x 8″, glued on as a fence. Check everything very carefully for 45° and for square, and glue on a runner to ride in your miter slot. If you glued everything together just right, you’ll get a perfect miter, but the great thing about this jig, is that even is something is slightly off, by using this jig, you will get a perfect 90° corner every time by using opposite sides of the miter fence. Carefully cut your miters, be sure the opposing sides are exactly the same length or your frame will be cattywampus. Now glue your frame together. There’s a million ways of doing this, but I want a frame that will stand the test of time, so I’m using the spline technique found on one of my favorite woodworking sites, https://woodgears.ca/frame/glue_miter.html, and a corner clamp.
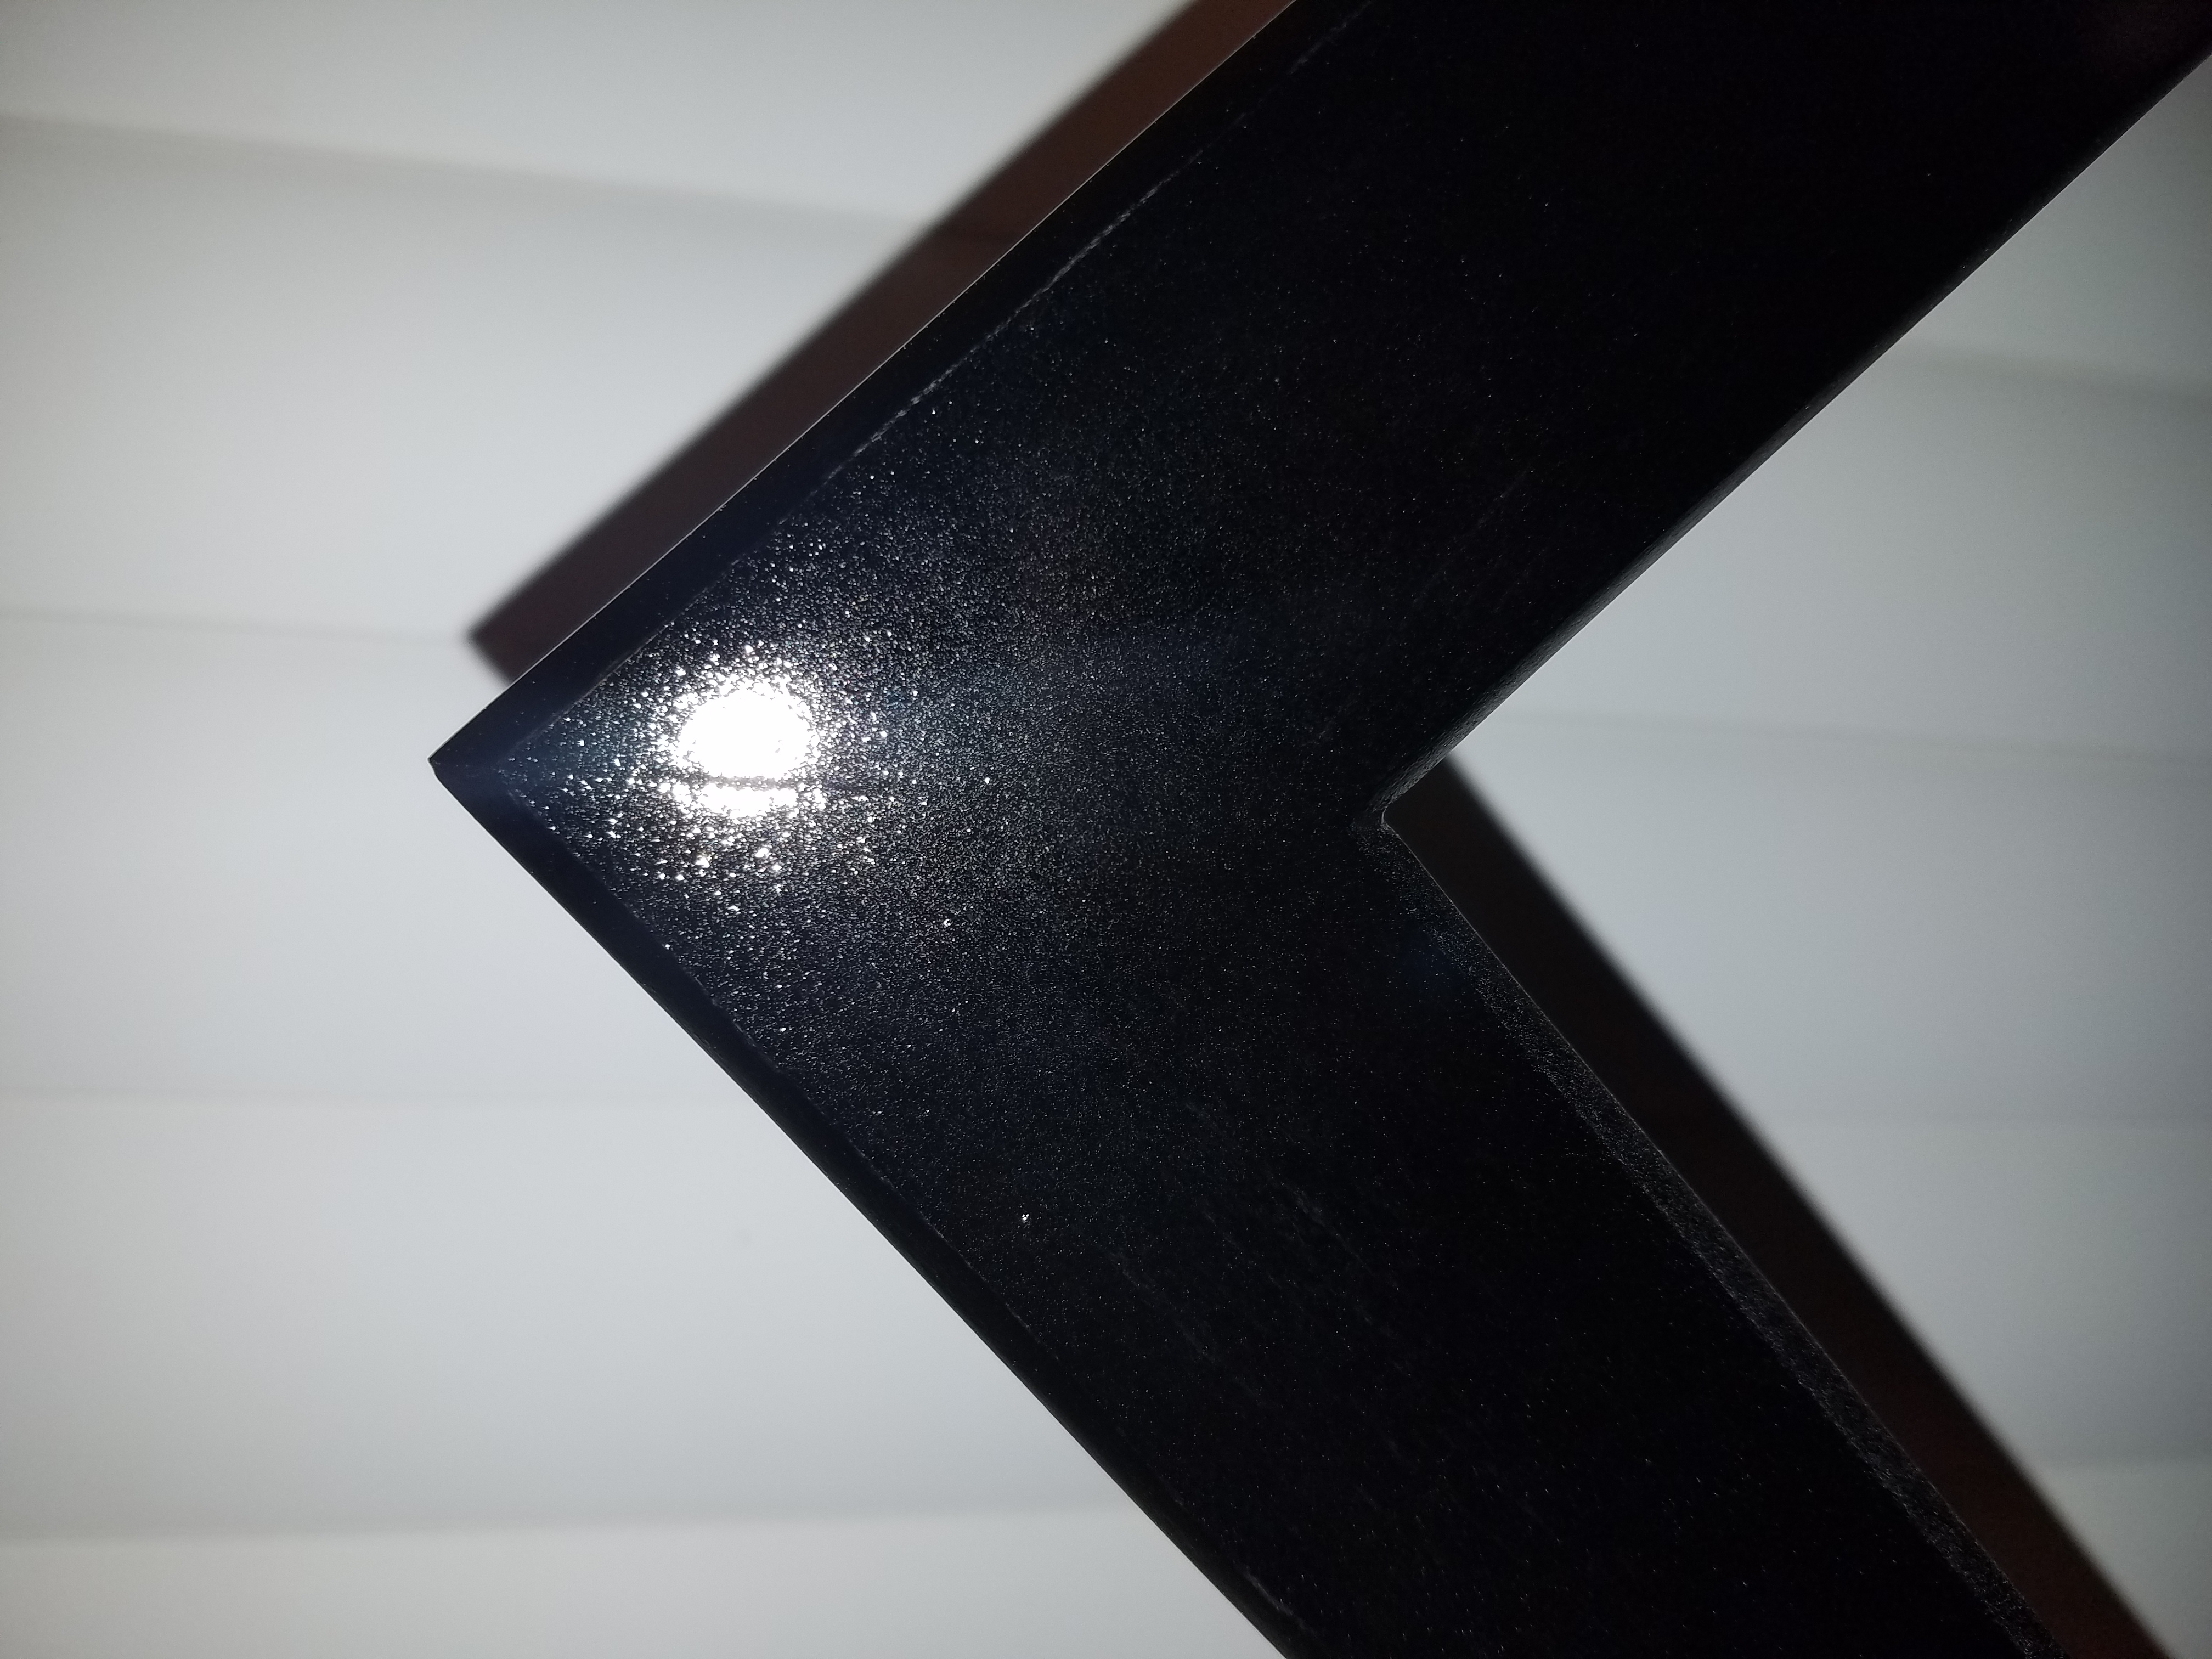 With the frame glued together, it’s time for some final sanding, applying the jet black aniline dye, and a lacquer finish. For the aniline dye, be sure you get one that’s alcohol based; it might also be labeled as non grain raising. For the finish, I’m going with a lacquer because it’s a durable, long-lasting, easy to repair finish. I applied 5 coats of the lacquer, sanded it with 320 & then 400 grit paper, then I touched up the dye as necessary and applied 3 more coats of the lacquer. The resulting finish looks fantastic.
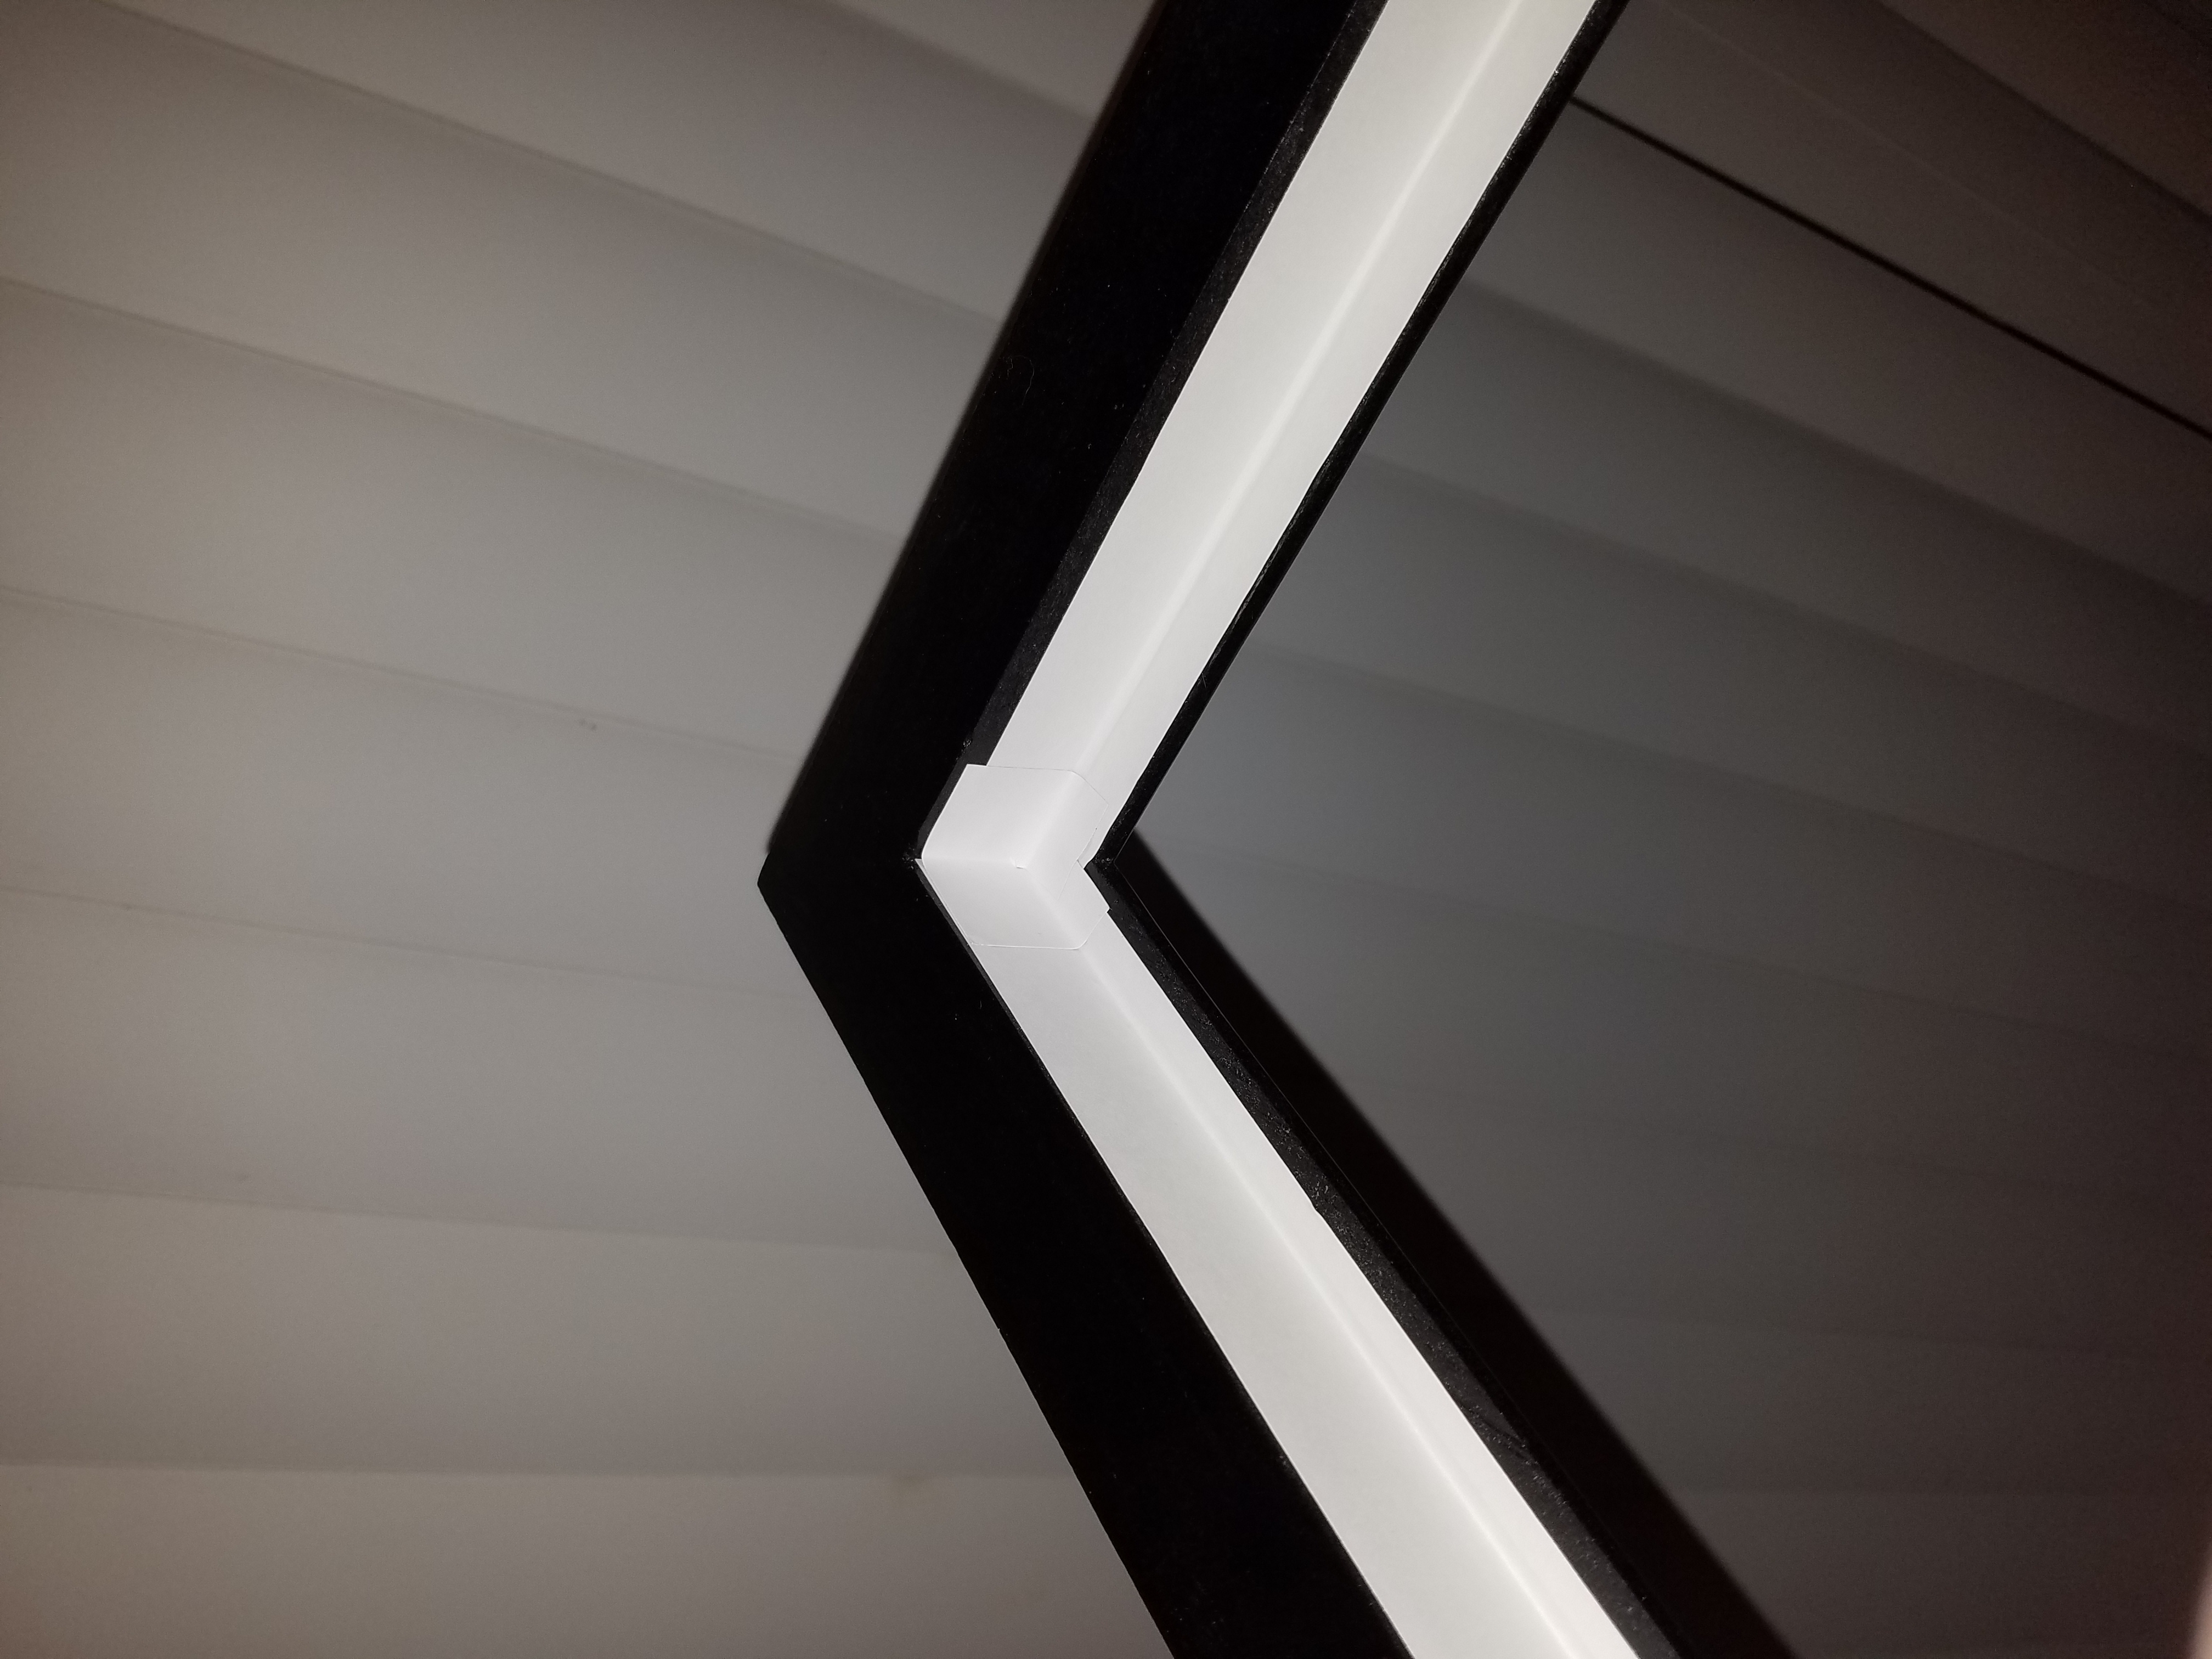 Now it’s time to assemble the frame package. First, let’s acknowledge something we ignored earlier… Wood is acidic. You let wood touch your paper artwork and the edges of your artwork will brown and become brittle, so how are we going to get away with a wood frame in our conservation framing project? Frame sealing tape. Lineco makes a frame sealing tape with a foil layer that’s permanent and acid-free. Typically it is used instead of or in addition to the dust cover, but we can also use it to seal the inside of the frame’s rabbet. With our layer of frame sealing tape, we can now construct a museum quality frame package that will protect our artwork for many years.
 The next piece to go into the frame is the glazing. We can go with either glass or acrylic, and both are made with UV filtering and even anti-reflective coatings. For this project, I chose Acrylite, a UV filtering, anti-glare museum-quality acrylic product that is perfect for this project. This art will be pedestal float mounted, so the acrylic gets installed with frame spacers to give a proper air gap. The view through the acrylic looks a bit fuzzy due to the anti-glare finish on it. The art will be sitting close to the acrylic and will not look distorted; the nature of the anti-glare finish introduces distortion as the distance between the art and the acrylic increases.
 To mount the painting, I’m using a gummed linen tape. I like the gummed in preference to self-adhesive products because it’s easier to reverse in the future, yet it’s still easier to use than wheat starch. The linen is a bit strong for this, a thin Japanese rice paper would probably be a better choice, but if we give the artwork some room to move, I think we’ll be alright. Using a piece of 4-ply rag board that’s a little smaller than the painting, install two hinges at the top, a hinge on each side, and one hinge loosely at the bottom. There are various hinge techniques; I’m using a slit-hinge for this. The idea of the bottom hinge is to hold the painting if the frame is turned upside-down in transit, but keep it loose so the paper can expand and contract with temperature and humidity. The side hinges are there to keep the art from bowing; unfortunately, the post office wasn’t friendly to the painting in transit, so I’m trading off some potential buckling in the future for overall flatness here. If your art is perfectly flat, you don’t need the side hinges, and if you’re certain the art will always be transported and handled upright, you don’t need the bottom hinge. Apply the gummed linen tape as dry as possible, and immediately put a piece of blotting paper and a weight on top to prevent any crinkling as the tape dries completely.
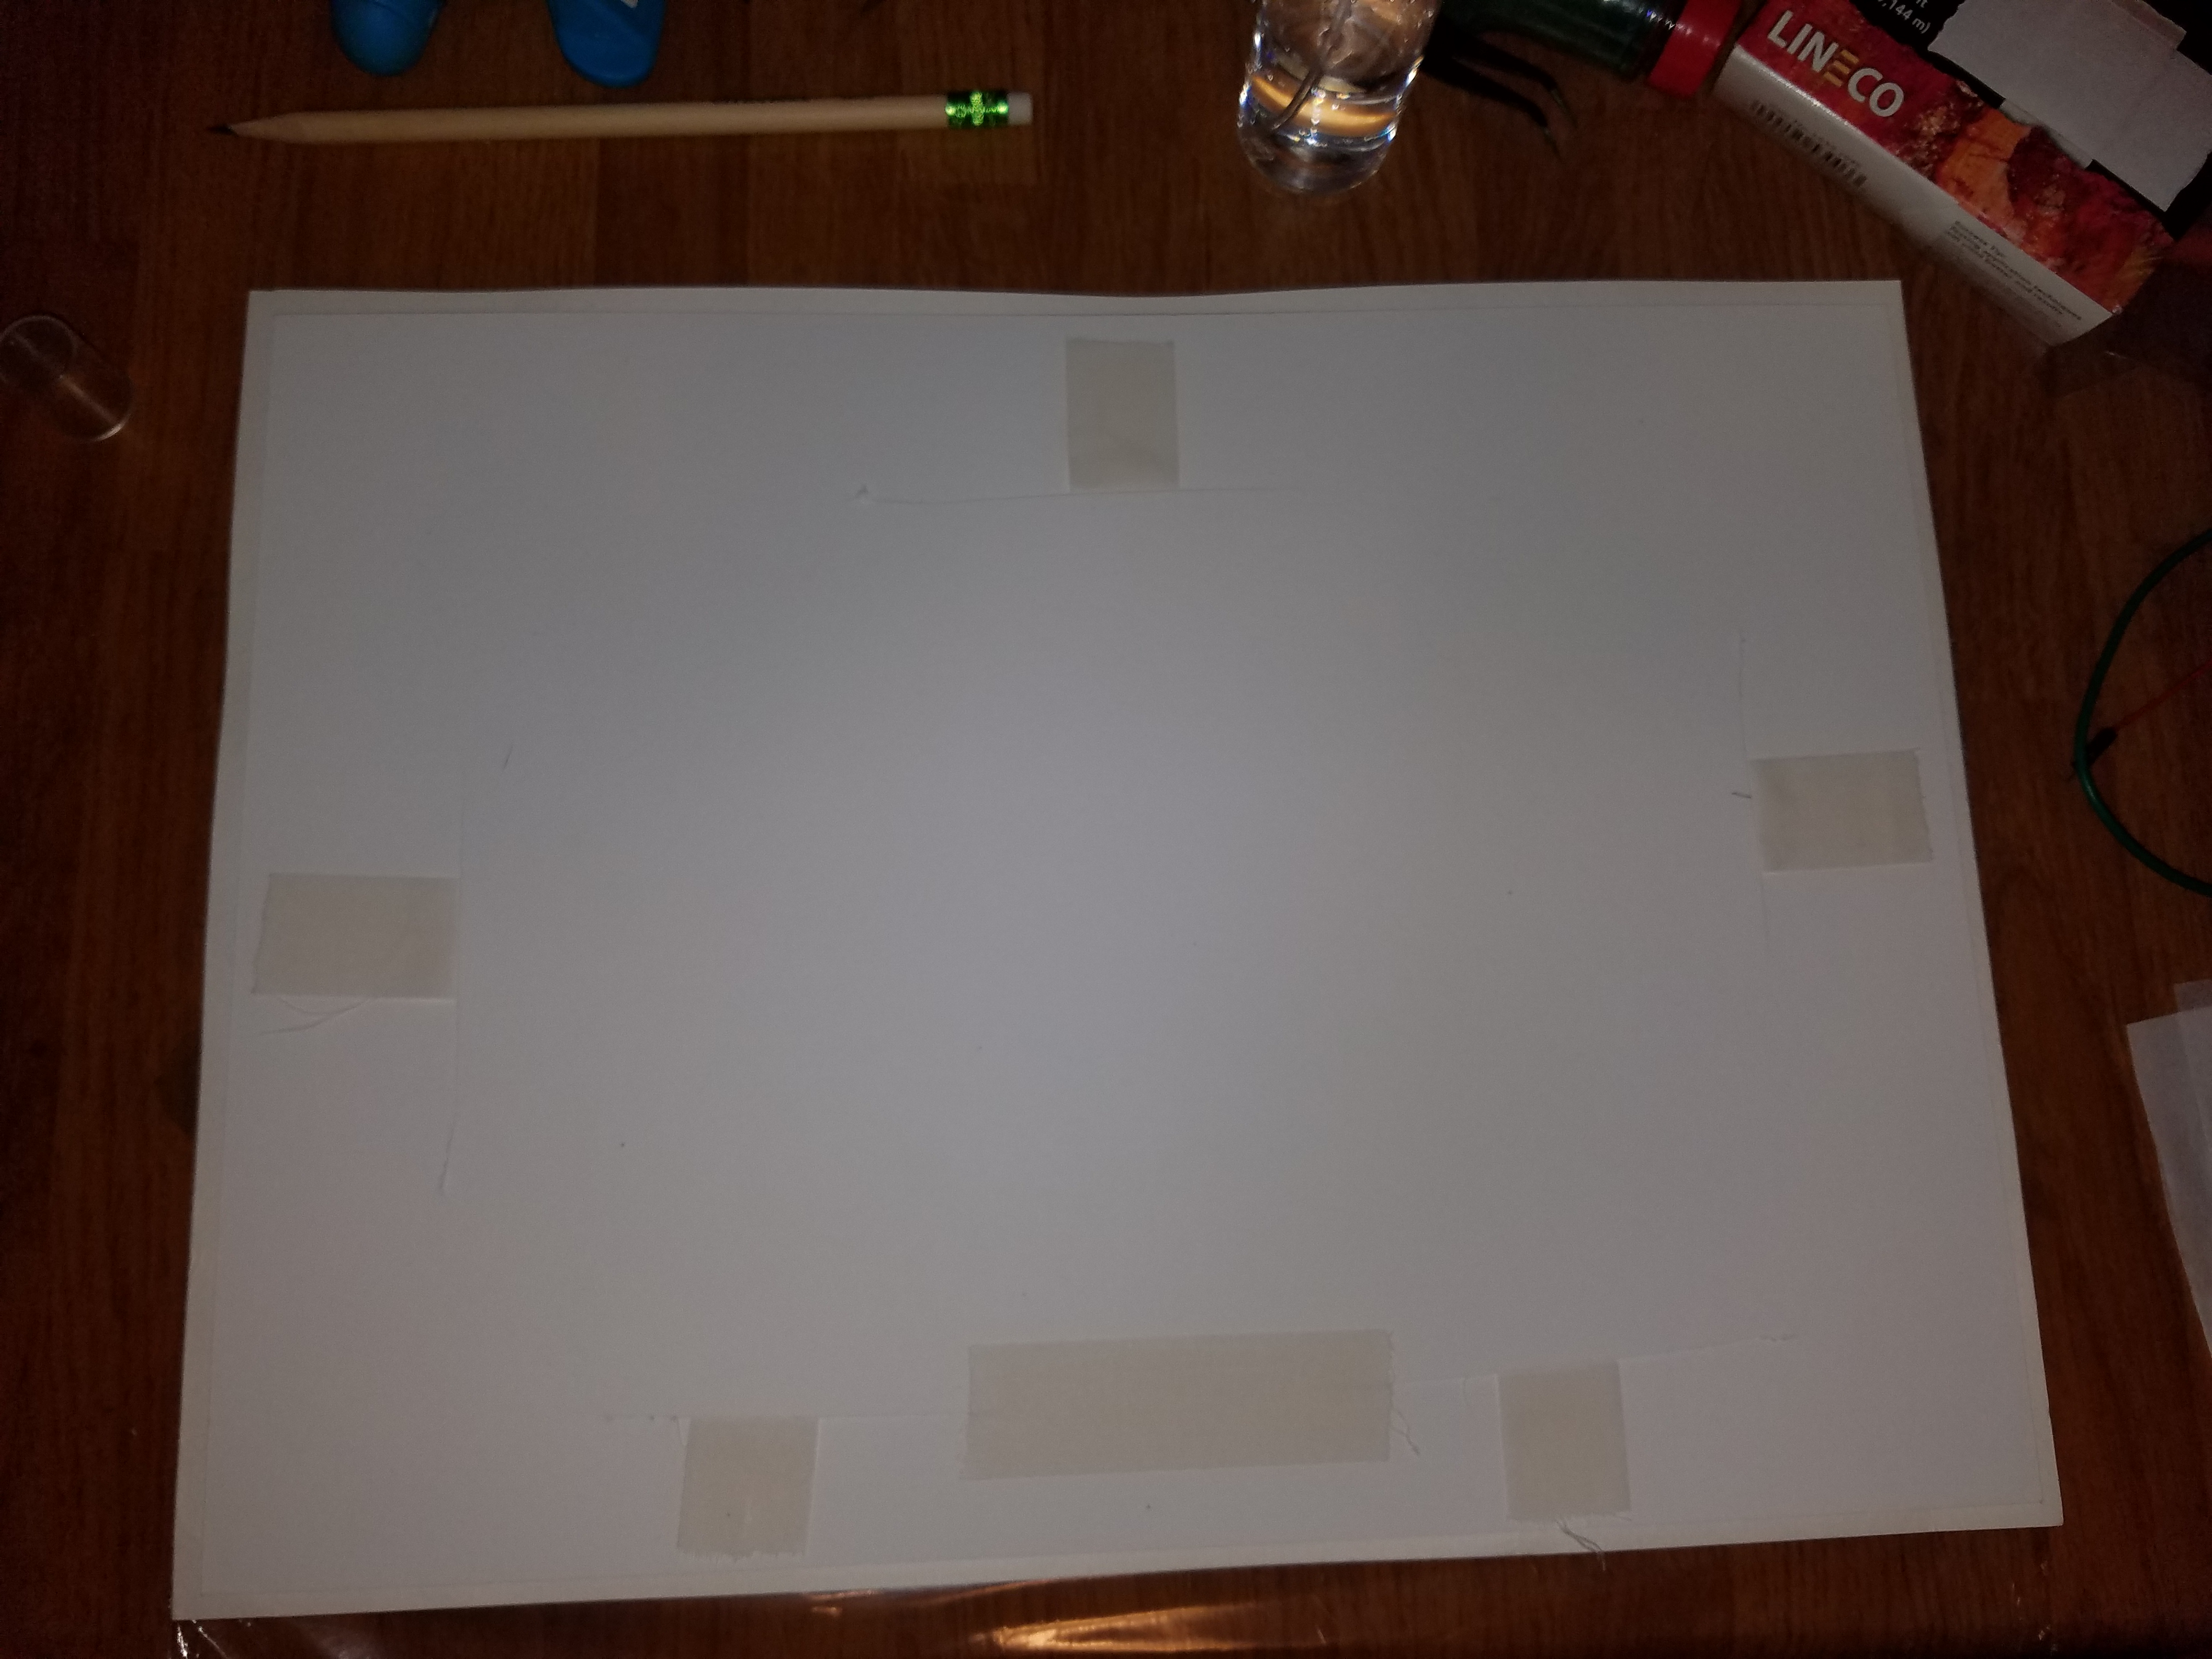
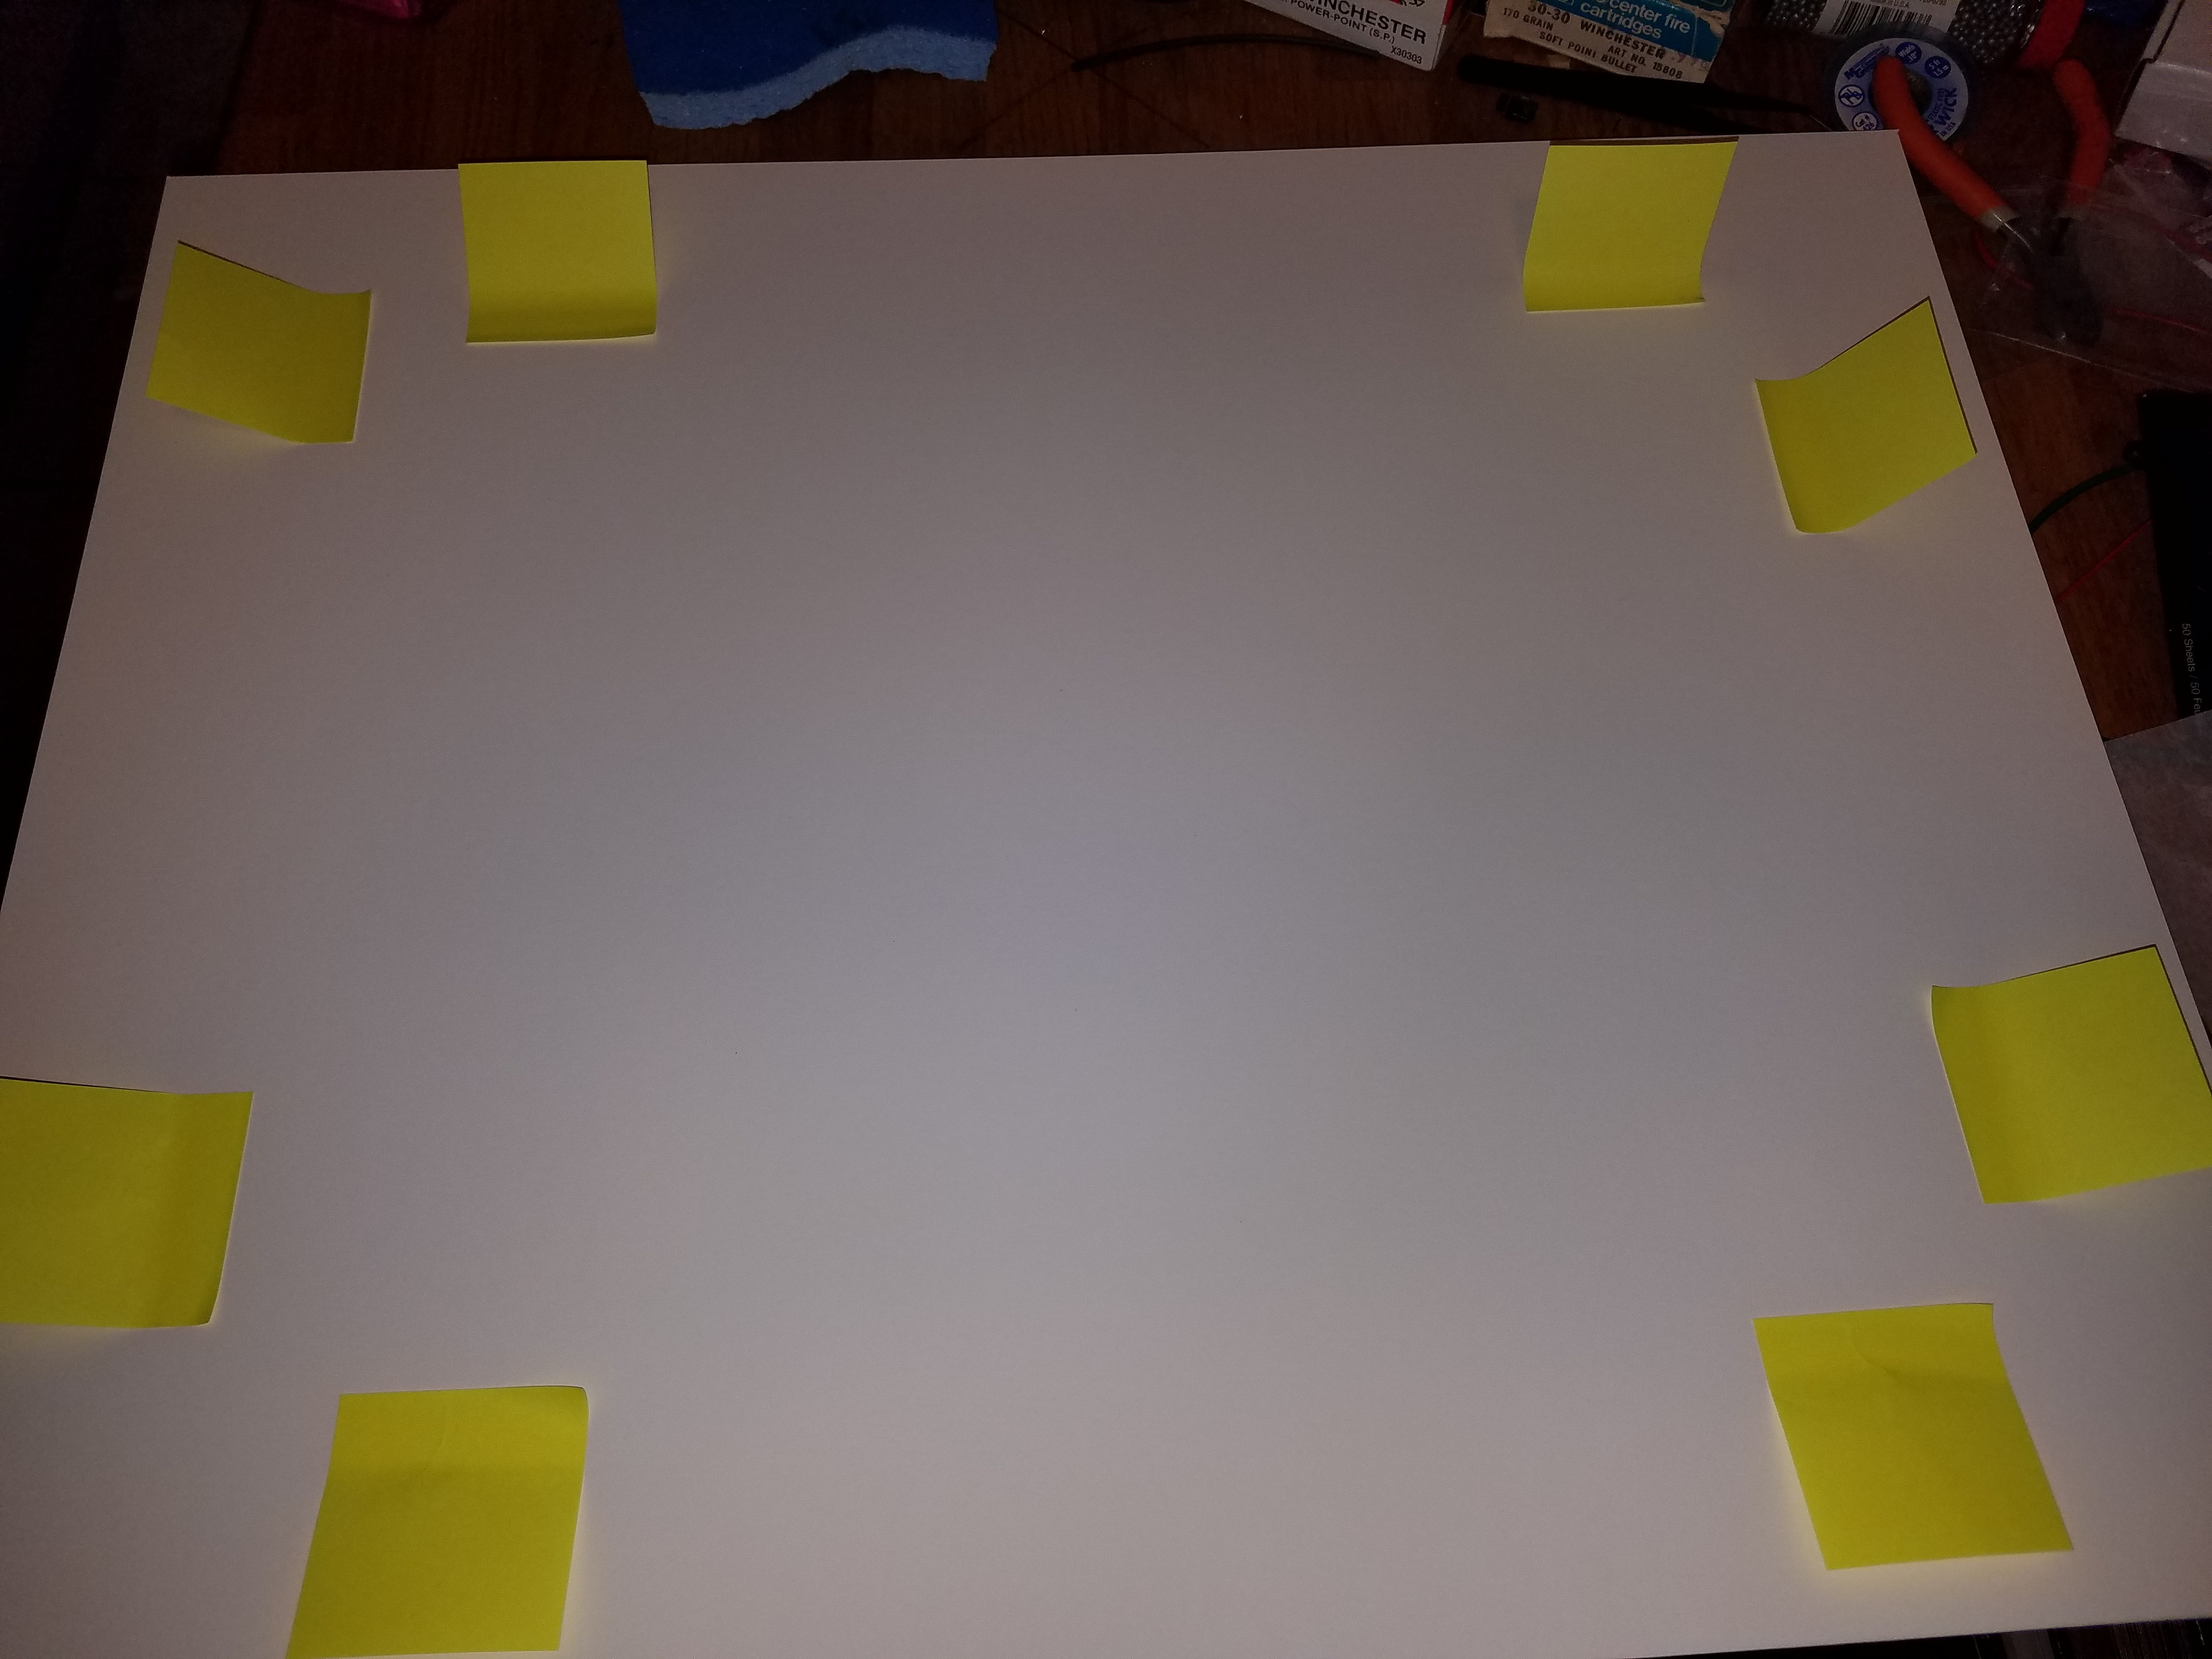 With the painting mounted on the pedestal, it’s time to apply some archival PVA adhesive and glue the pedestal down to the mat board. The mat board is an 8-ply museum rag board. To make alignment easier, use some post-it notes to lay out your margin and then the painting can be dropped right into place. Protect the artwork with more paper, and apply even weight until the adhesive is completely cured.
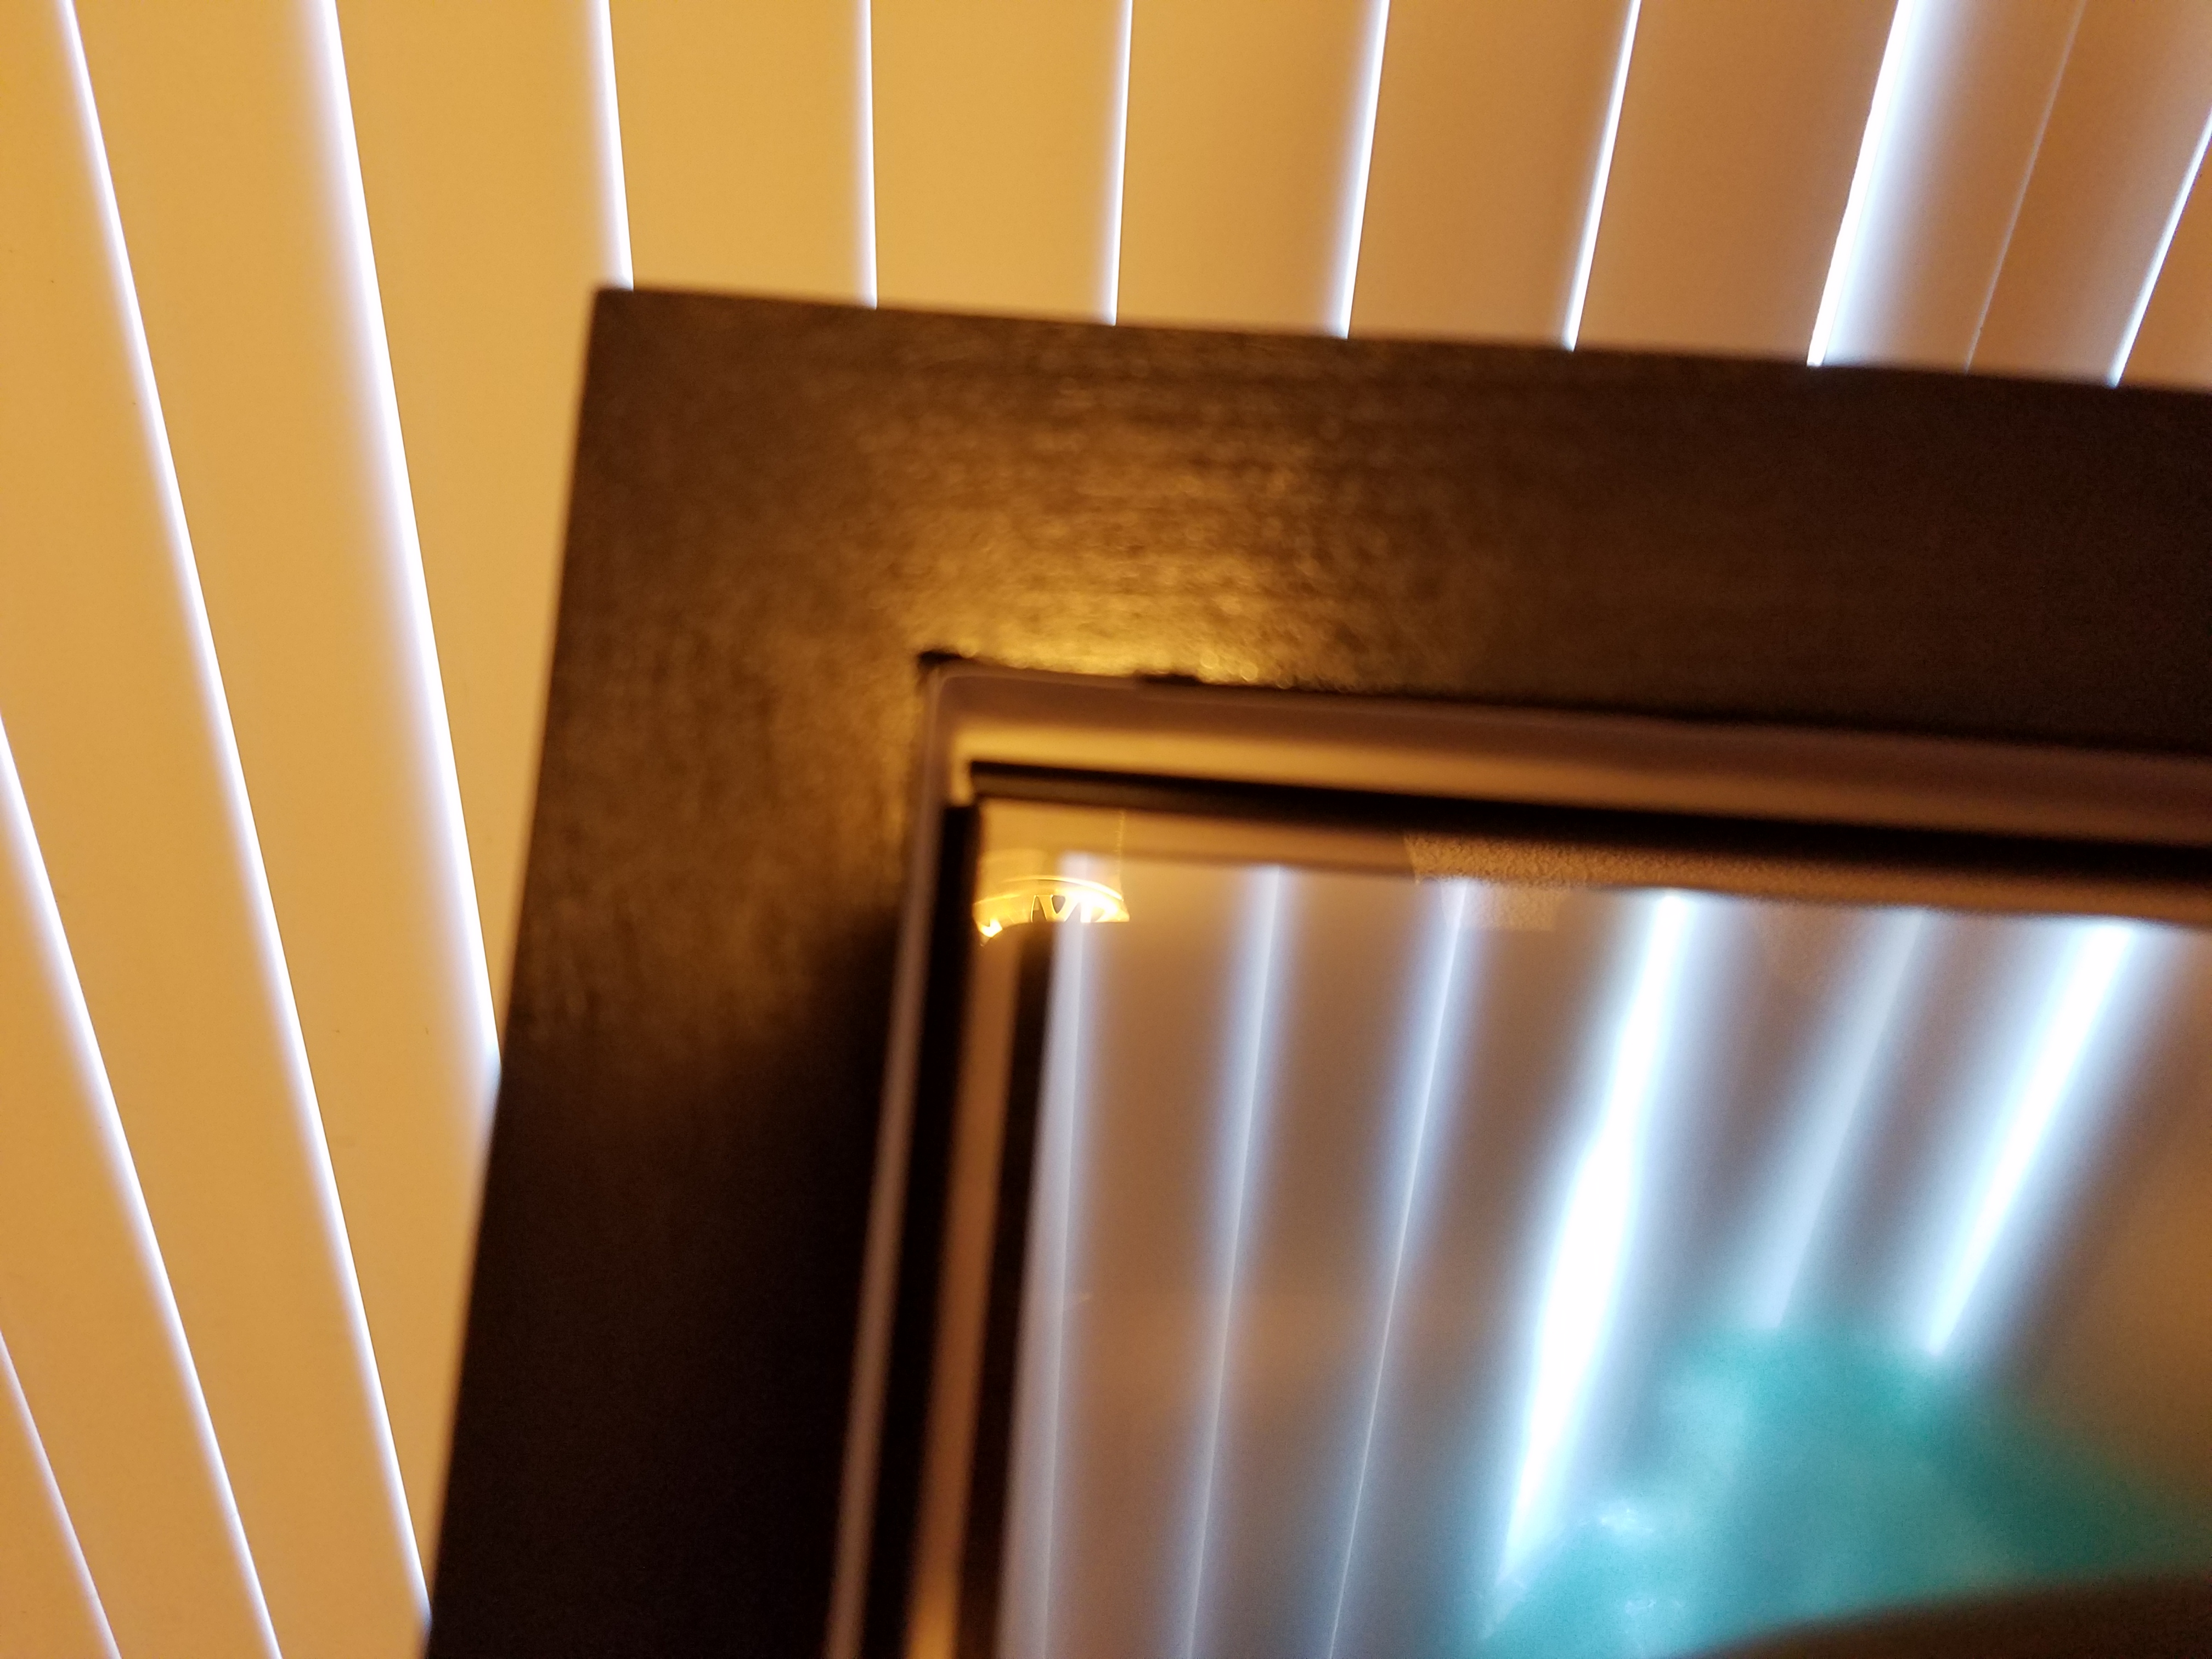
 The mounted art can now be placed into the frame. Be sure the acrylic is perfectly clean at this point, if the job is done right, this frame won’t be opened potentially for many years (A professional framer would tell you the frame should be opened regularly for inspection and then resealed; however, the framer would probably also tell you that very few people actually do this). With the acrylic clean, check one more time to be sure it’s perfectly clean, then carefully place the mounted painting in the frame. Cover the mat with an acid-free 3/16″ conservation foam board backer, and fix it in place with framing points. I’m using glazing points from a local hardware store for this; they’re reasonably inert, and several layers separated from the art at this point.
 Now you have to seal the frame. You have two options here. In Europe, the trend is to use frame sealing tape (the same that we used to protect our art from the wood frame), and seal the edges of the backer board to the frame. This option is perfectly good and has no drawbacks that I know of. In the US, the trend is to apply a traditional paper dust cover. This option is also good, but may be prone to puncturing if not handled carefully. I’m doing both; the frame sealing tape will ensure a long life of the frame package despite any future handling issues, but the paper dust cover gives the package a lovely finished look that will never be seen again once it’s hung. I used the same tape to seal the backed board that I used to seal the rabbet, and I decided to go with Lineco’s buffered acid-free framing paper. It’s a 50 lb. paper, acid-free, and buffered to provide additional environmental protection. For installation, you can either use the same adhesive that was used to adhere the pedestal to the mat, or ATG tape. I’m using Scapa T002 ATG tape for this project. While it won’t be in contact with the art, the T002 is acid-free and designed specifically for this type of application. Rough up the frame first to give the tape a nice surface to bond to, apply the tape around the edge, then apply the dust cover. Start with the dust cover slightly over sized, and pull it tight as you apply it for a nice finished appearance. I didn’t get it down as cleanly as I would have liked, but it’s sealed nicely and looks ok. Burnish the dust cover down to the tape well to promote good adhesion, and then use a dust cover trimmer to trim off the excess. A hobby knife and a good straight edge can be used instead of the dust cover trimmer.
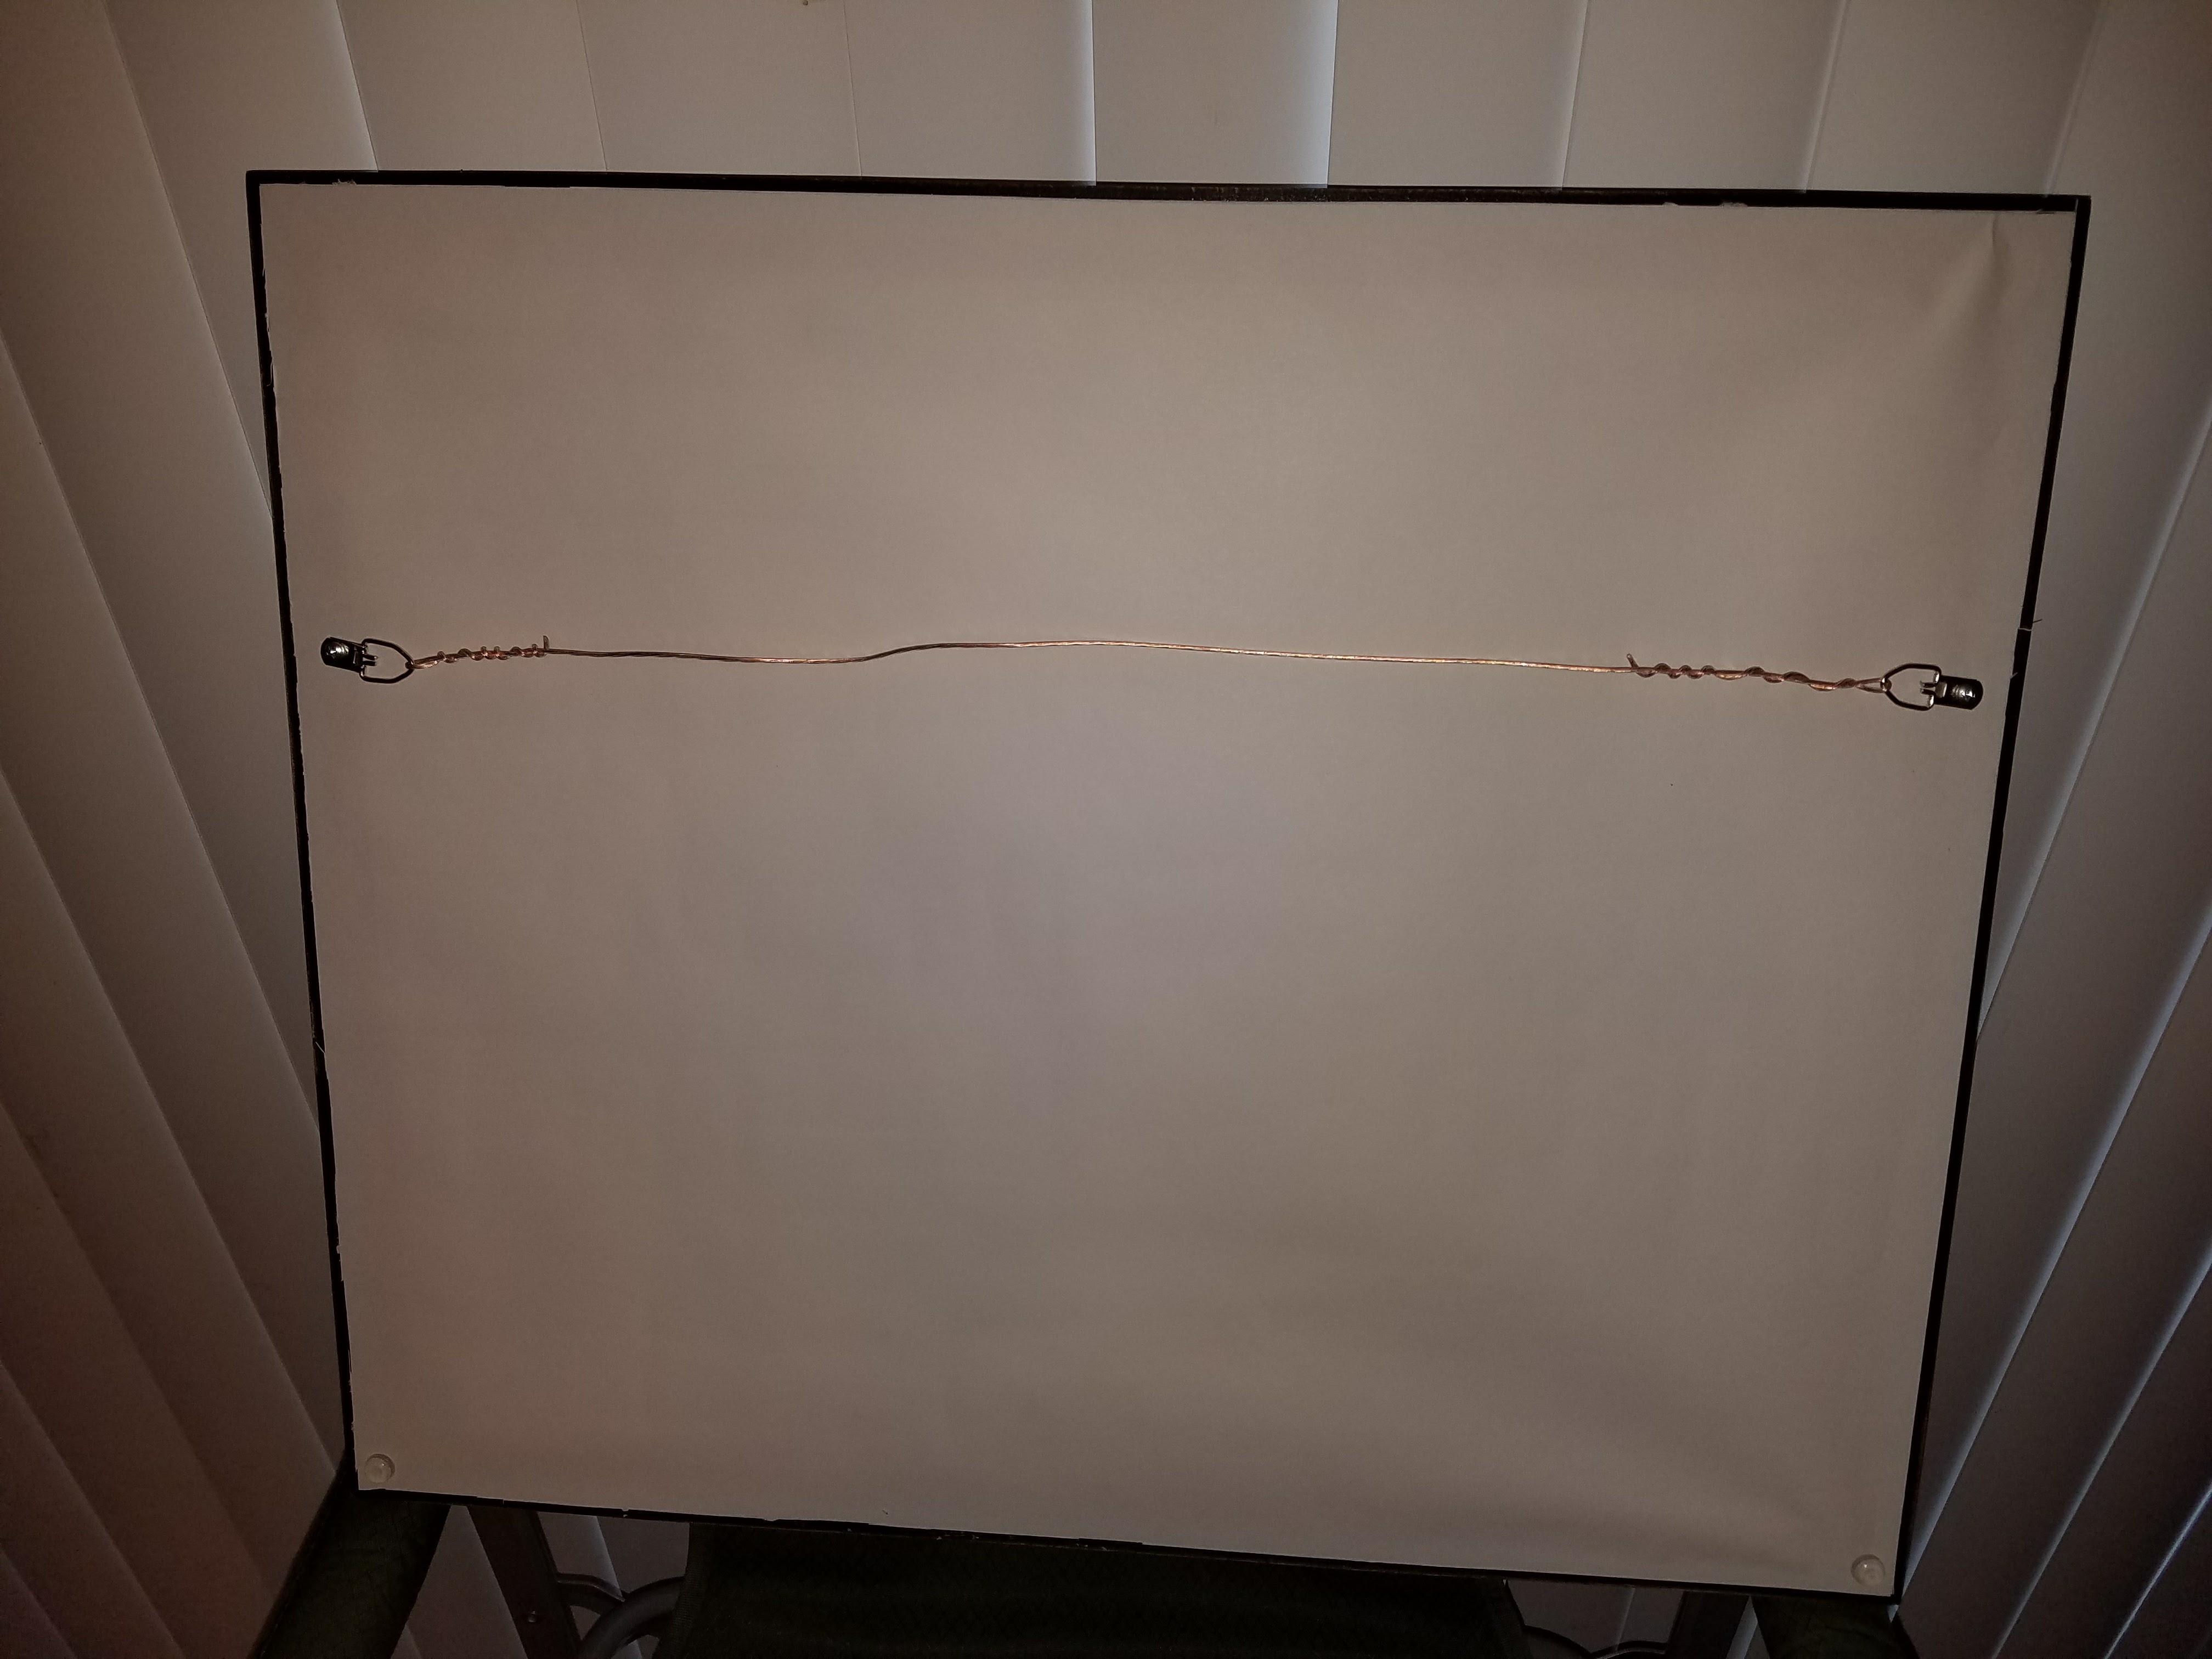 The last step is hanging the finished art. For this, I’m attaching two small triangle rings and then twisting on coated framing wire. Apply the rings evenly about 1/3 down the frame, and don’t give the wire any slack so it hangs tightly to the wall. Apply two bumpers to the bottom of the frame, and stand back to admire your work!
The finished art & frame package looks pretty great. I learned some things along the way that will make my next project better, but I’m quite happy with how this turned out. Thanks again to Ariel Lyons for painting this portrait. I hope, as Ariel does, that this portrait will endure the test of time and help my sister-in-law and her family as they move forward from a tough time. For your own art project, contact Ariel at https://www.facebook.com/priddylyons/ for information on commissioning an original art piece by this talented artist, or just follow her page to see what she’s up to.